
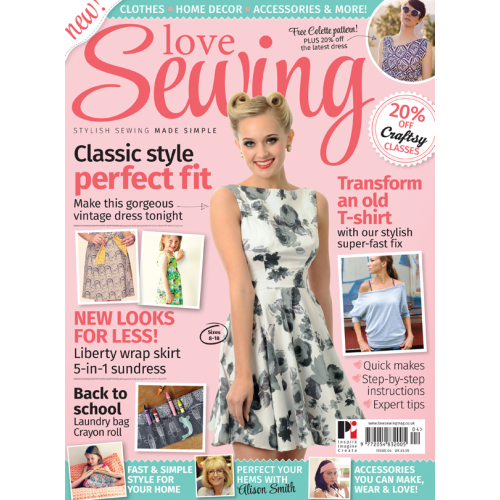
I subscribed to Love Sewing magazine a couple of months ago, and it was only afterwards that I began to notice the Ruby Dress popping up on blog posts and Instagram as a very pretty and popular make. I tracked down and ordered the back issue, which I received, minus the pattern. I chased this up with Love Sewing, who were kind and helpful, but sent me the issue prior to the Ruby by mistake. As I appreciated their assistance and didn’t want to appear ungrateful, I went back to the supplier of the back issues, and finally got the pattern PLUS a second copy of the magazine, which I passed on to a friend.
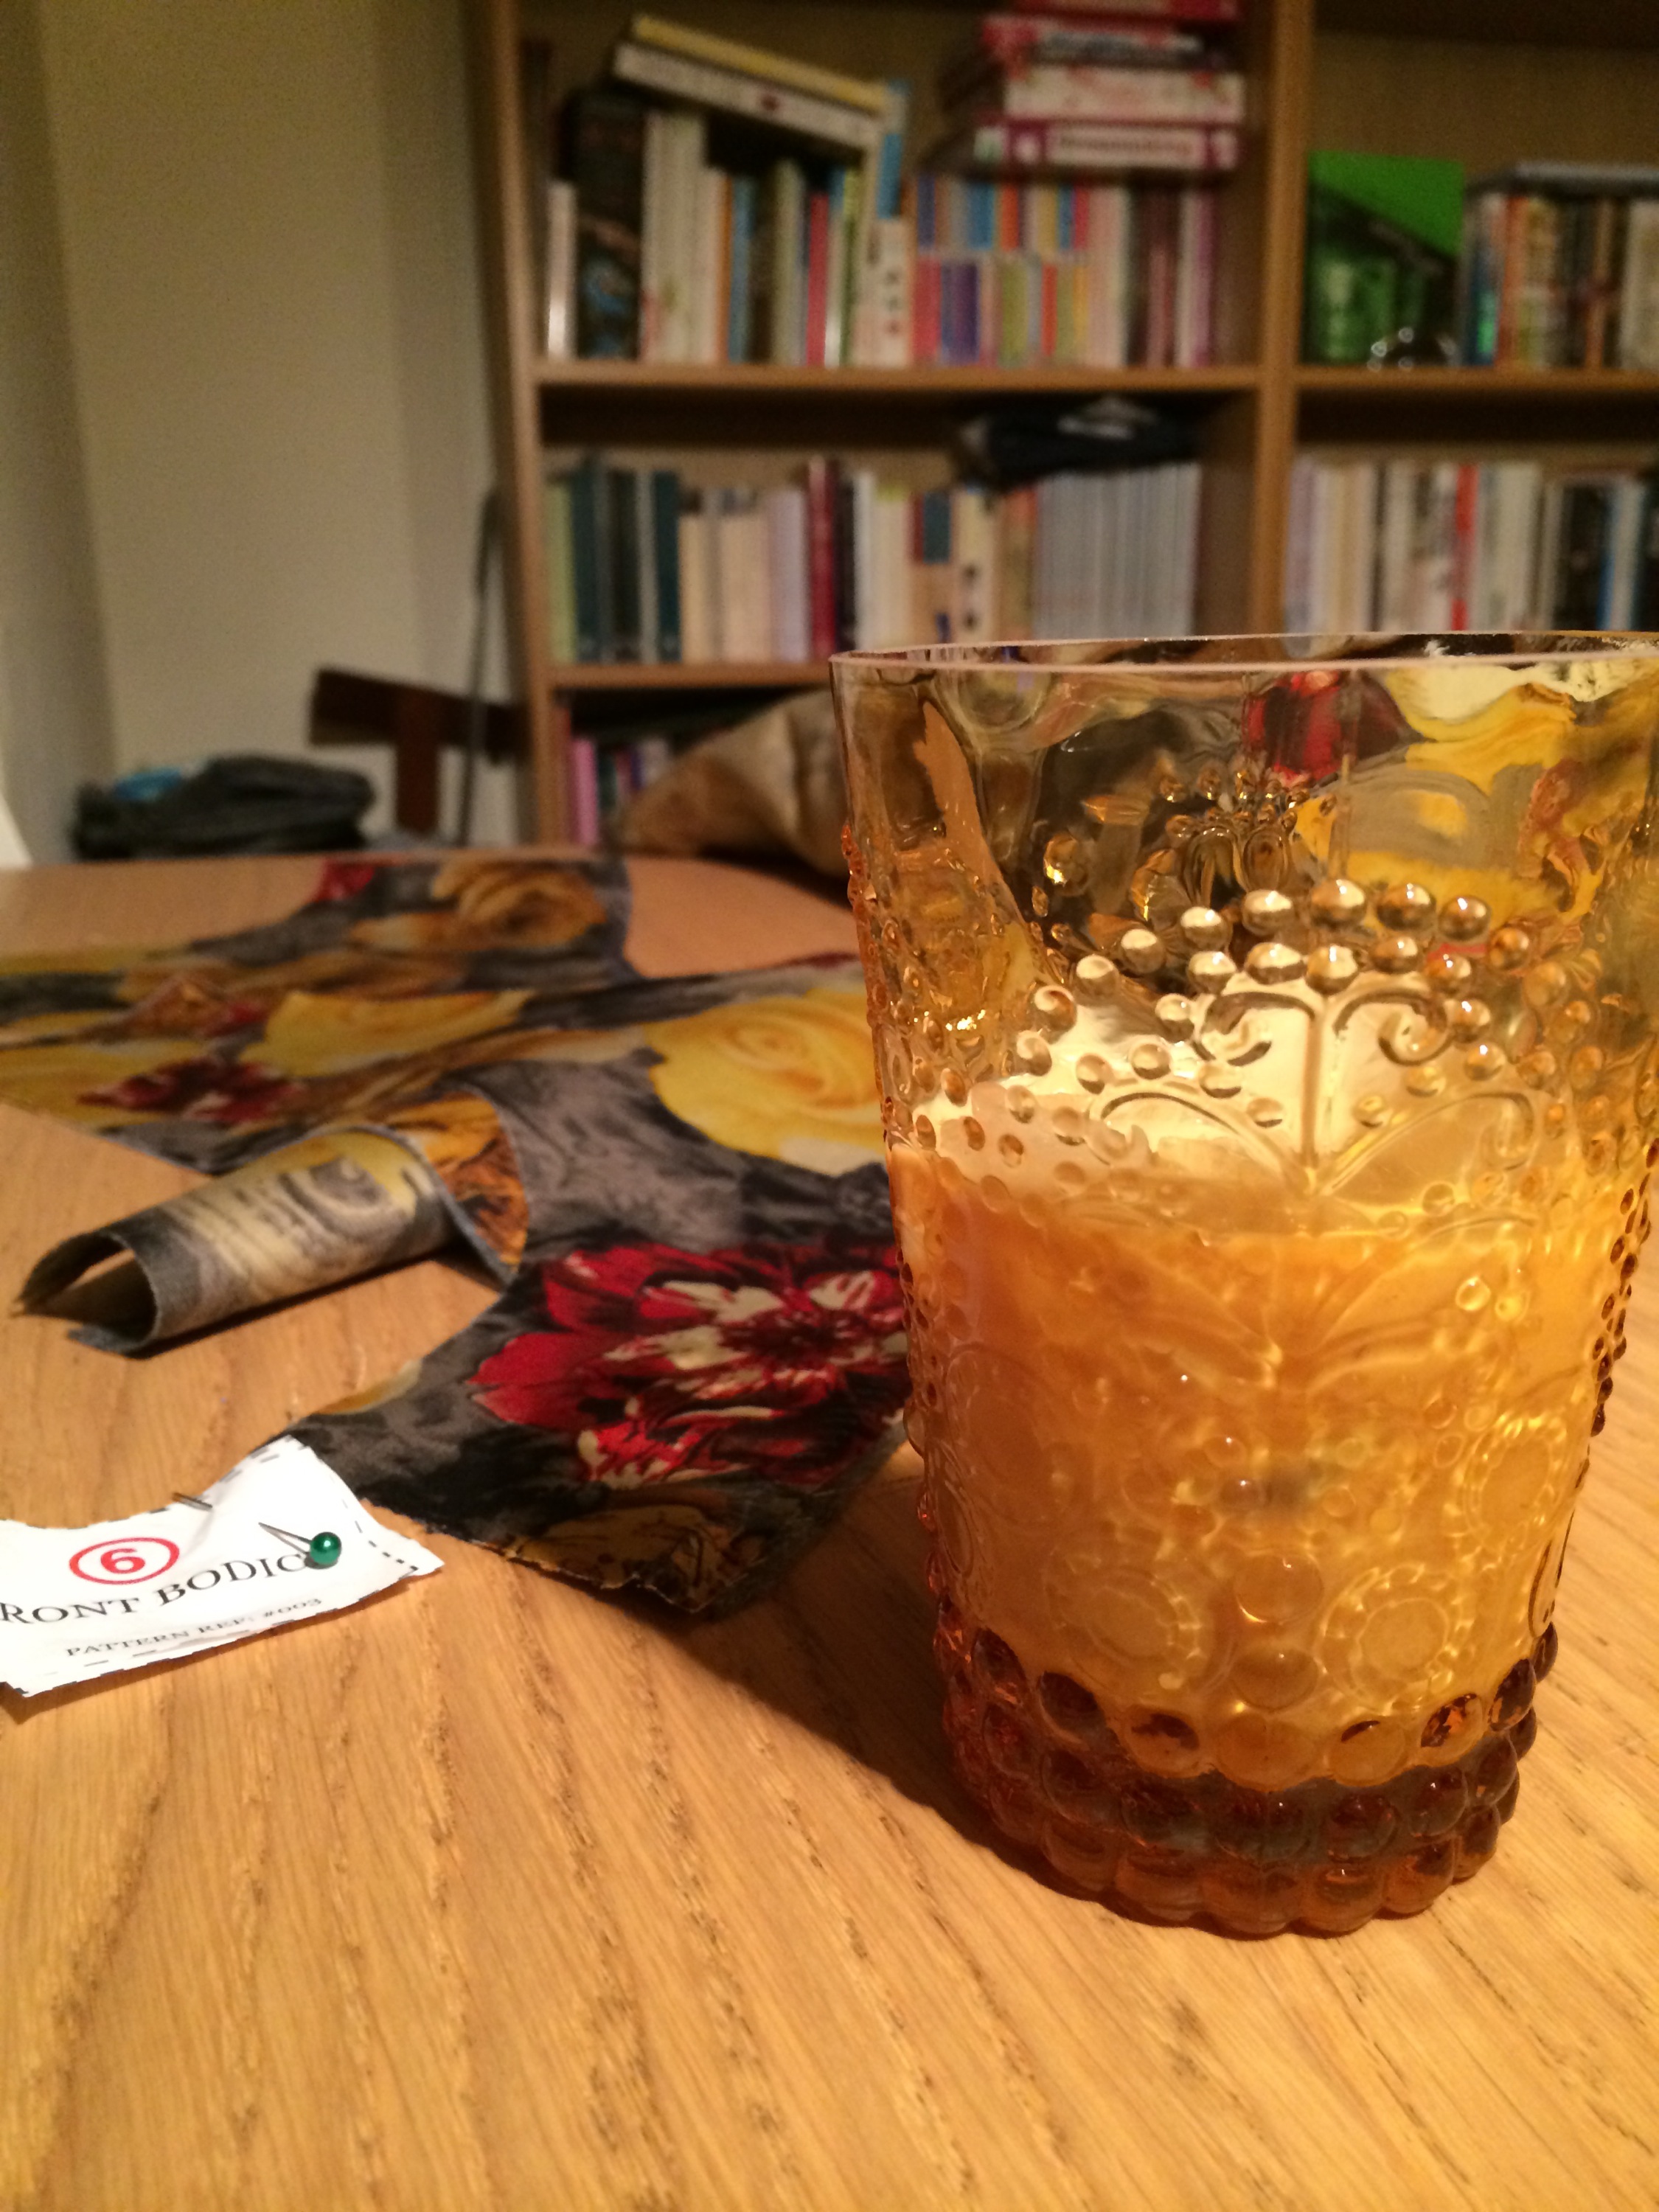
I’ve made a couple of purchases from a particular eBay shop, and from getting the pattern I somehow knew that a red and yellow floral print I’d got was destined to become a Ruby.
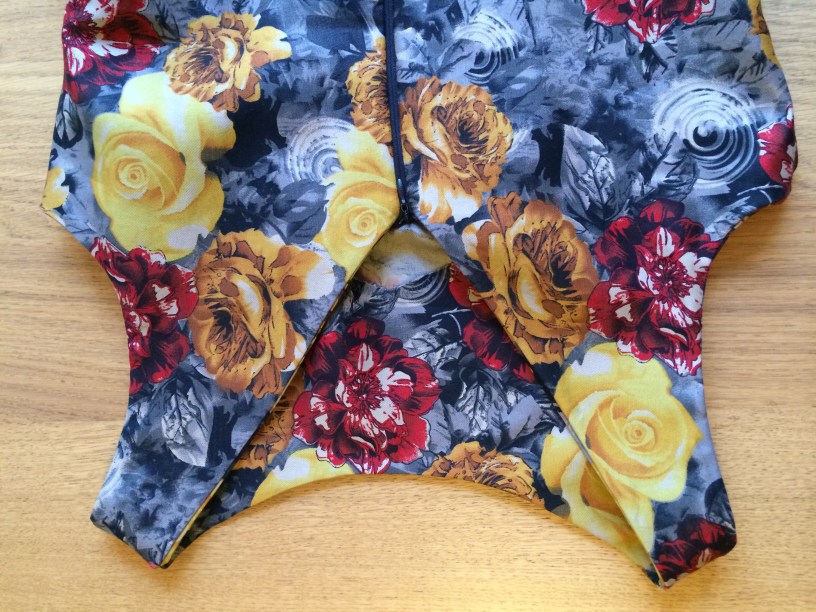
On Sunday I cut the pattern pieces out and inserted the darts. I had some new grey interfacing that needed a REALLY hot iron to attach, but I did this as well as zig-zagging the advised edges. I wanted to get as much prep done as I could, and even stayed up relatively late on a school night as I was enjoying it so much!
On Monday I attached the facings. It was the first time I had made a facing of this kind, so I did it correctly, but then skipped a step I didn’t really understand and went as far as attaching and stitching side seams on the skirt. Then I had to rewind. Detach the skirt and turn the facing inside itself to create a nice internal finish around the neckline and straps.

I reattached the skirt and inserted the zip, which should have been concealed. It’s fairly neat but not concealed, but as my new concealed zipper foot has now arrived I will be hoping to improve on this next time.
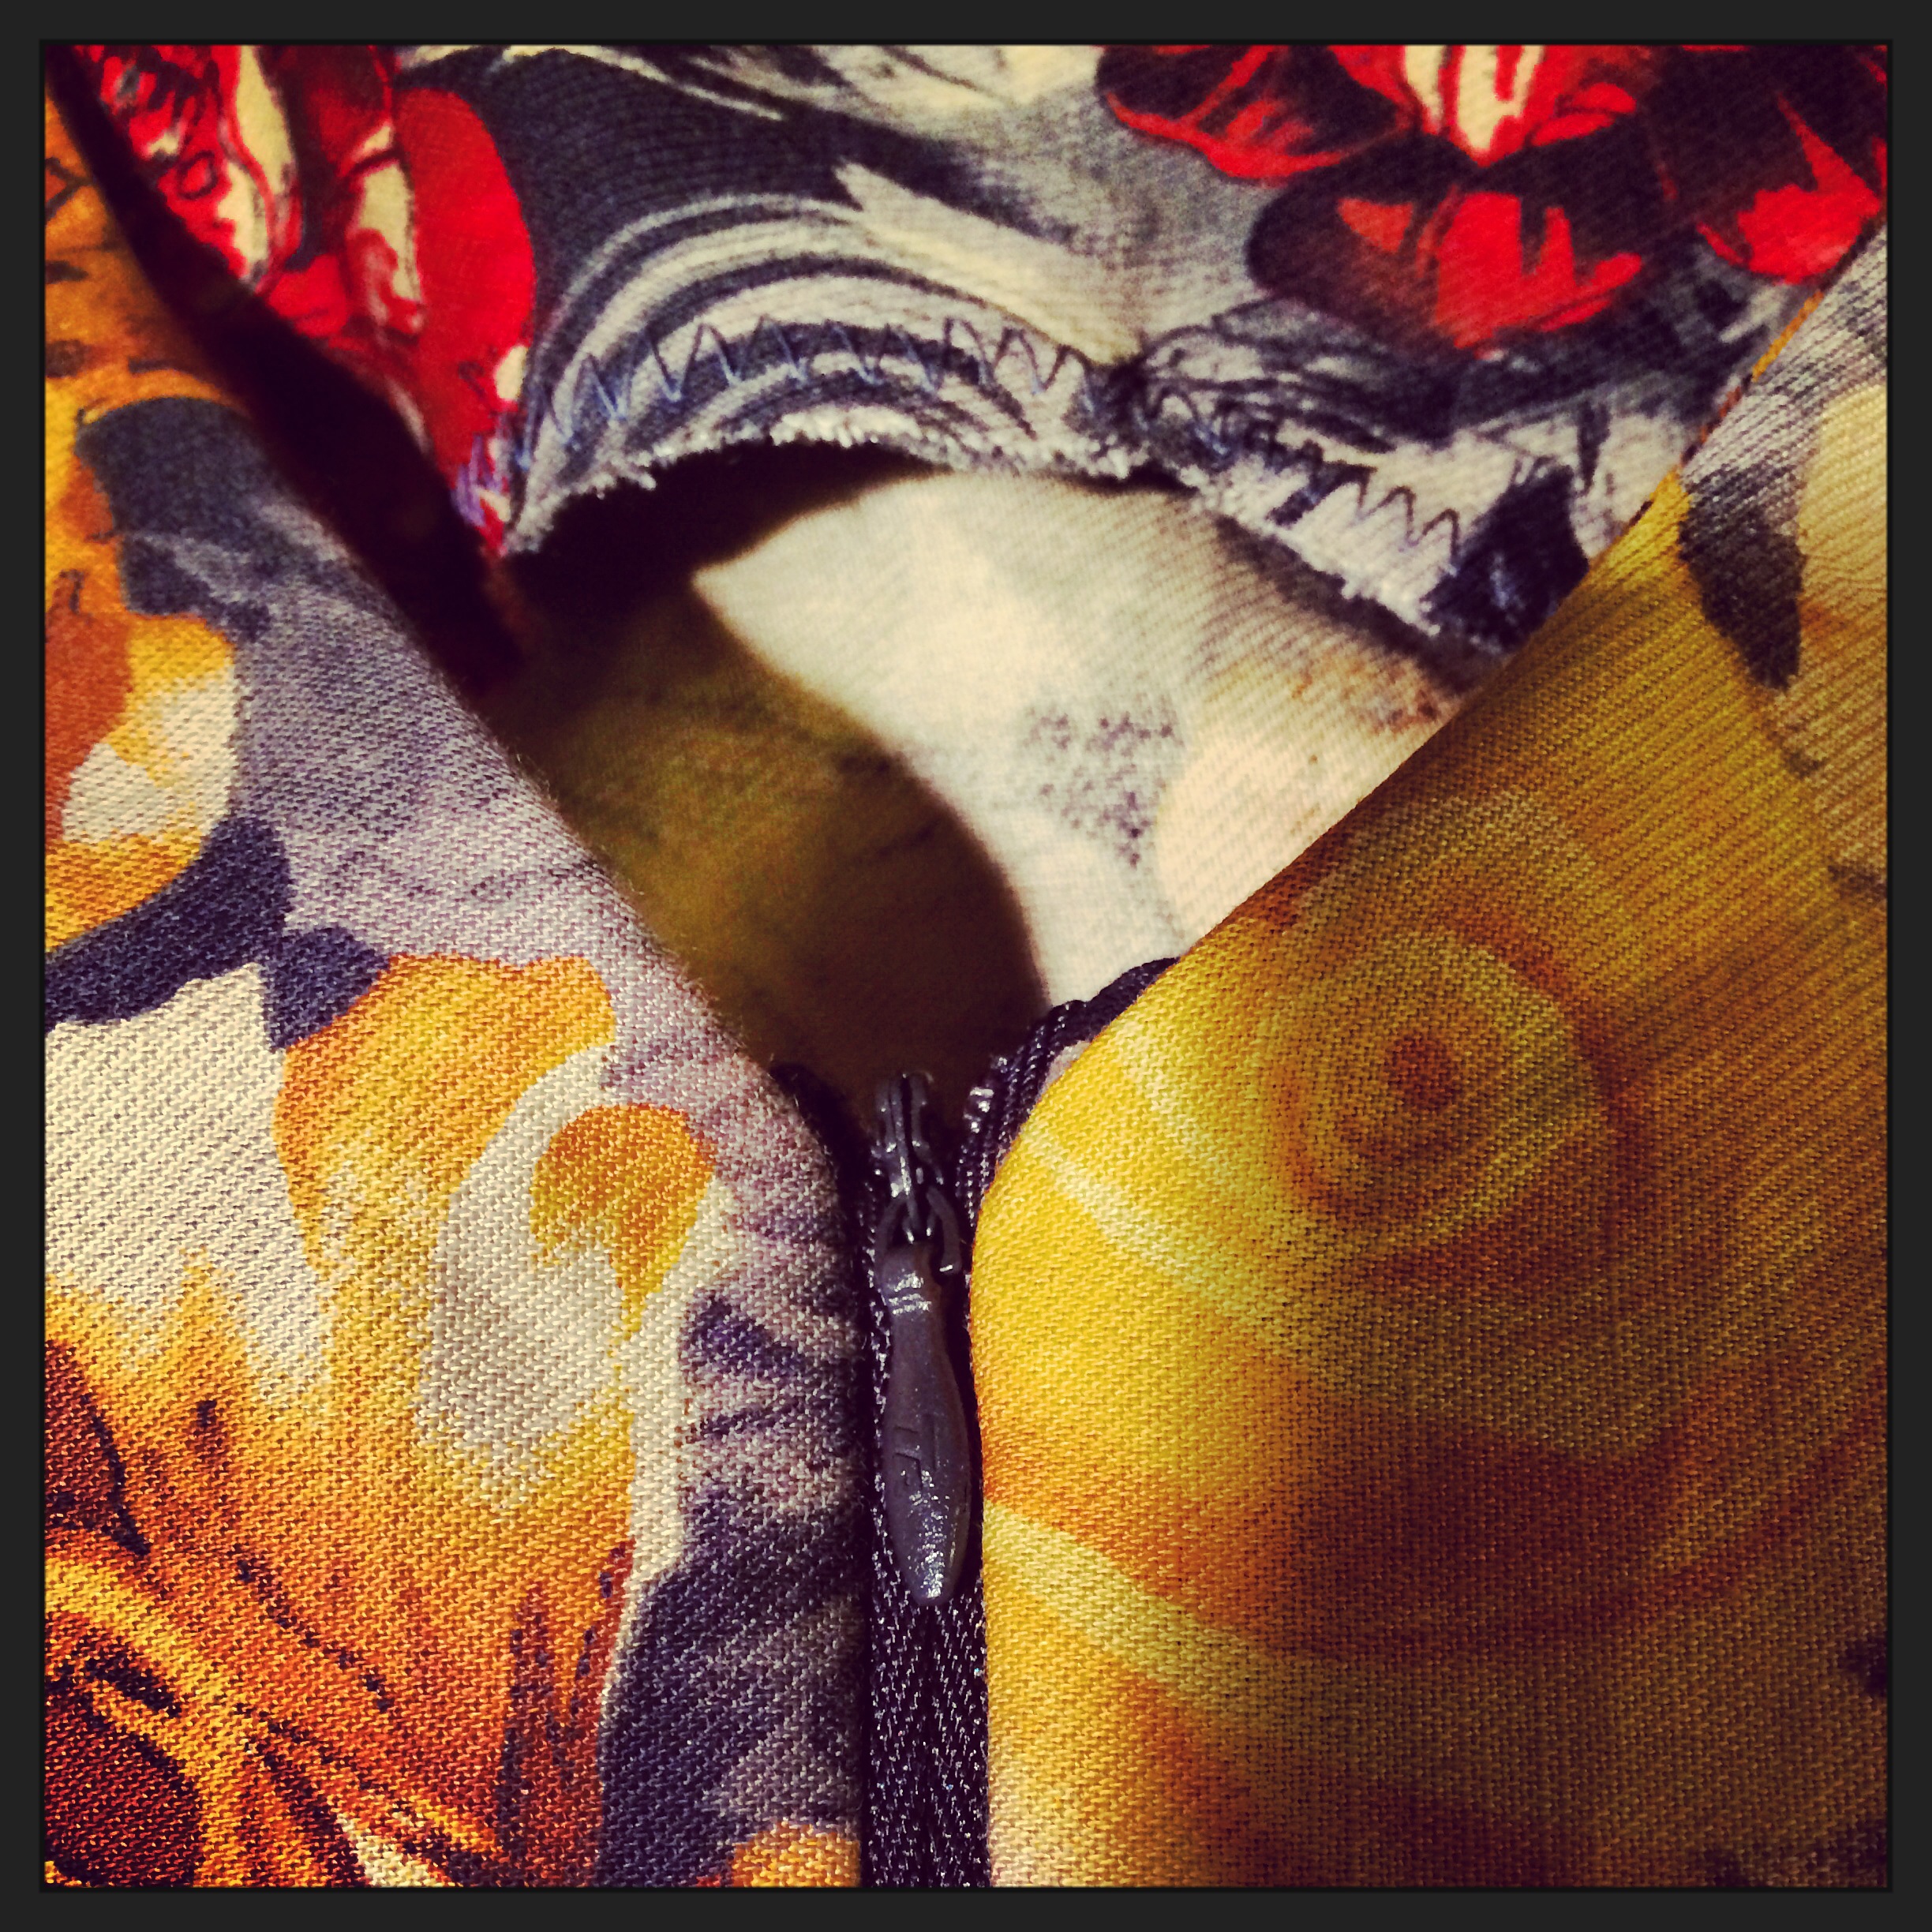
It’s the ends of the zip I find the most difficult, securing the top end of the tape nearly and securing the seams around the bottom of the zip successfully. These won’t be remedied by my new zipper foot, so any tips on either of these would be much appreciated!
Next I sewed up remaining seams, tidied up and tried to straighten a couple of places; the join across my front between the bodice and skirt and under one arm where there was (and still is!) a bit of a gape.
Wednesday and Thursday I focused more on marking than making, so by Friday all that was left to do was hem the dress. You’ll see from the internal shot, above, that my finishing is really nothing to write home about. Some parts of the skirt seemed very oversized so there are spare bits of fabric, which are unnoticeable from the outside as the fabric is quite stiff as well as because of the style of the skirt; so I’m not worried. Under my arms isn’t perfect but hopefully not too noticeable to others.
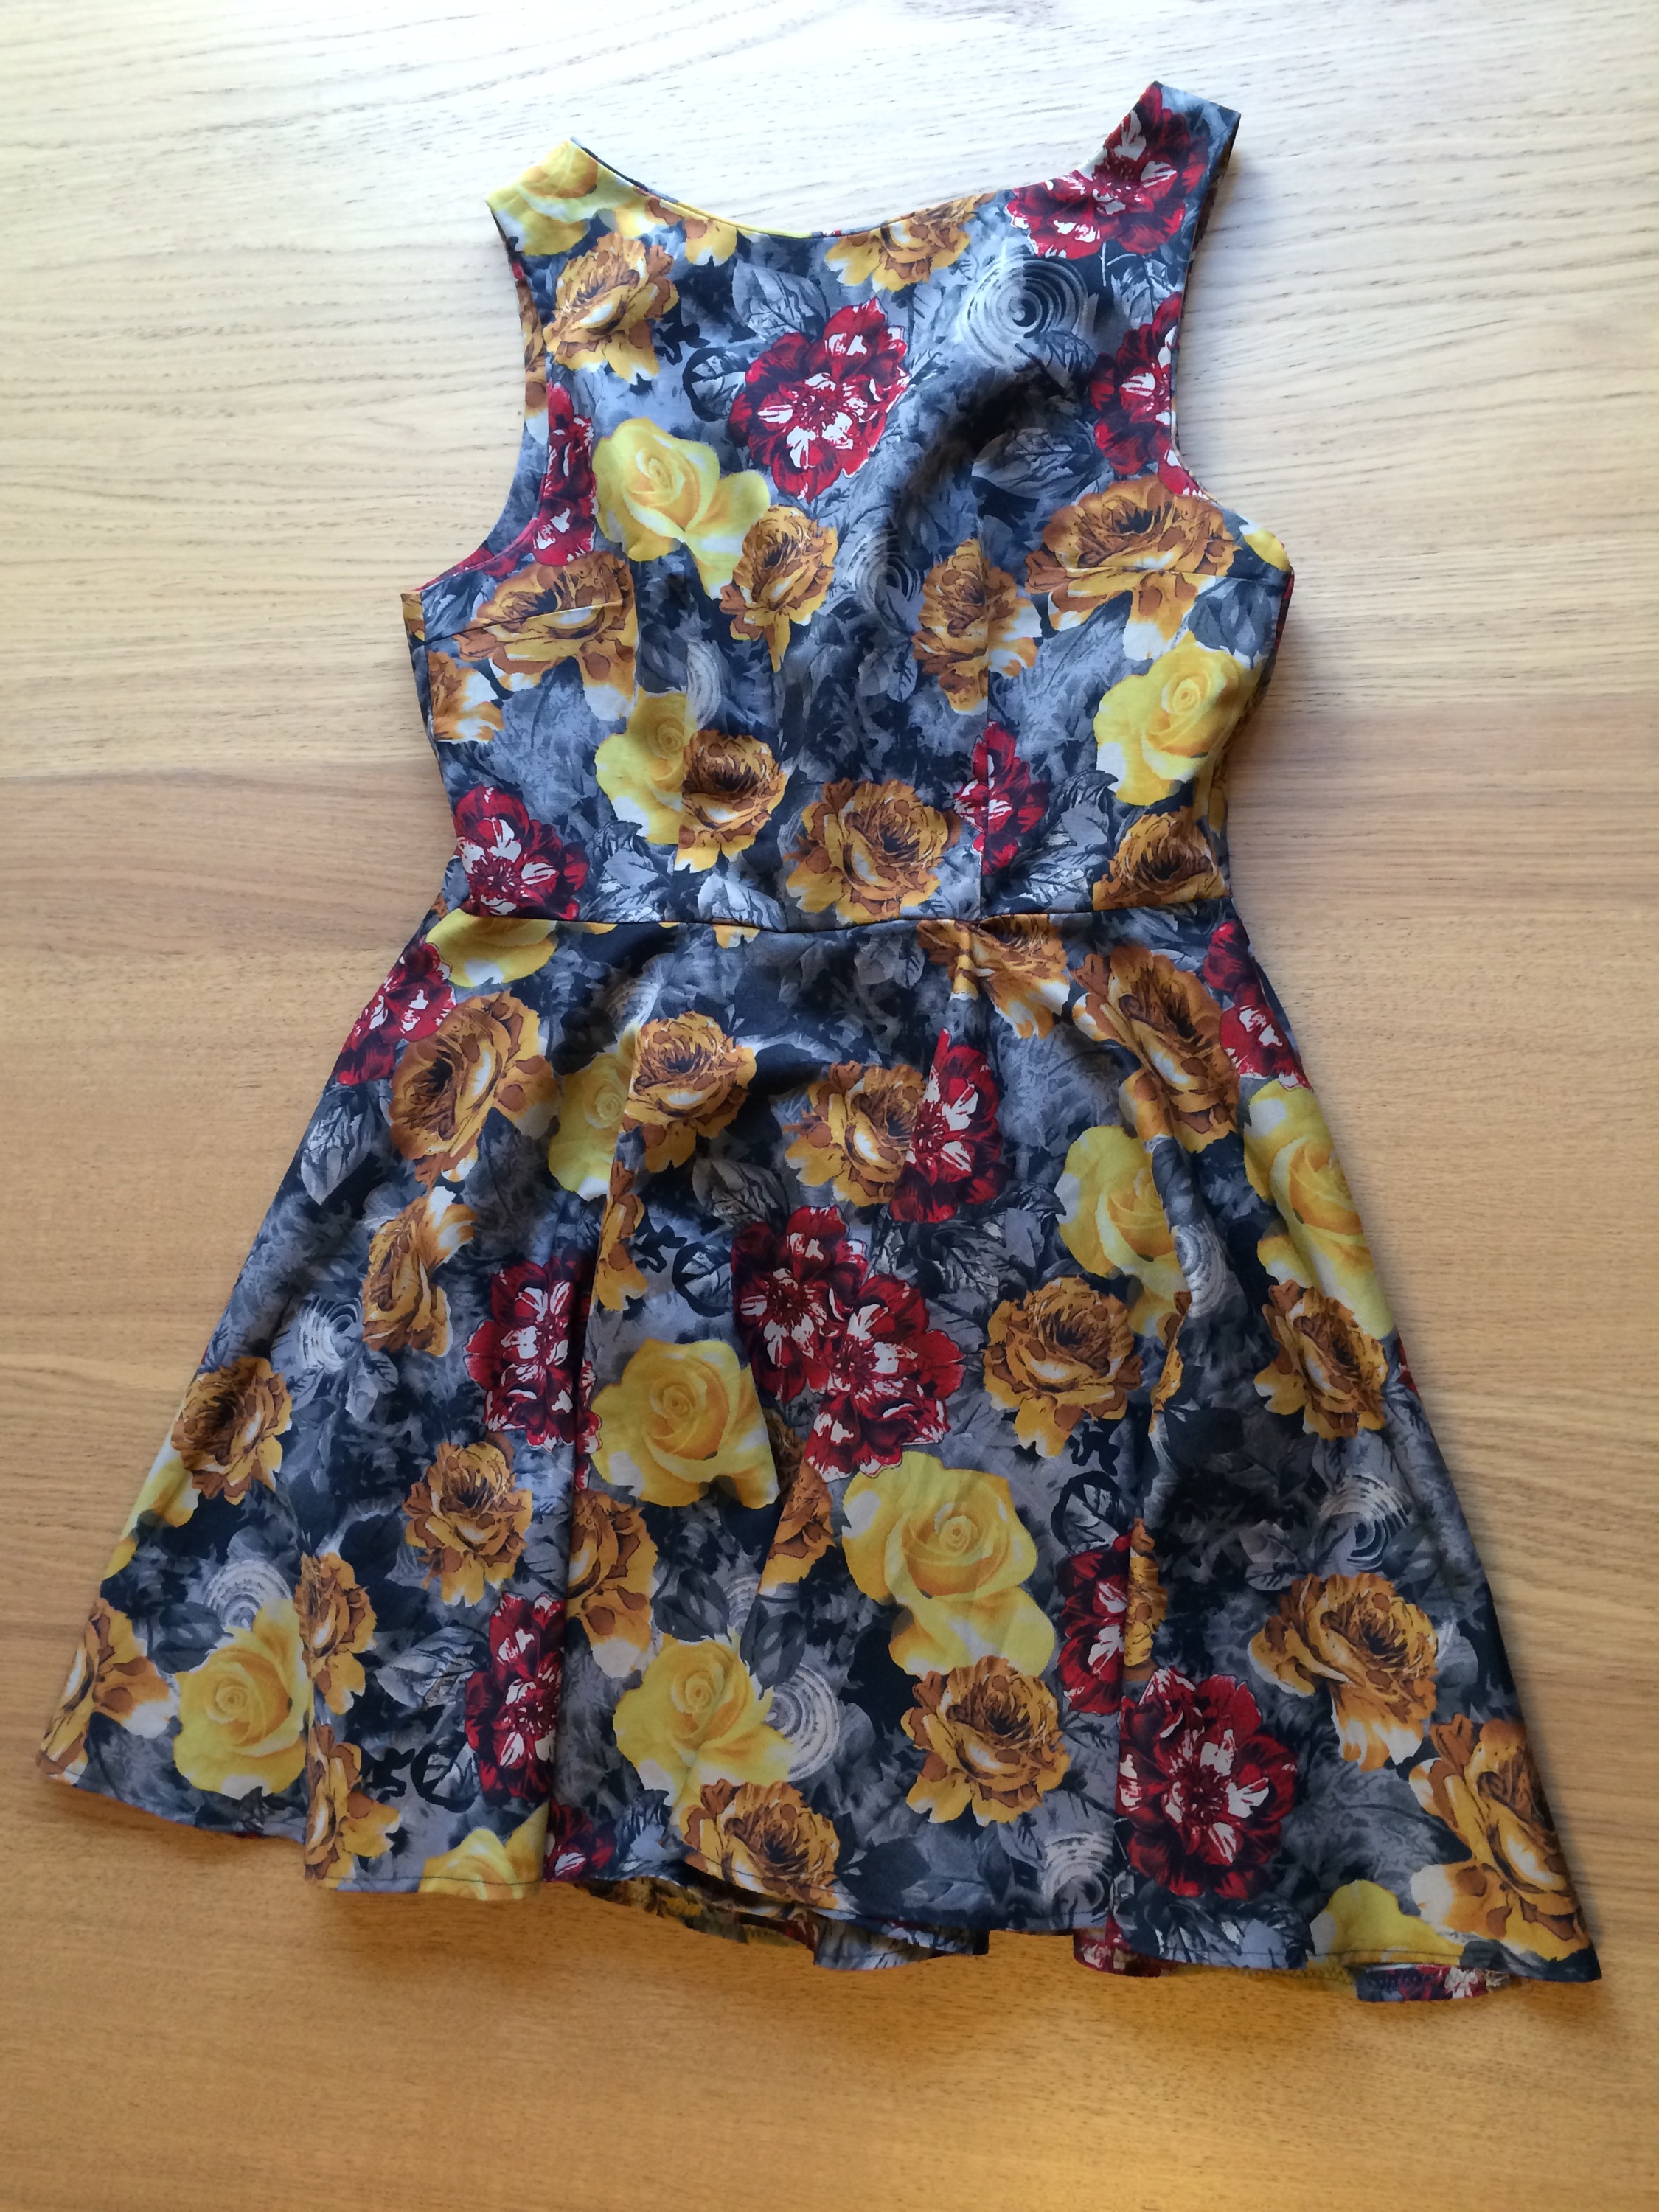
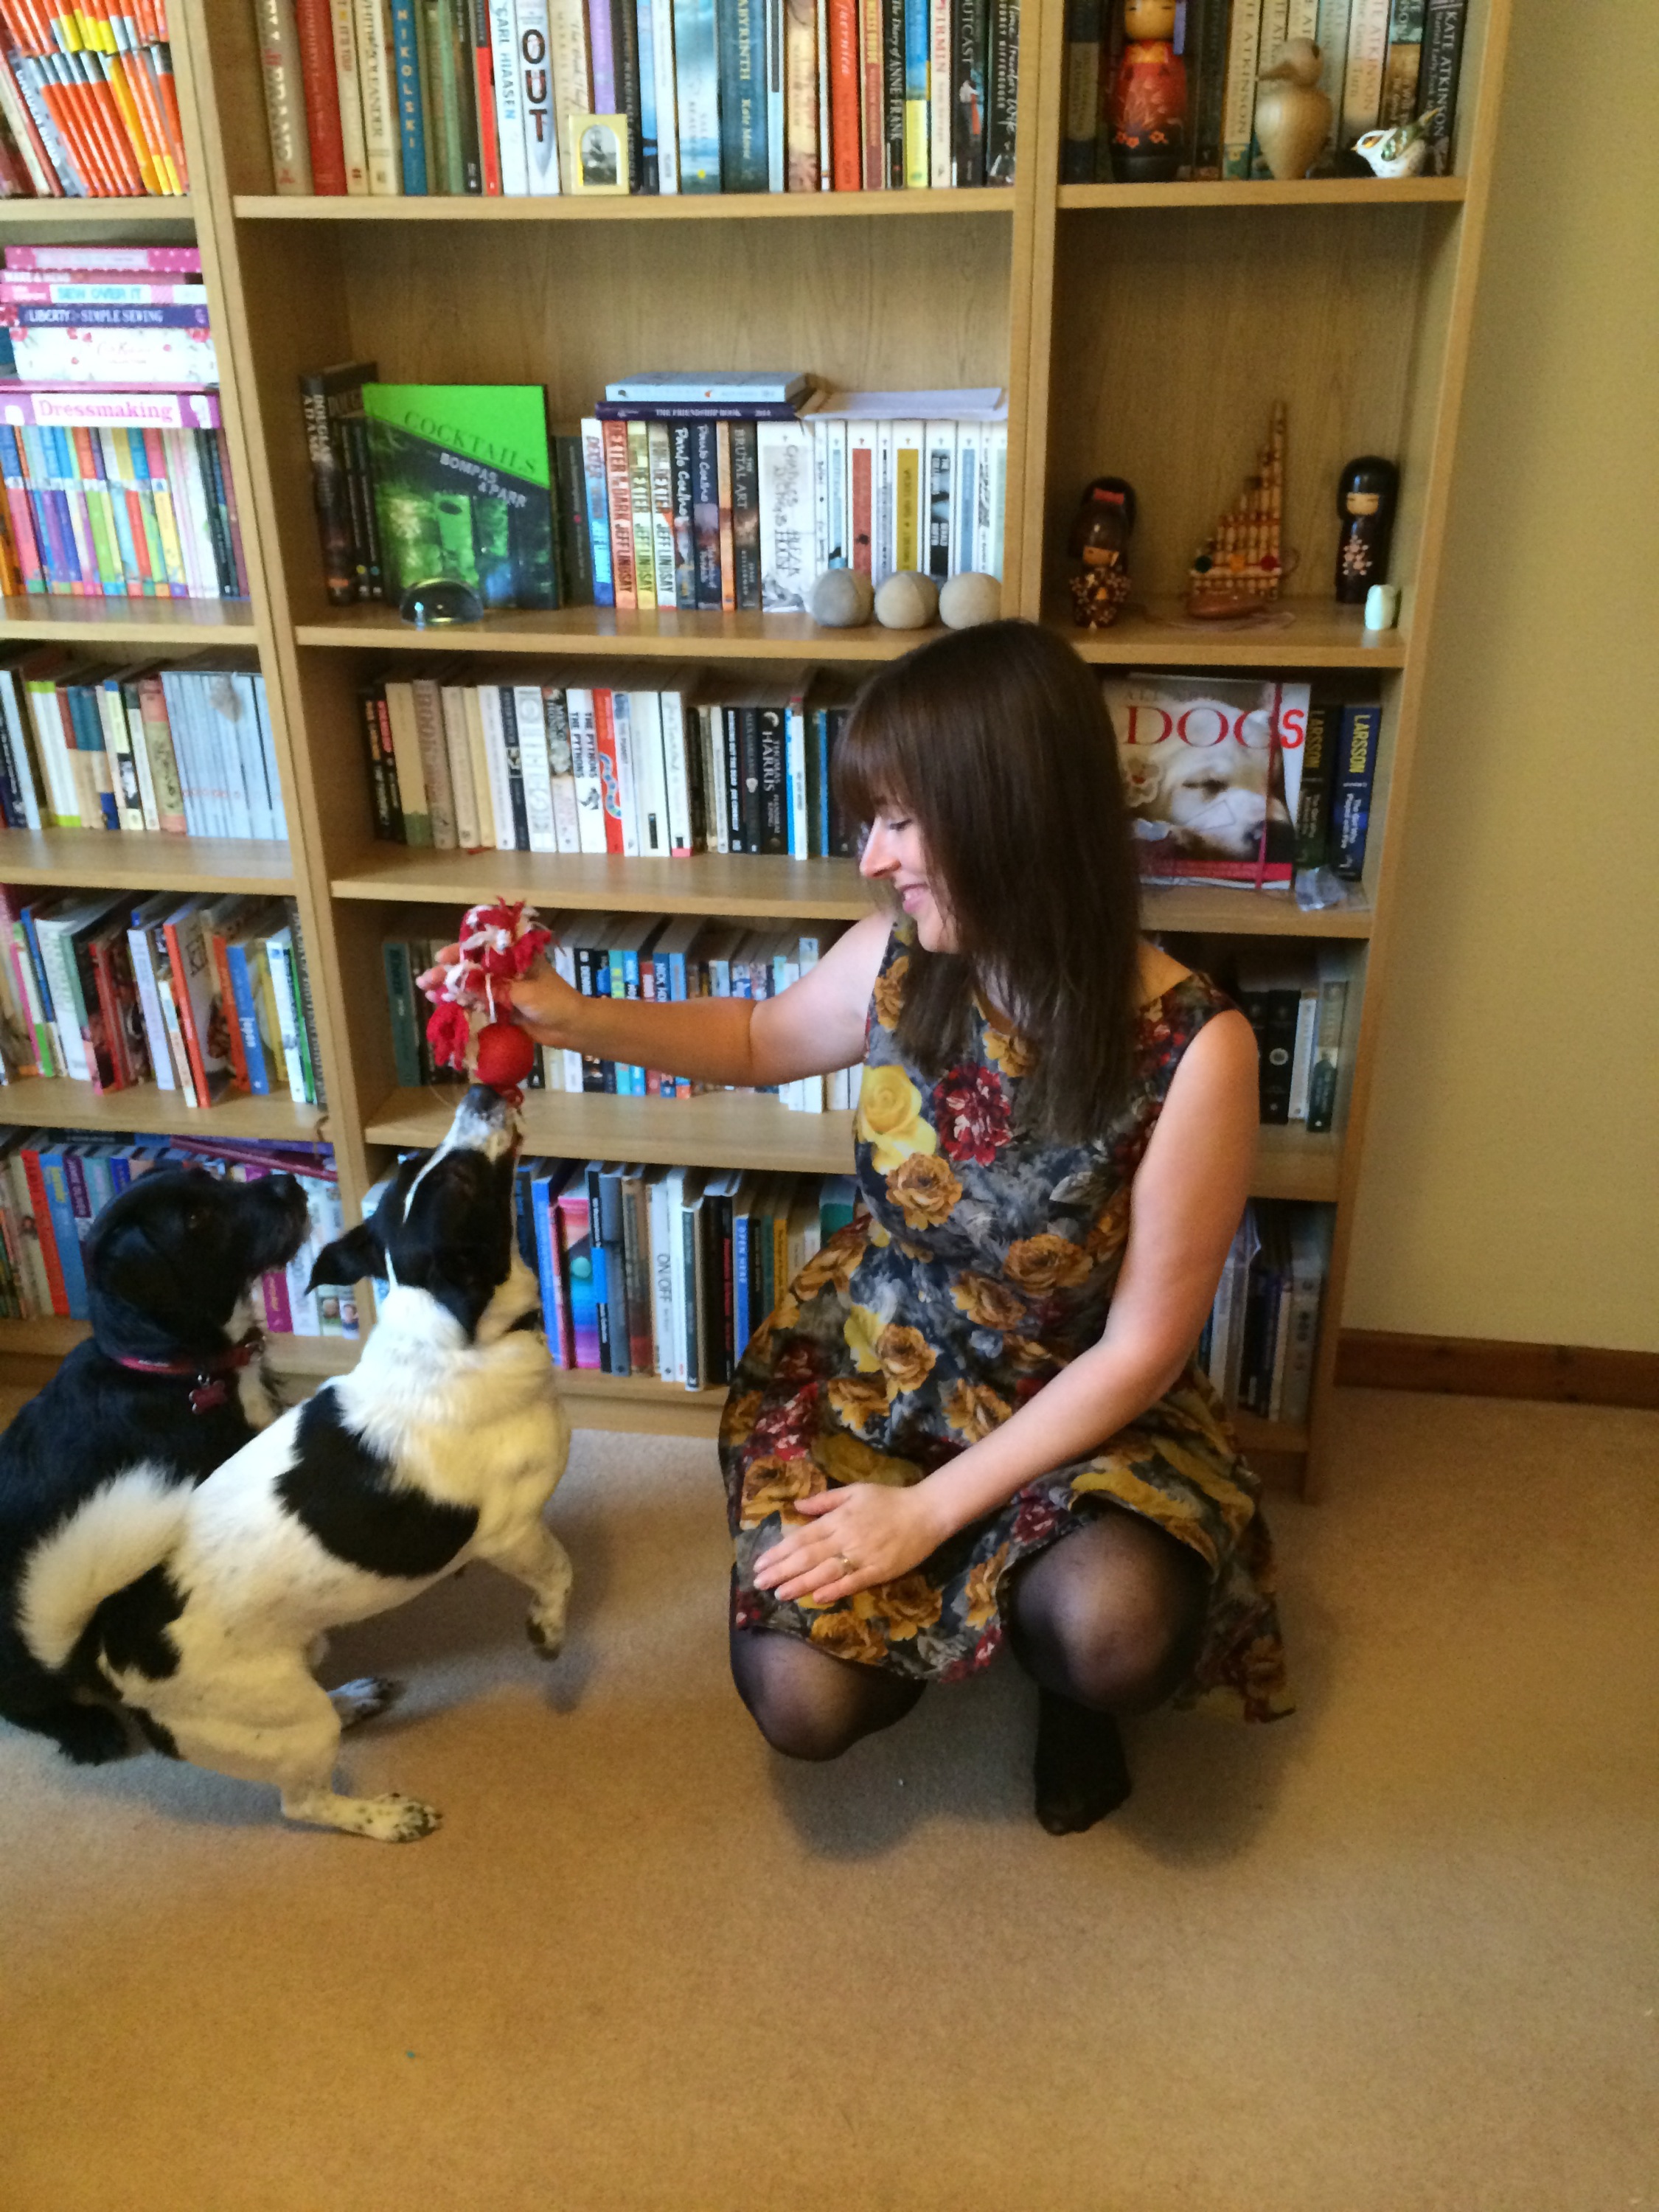
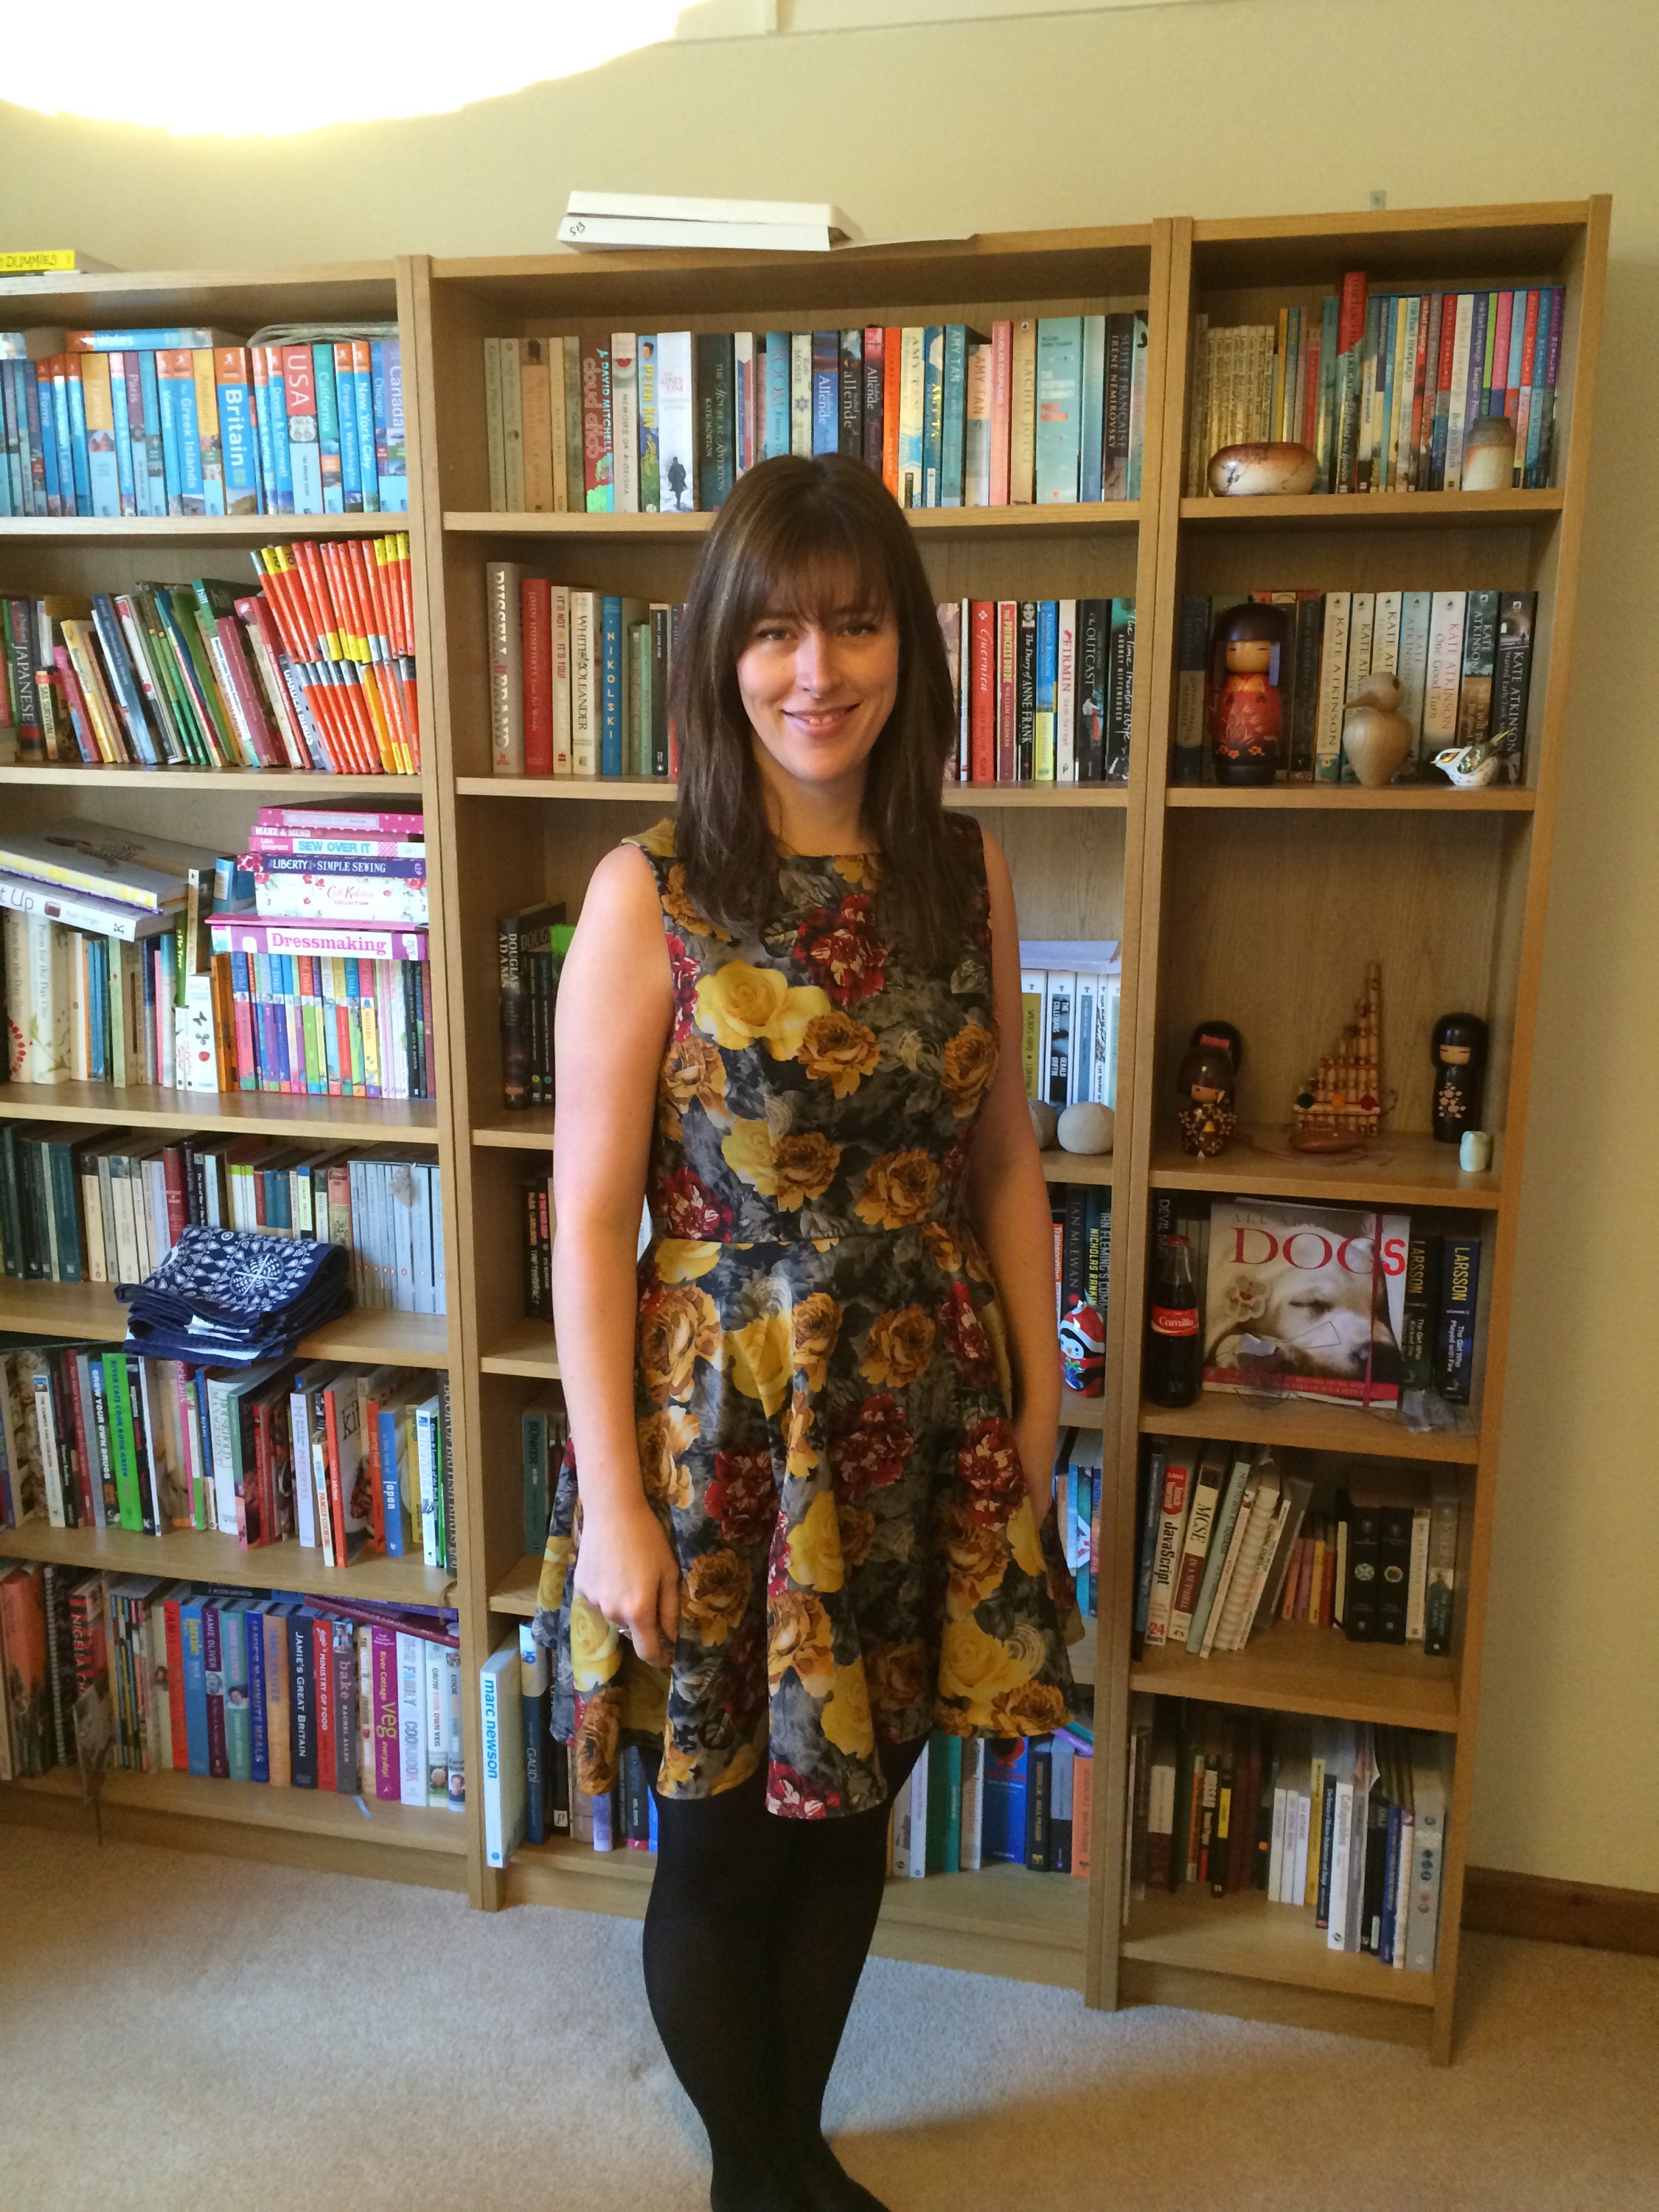
I enjoyed this make! It was simple (once I had figured out the facing thing!) and came together quickly. It fits pretty well and would be lovely for a party or evening meal, but I think the low back and the skirt length mean it’s not work appropriate. I think the finish is better, but far from perfect. I didn’t double turn the hem as I didn’t want to lose any more length. I am happy with my choice of fabric and would use this pattern again, especially if I had a special occasion in mind.

Looks great, I love he fabric it really suits you
LikeLiked by 1 person
Thank you! I really like the colour combo 🙂
LikeLike
The fabric is so beautiful! You made a lovely dress!
LikeLiked by 1 person
Thank you! I really like this fabric and it was inexpensive which was a bonus 🙂
LikeLike
Very pretty. Good job 🙂 I want to make one but I can’t justify buying the fabric and making it in winter!
LikeLiked by 1 person
Thank you 🙂 I am sure the warmer weather will be with us shortly…well in a month or two…or three! Plus it’s good to be prepared for once! 🙂
LikeLiked by 1 person
Beautiful fabric, looks great made up in this design 🙂
LikeLiked by 1 person
Thank you, yes I stumbled across the fabric on eBay and had JUST enough for this dress – it was meant to be!
LikeLiked by 1 person
Beautiful! I would think it’s perfect for work if worn with those tights and a pair of boots. Who says you can’t look gorgeous just because you’re a teacher?!
LikeLiked by 1 person
Thank you 🙂 I would mainly like to wear it to show it off as it’s one of my favourite makes so far. Maybe with tights & a cardi 🙂
LikeLiked by 1 person
Yet again, I am very jealous! I love this fabric…and I think it would be fine for school too! We need a picture of the back though!
LikeLiked by 1 person
Lovely fabric, it looks great!
LikeLiked by 1 person