

At Easter I took my sewing machine on holiday, and not for the first time. The impracticality of this couple with the wish to expand my repertoire of making, led me to making an enquiry over a shop counter. It was a small shop in Seahouses, with an eclectic range of stock. I left with a bag that carried a Mollie Makes book, a ball of lemon wool and a crochet hook.
Back at the cottage I poured over the illustrations of techniques featured in the book, trying to understand the differences between American and British crochet. I consulted YouTube and found a couple of tutorials that helped me work out how to cast on and do a basic stitch. I managed to produce a selection of tiny squares, rectangles, triangles and other non-descript shakes, as I practised reducing my tension so the wool could move up and down the hook with ease. Since returning home, however, my crochet hook and a few other balls of wool I bought, have been safely stored in a cupboard. Instead I returned to the familiarity of my sewing machine whilst I wait for a suitable course to come up so I can develop my very limited crochet skills.
On the return journey from Northumberland, I was lucky enough to engineer a stop off at Chester-Le-Street, specifically so I could pay Goldstitch a visit. I wanted to look at fabric for an entirely new, to me, kind of project – quilting. I wanted to make a gift for someone at work, about to go off on maternity leave, plus for a friend I knew was expecting a boy in the near future.
Jean in the shop patiently assisted me in gathering together fabrics for the makes, and I left armed with a heap of Art Gallery, alongside a couple of solids to match.
Cutting out the squares took a lot more precision, time and patience than I expected, and this felt like the most tedious part of the make.
 I wasn’t really following a pattern and had arbitrarily chosen the size of my squares, so I just laid them out in rows until I was happy that no two of the same pattern was side by side, and the colours were sufficiently dispersed.
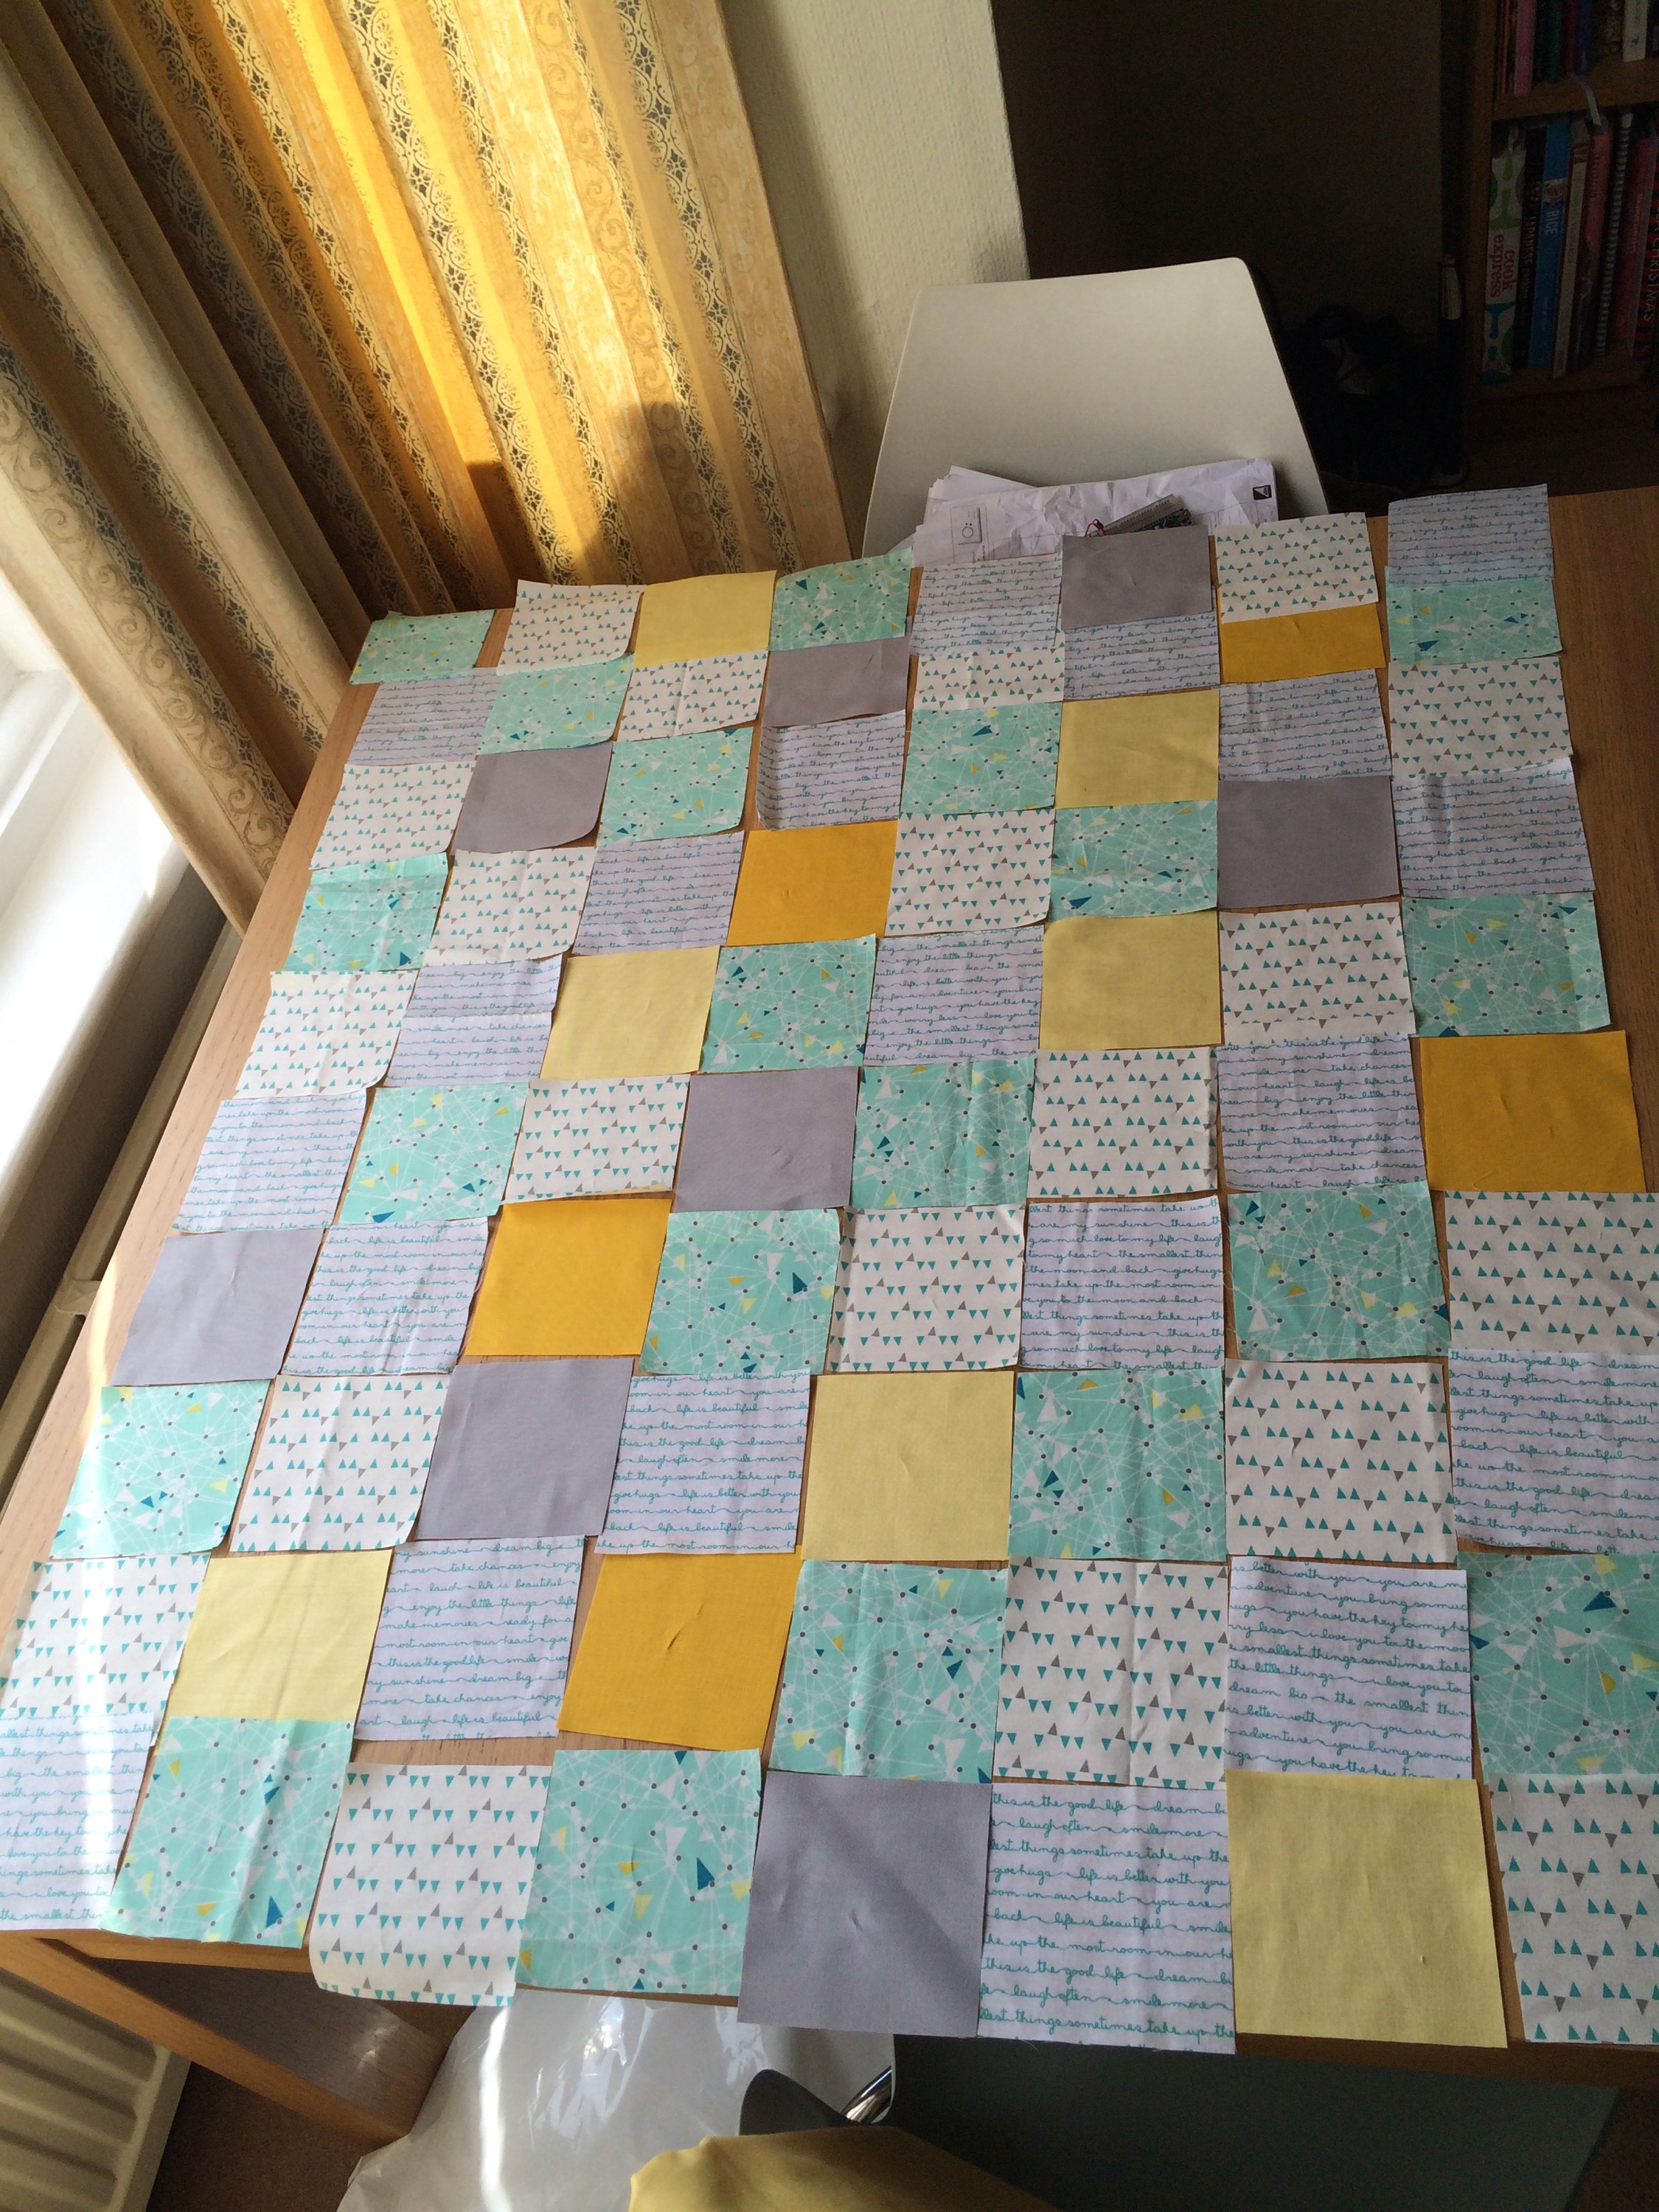 At first I chose an 8×10 square size, but as soon as I started to stitch the squares together I realised how much of this size would be lost through seam allowances, so I added on another two rows each way, making it 10×12 squares. I think the squares were 10cm, which I would almost definitely increase next time.
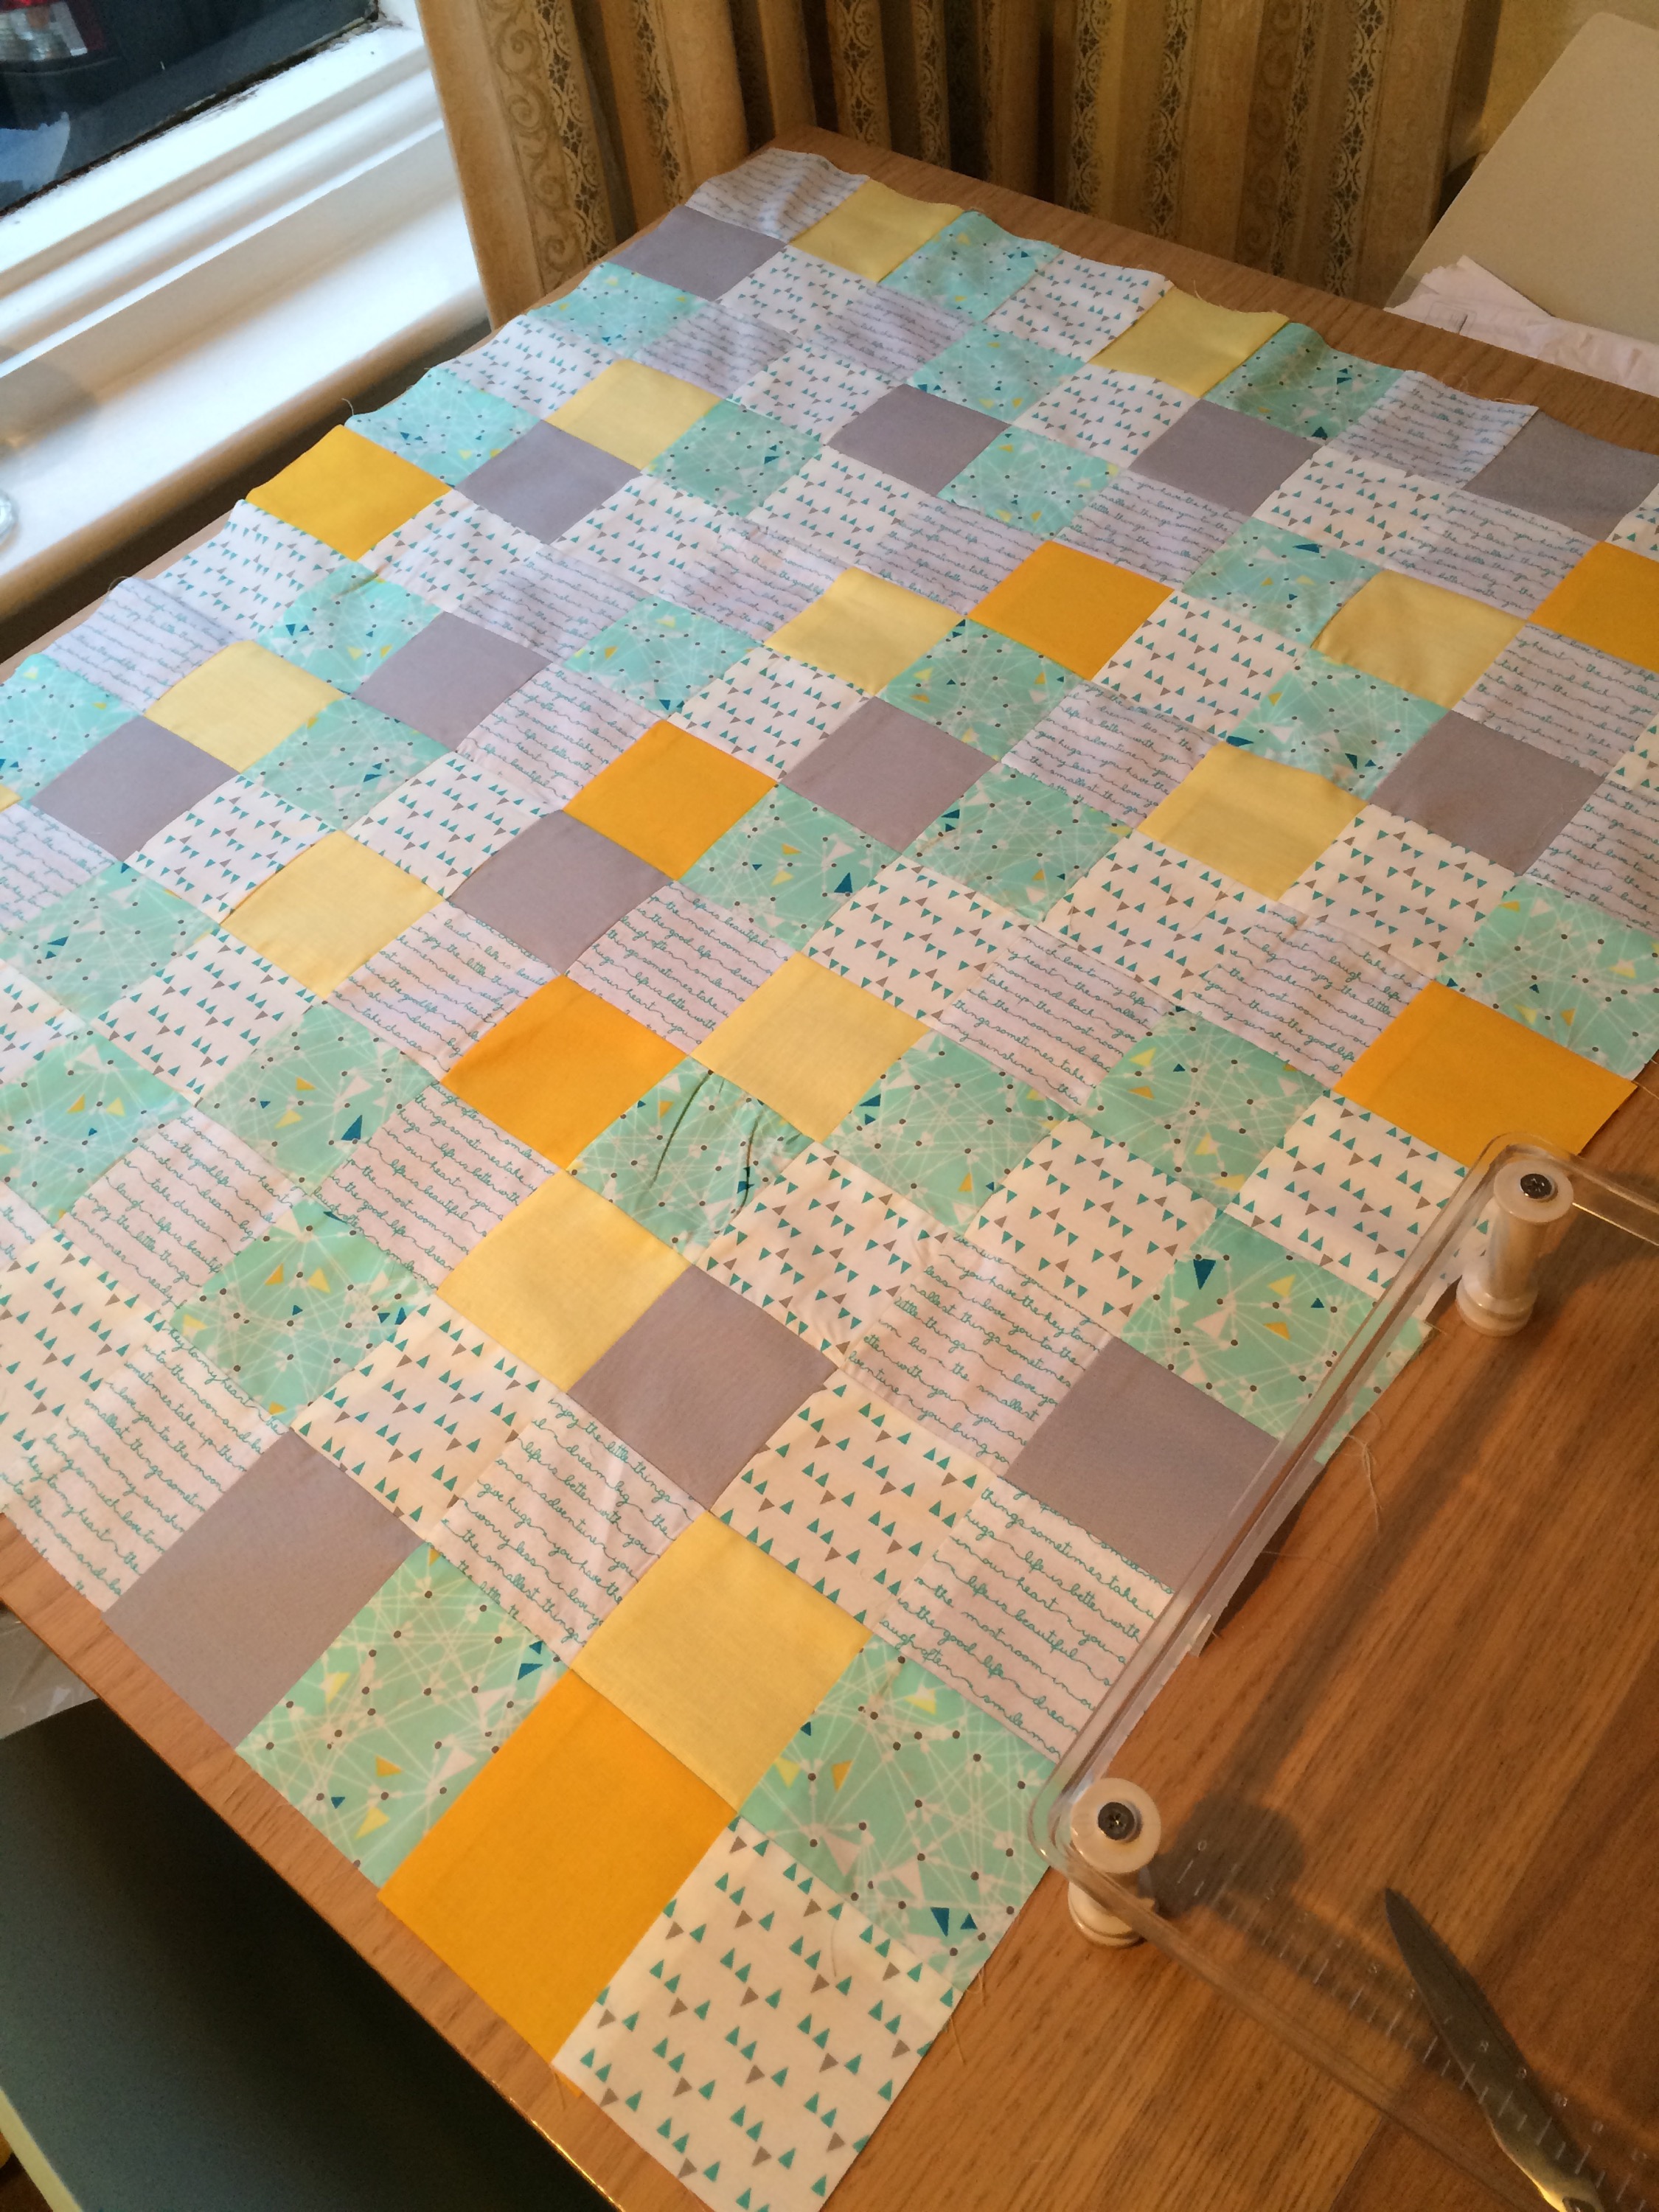
 I stitched squares into rows and just used the foot as seam allowance – which I reduced on the second quilt. Once I’d created the twelve rows, I pressed the seams all in the same direction – as advised by this tutorial. I then pinned and stitched the rows. The project really seemed to pick up speed at this point.
 Once the front of my quilt was stitched, I laid it on top of the pale lemon cotton I had bought enough of to use as backing. Instead of careful measuring and marking out, I just cut around it. I did the same with the wadding. I then returned to the tutorial and basically followed the steps to completion.
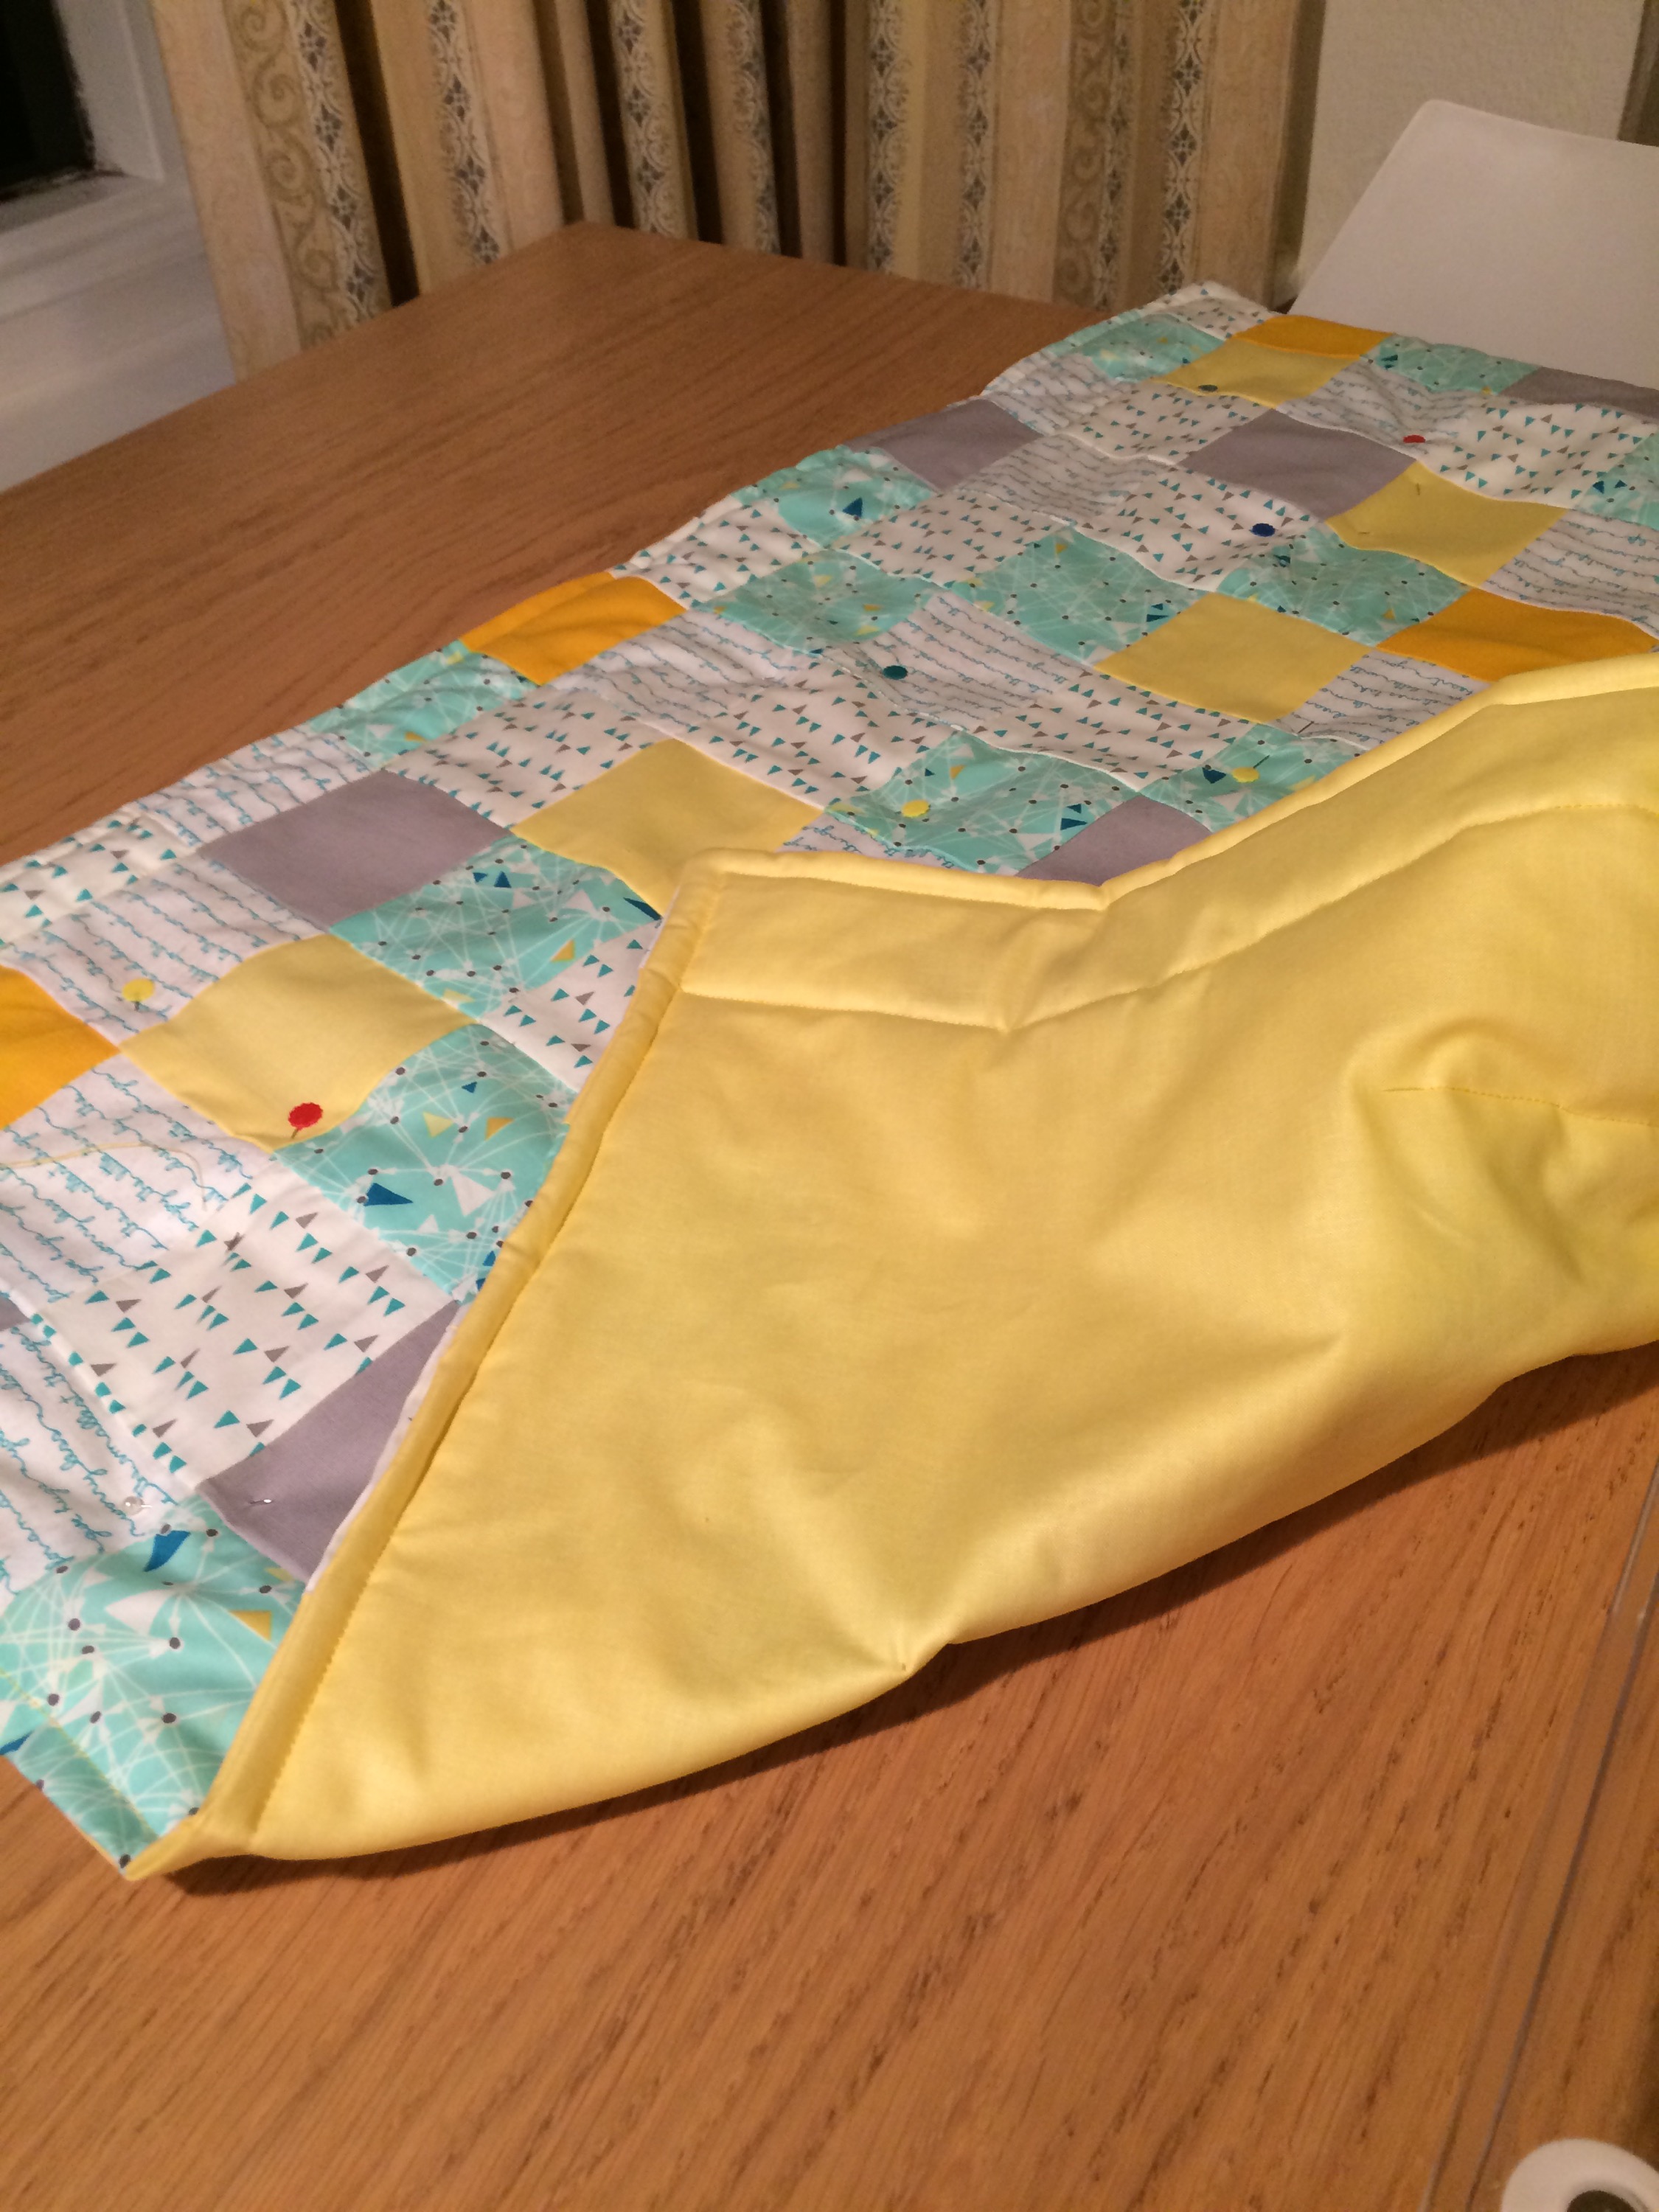
 Had I not consulted a tutorial, I would not have realised how essential it was to pin the quilt to the wadding, from the middle outwards, so that the wadding didn’t move. Even with pinning, it did move a little.
I knew I didn’t want to bind the edges so turning the quilt right side out and top stitching suited me perfectly. I then topstiched over all of the seams. This was very simple but seemed to take forever – probably as I was desperate to see the finished make!
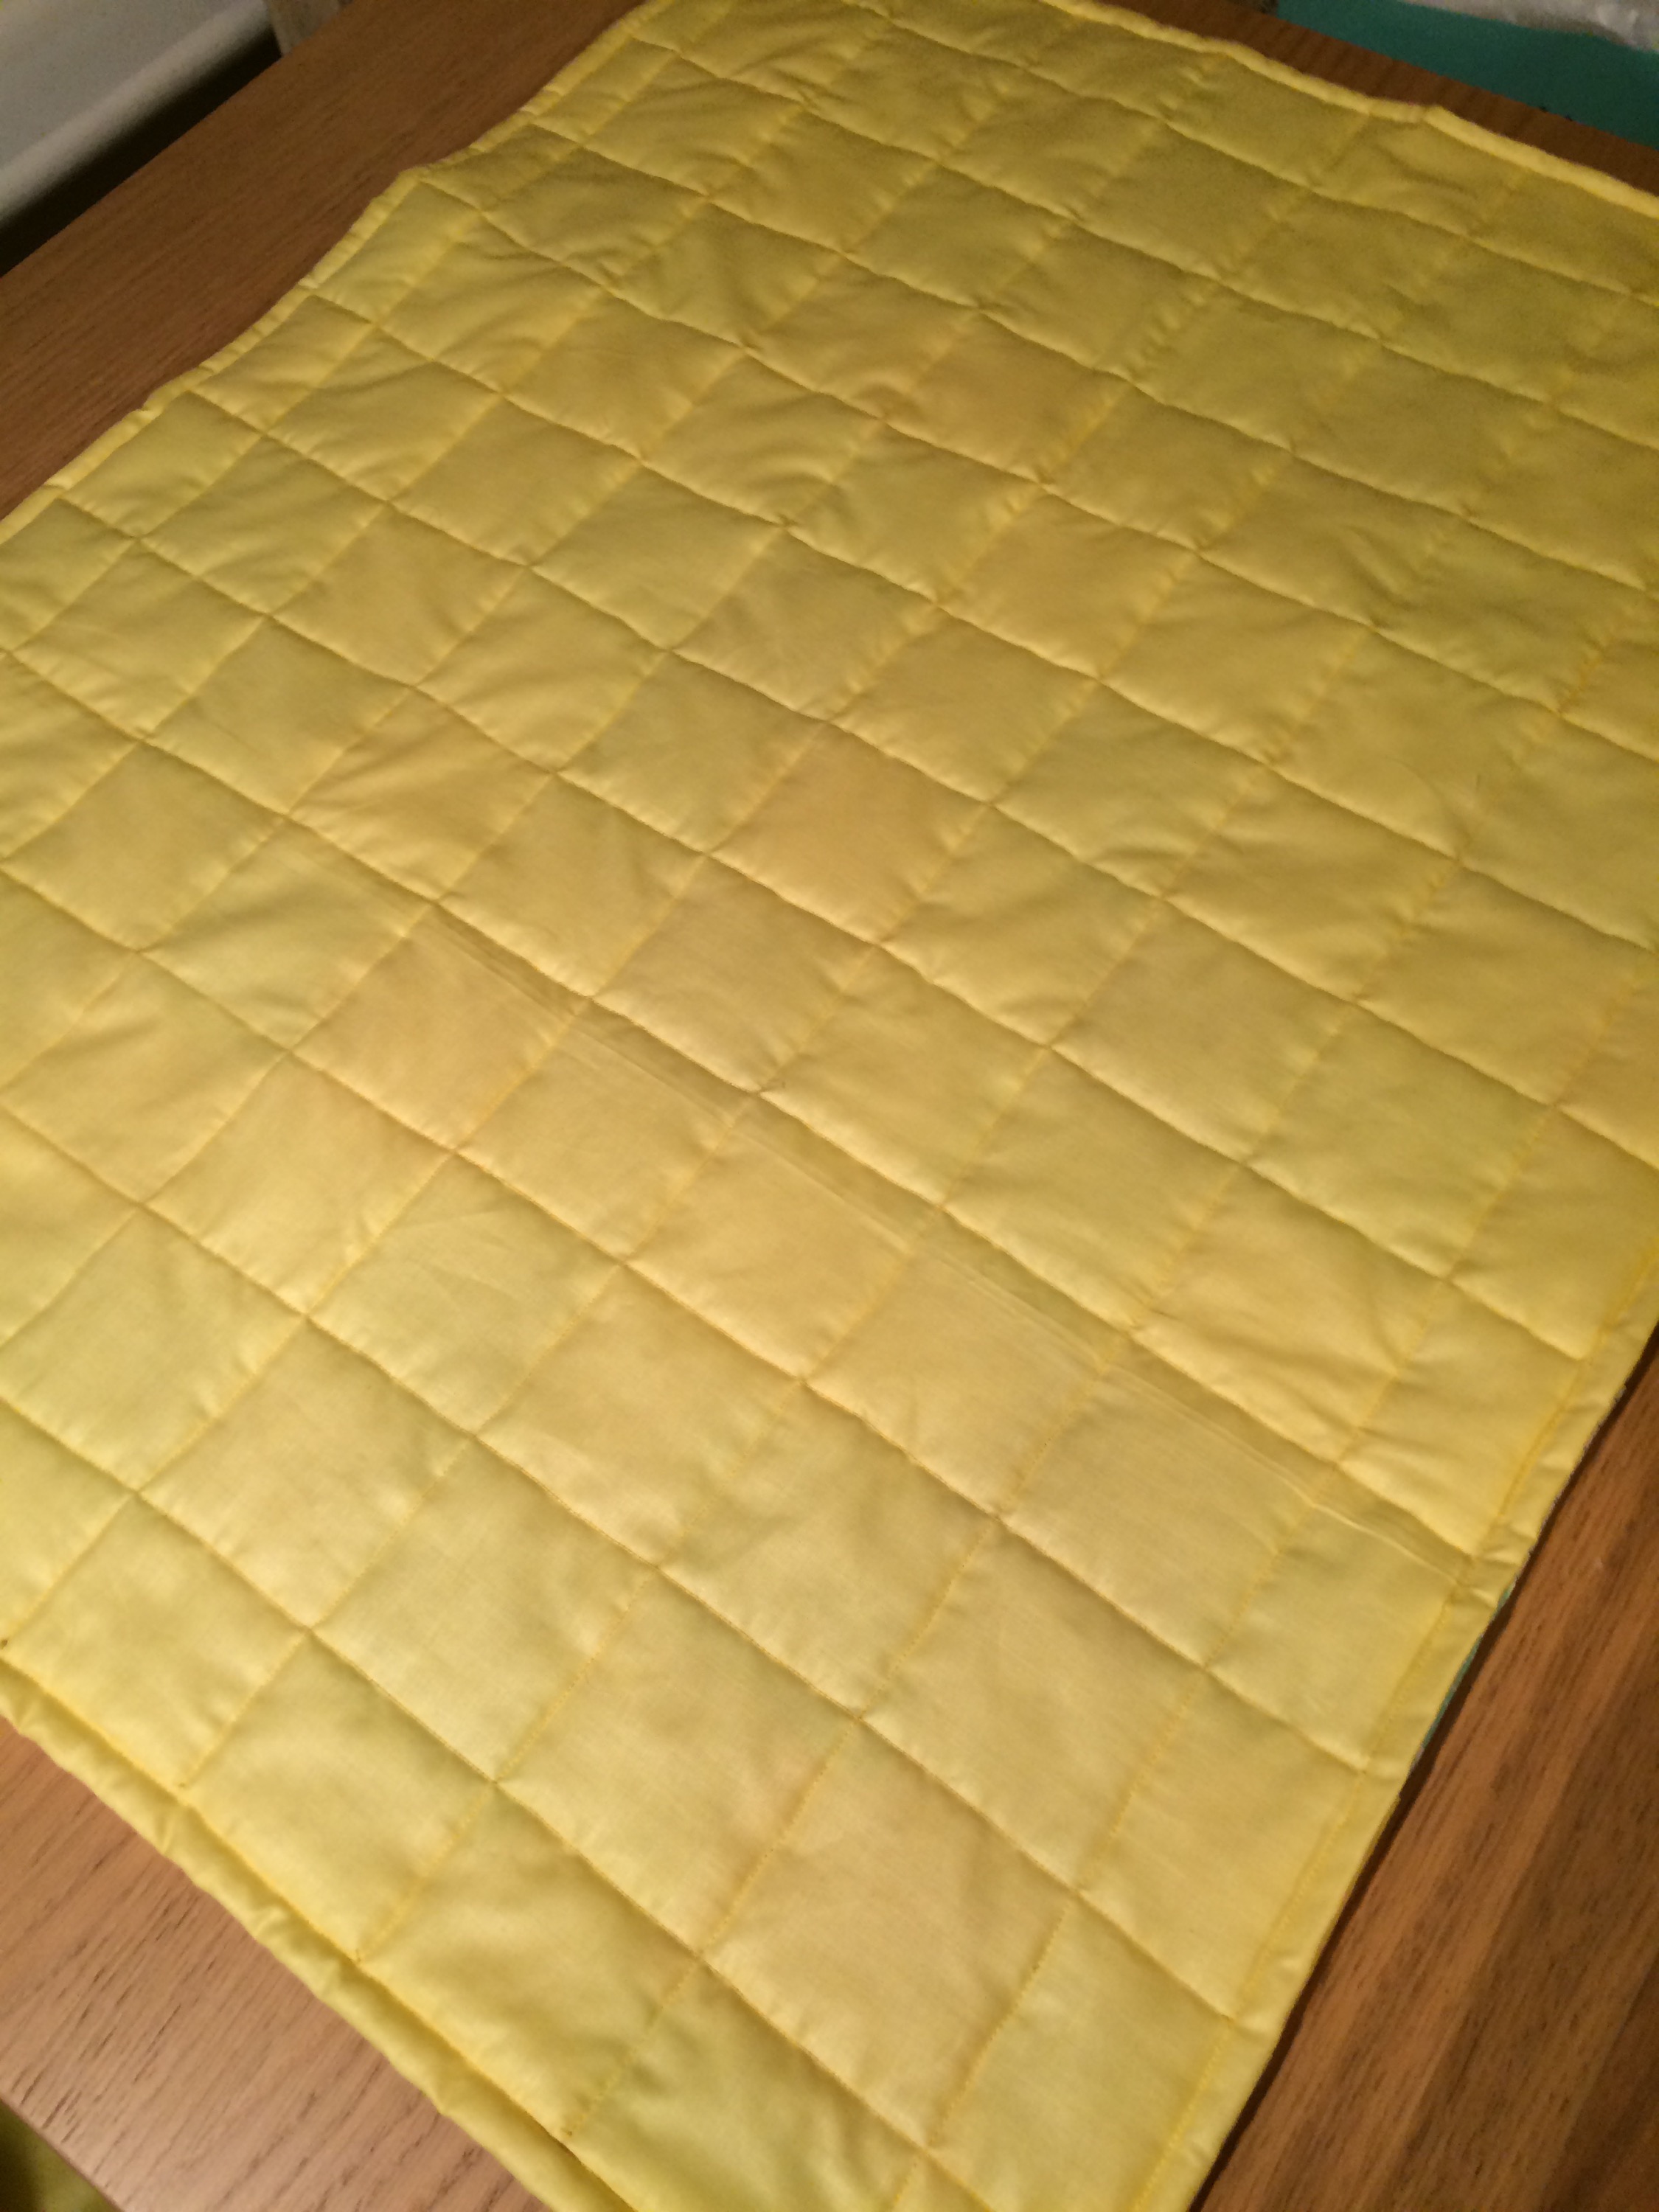 And all of a sudden, it was done! It wasn’t perfect, I’d learnt a few things for if not next time, the next time I begin a quilting project. I was pleased to have made a handmade gift, as that’s something I don’t think I do enough of.
 A day or two later, I embarked upon my second quilt, using all of the same fabrics although with a larger quantity of prints due to the amount I had left as ready cut squares.
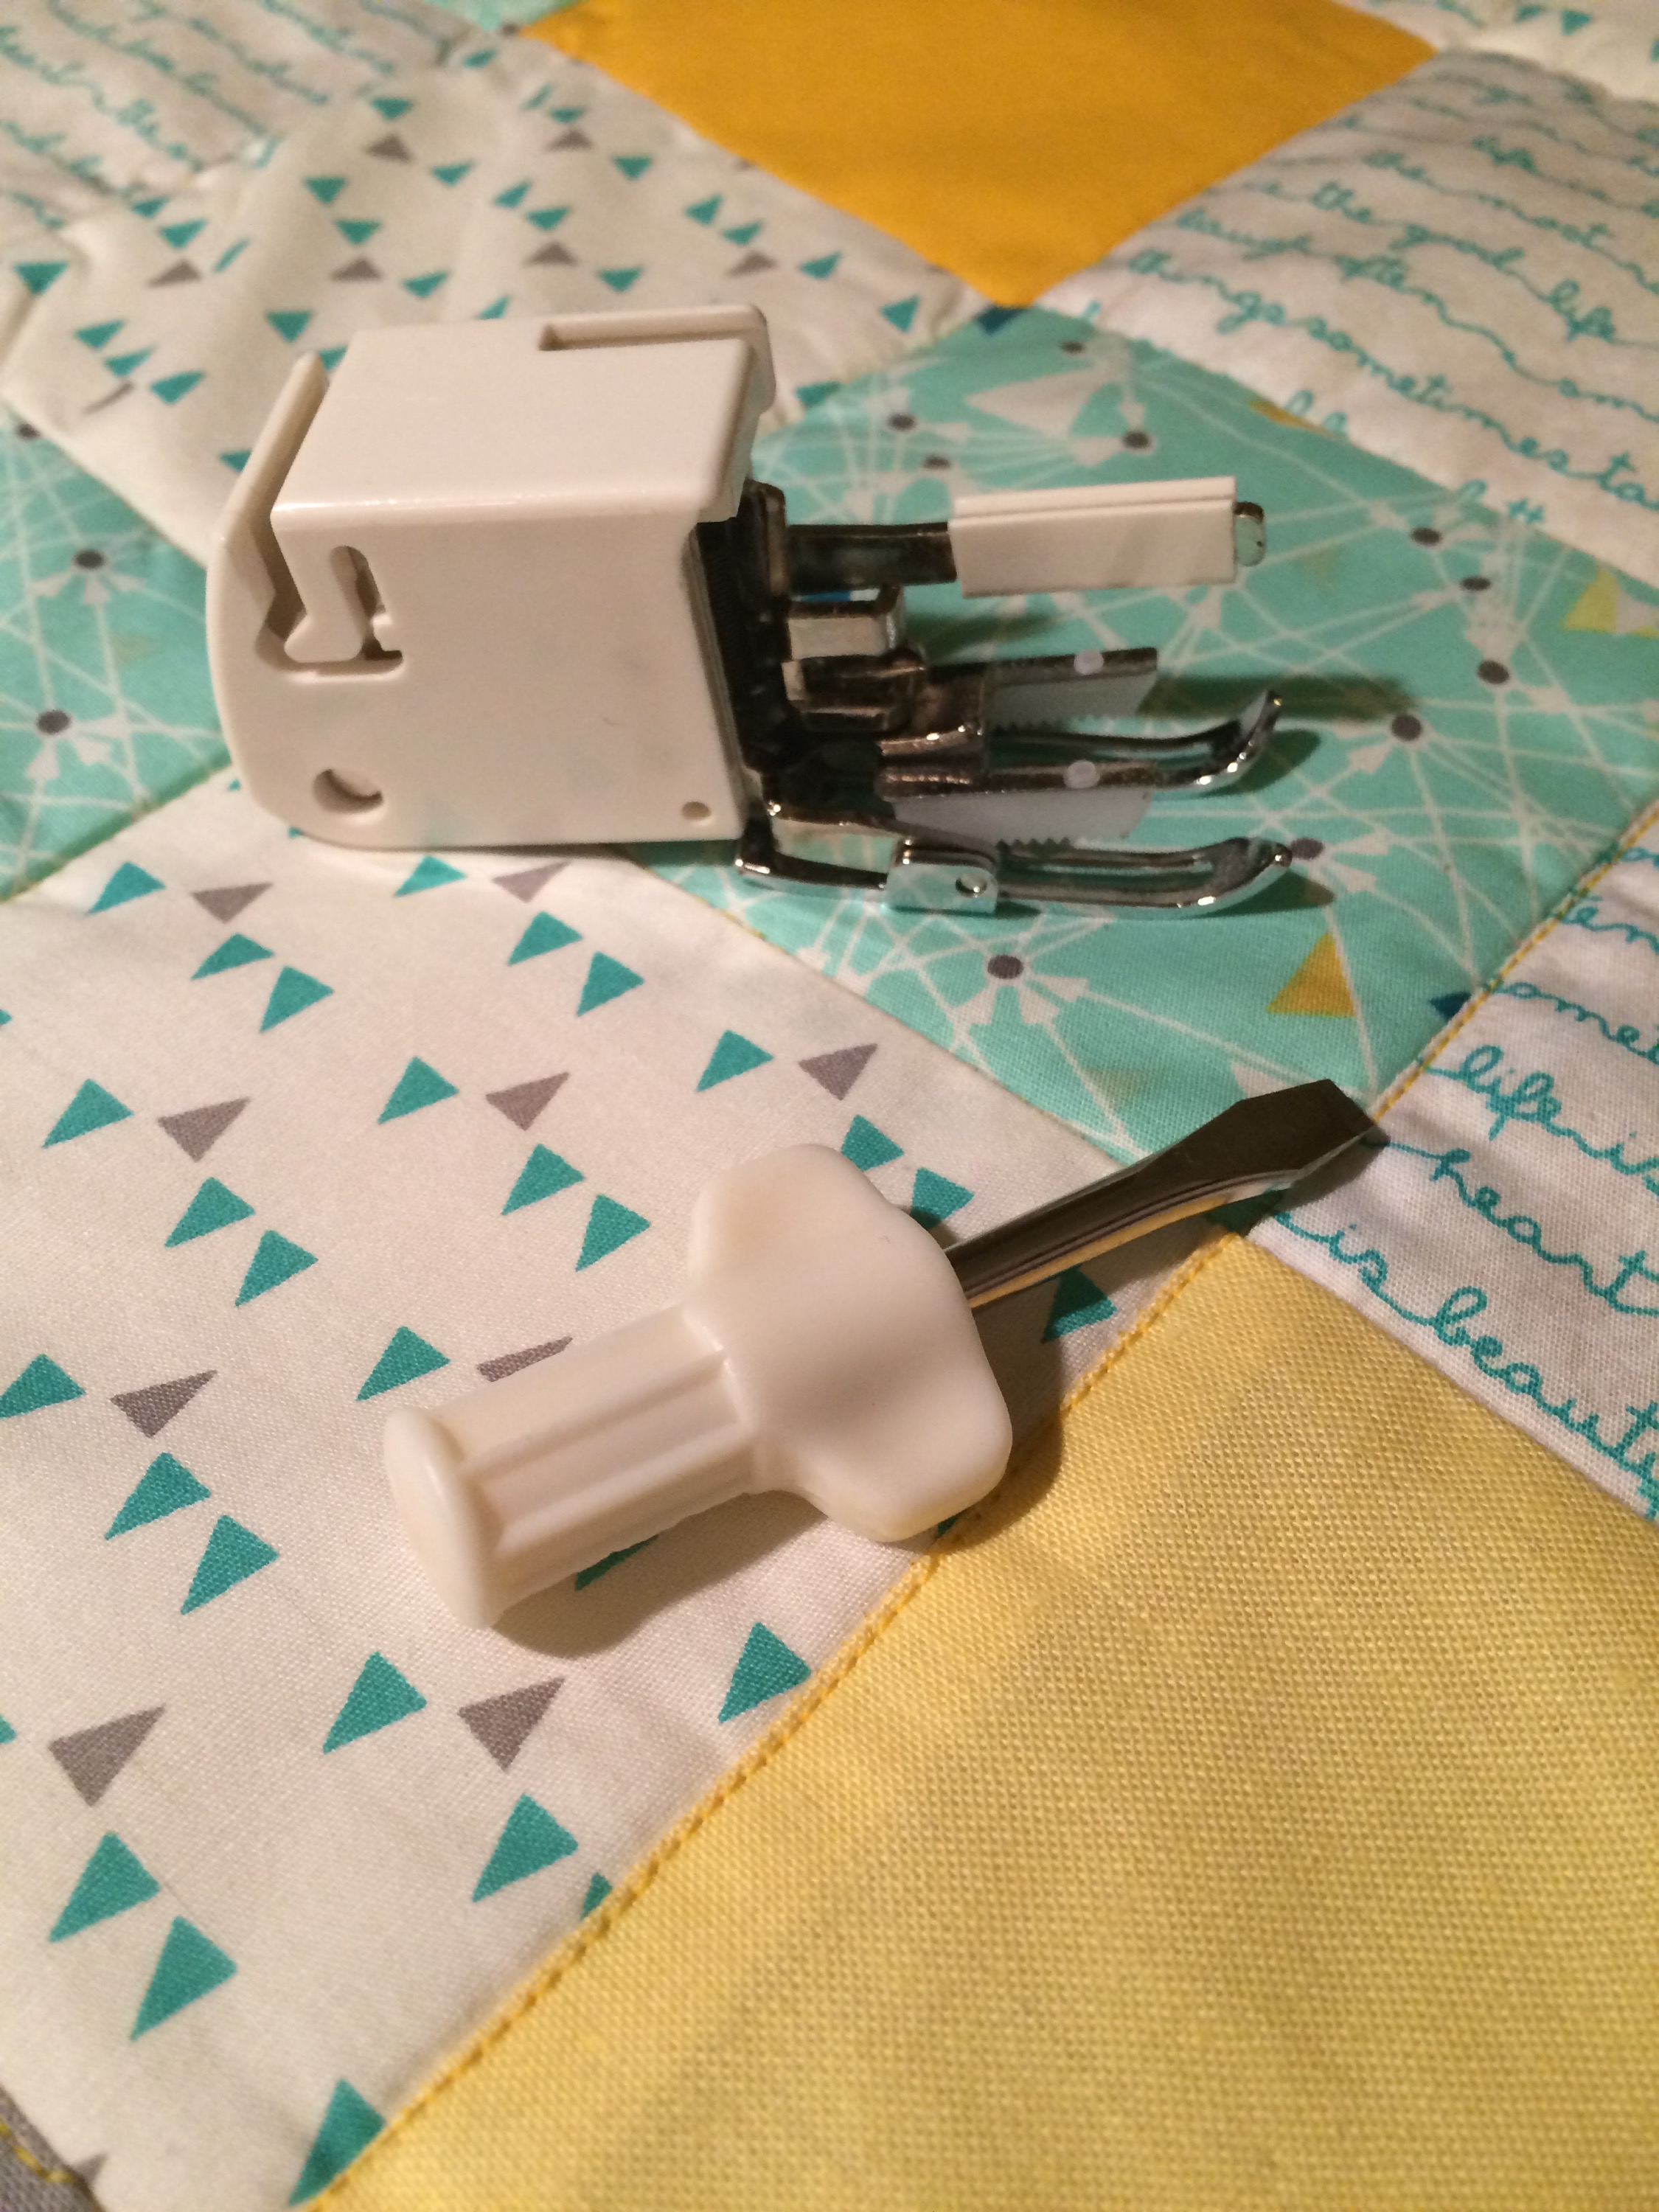
 This time I confidently attached my extending table and walking foot – without even re-watching the YouTube tutorial I had needed last time.
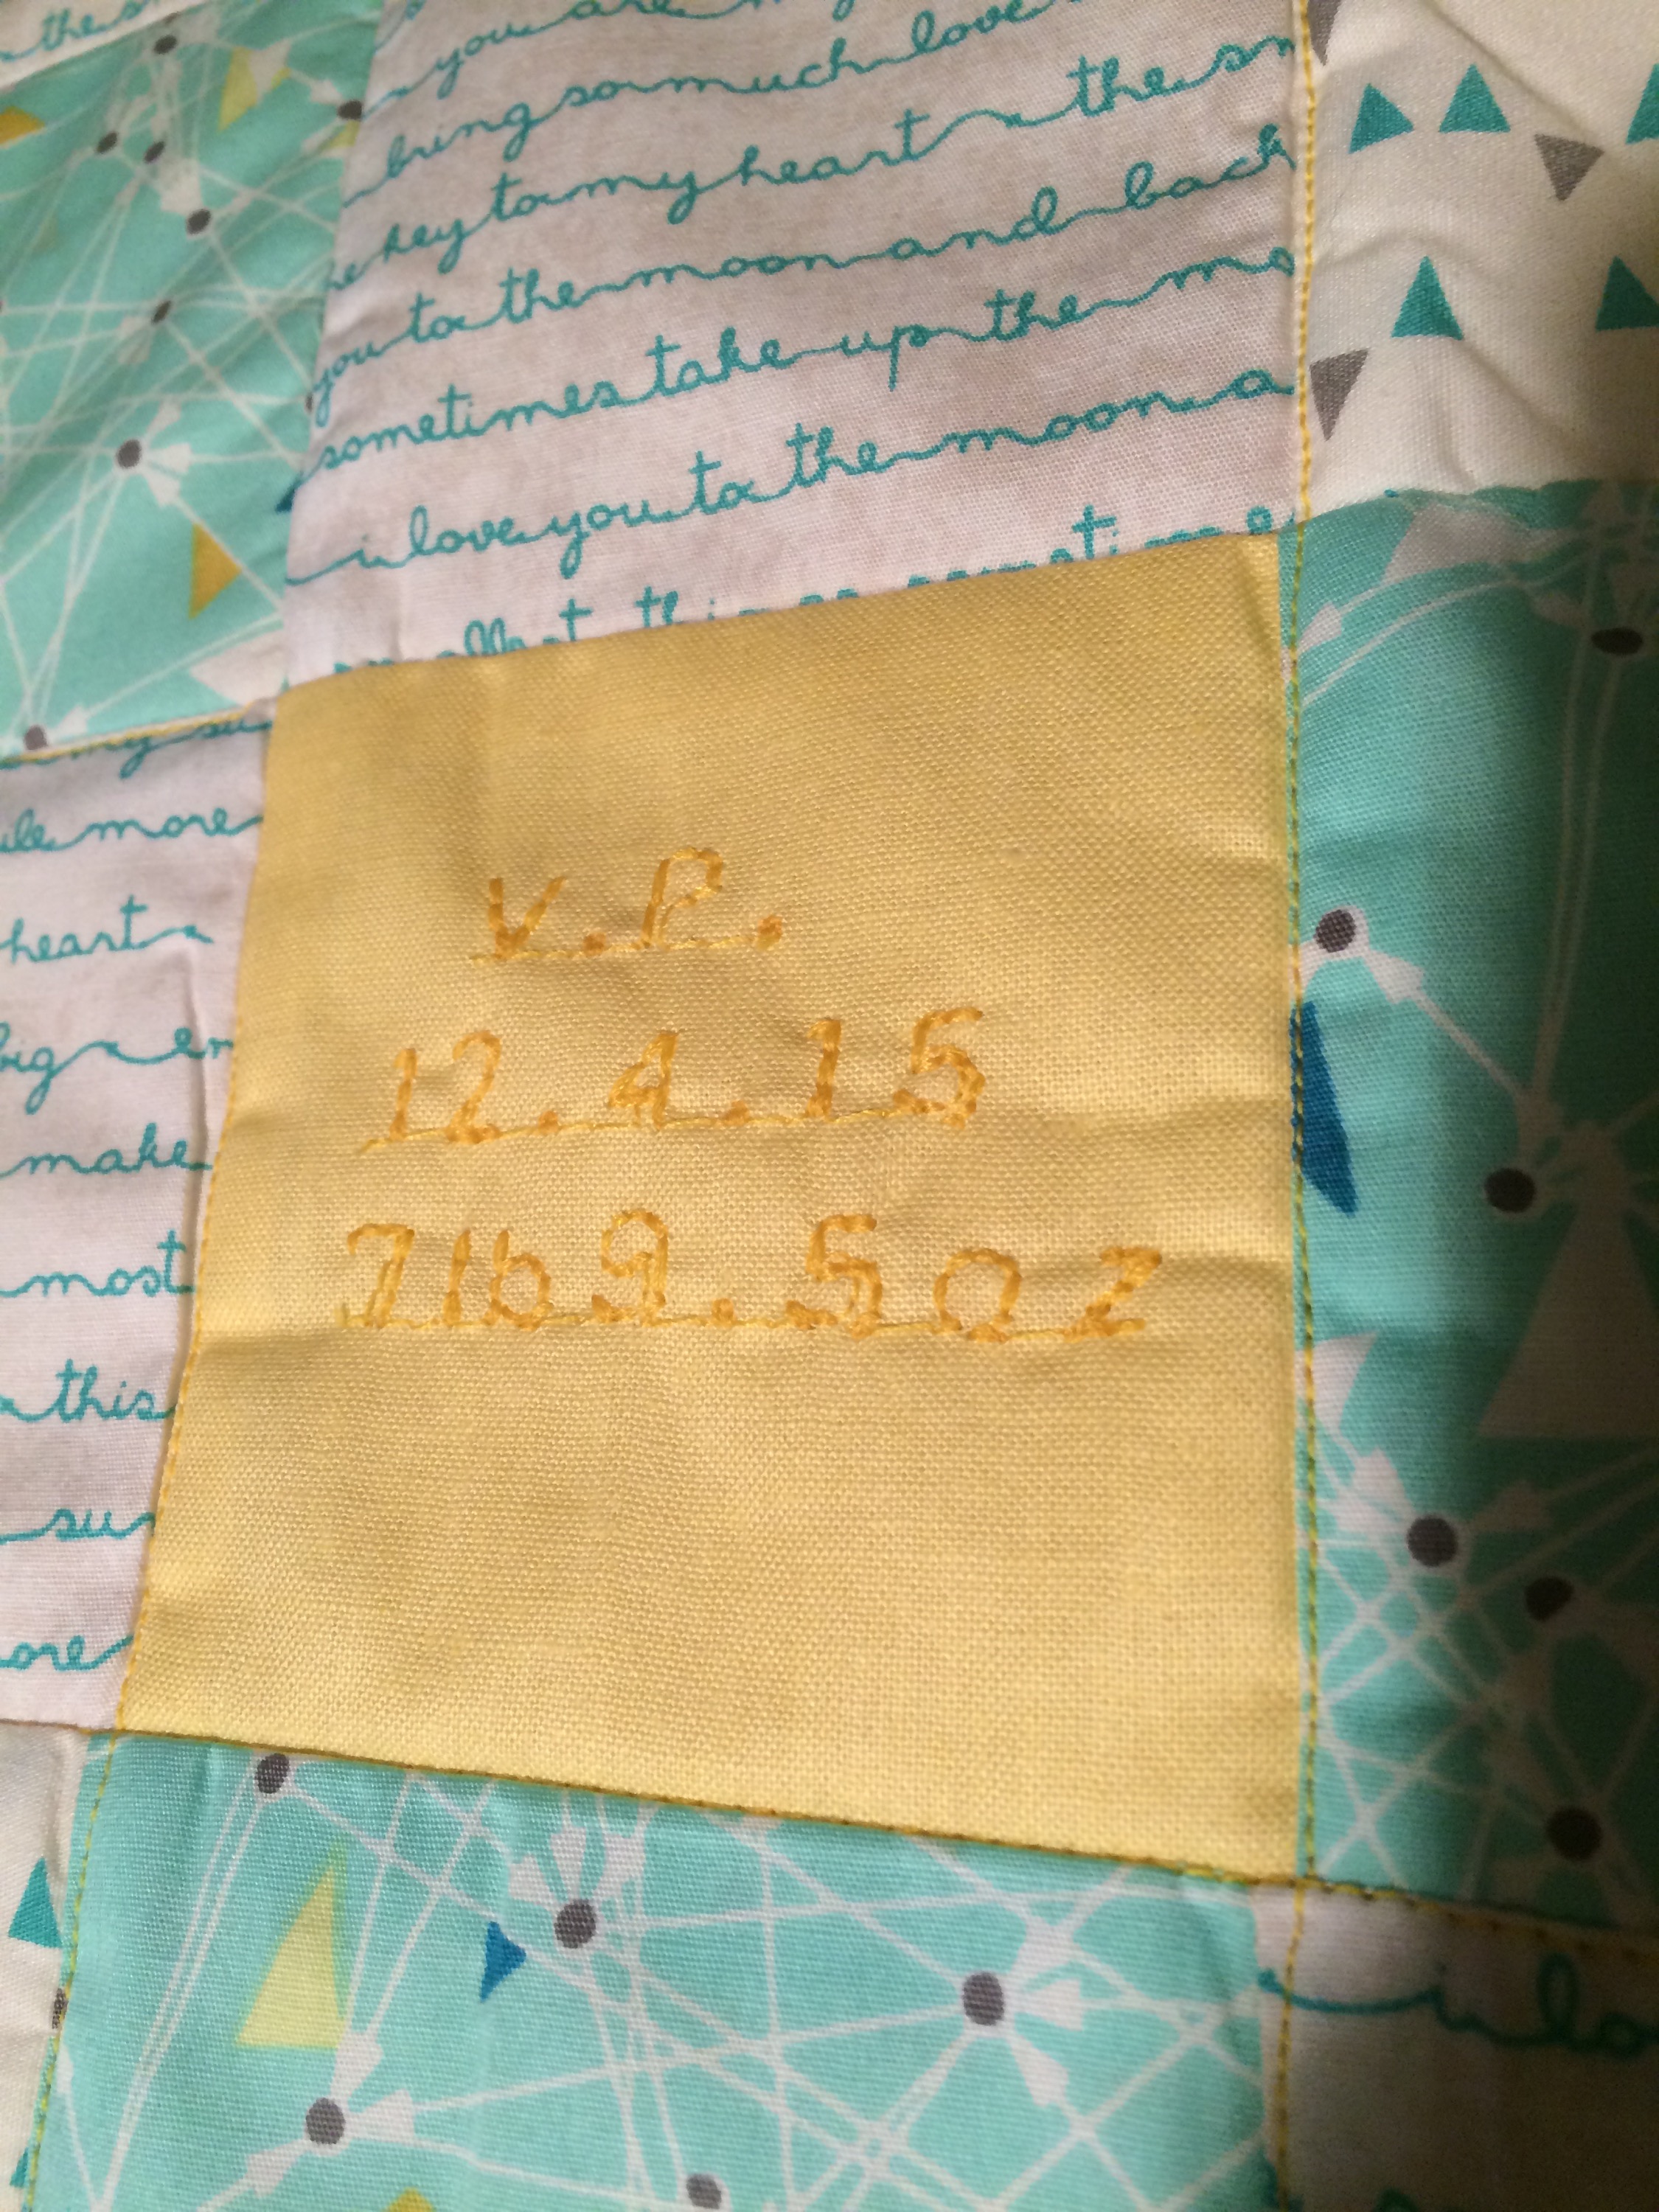
 Straight away I went for the 10×12 size quilt and smaller seam allowances. It all came together quickly with one alteration from last time. Because this baby had now been born, I was able to use my machine to personalise one of the squares.
 Again, for an unidentified reason, one or two of rows didn’t quite line up, resulting in a wiggle that I could still detect after some unpicking and finally pressing. In the end, I hoped that the untrained eye might not focus on that part quite as much as me.
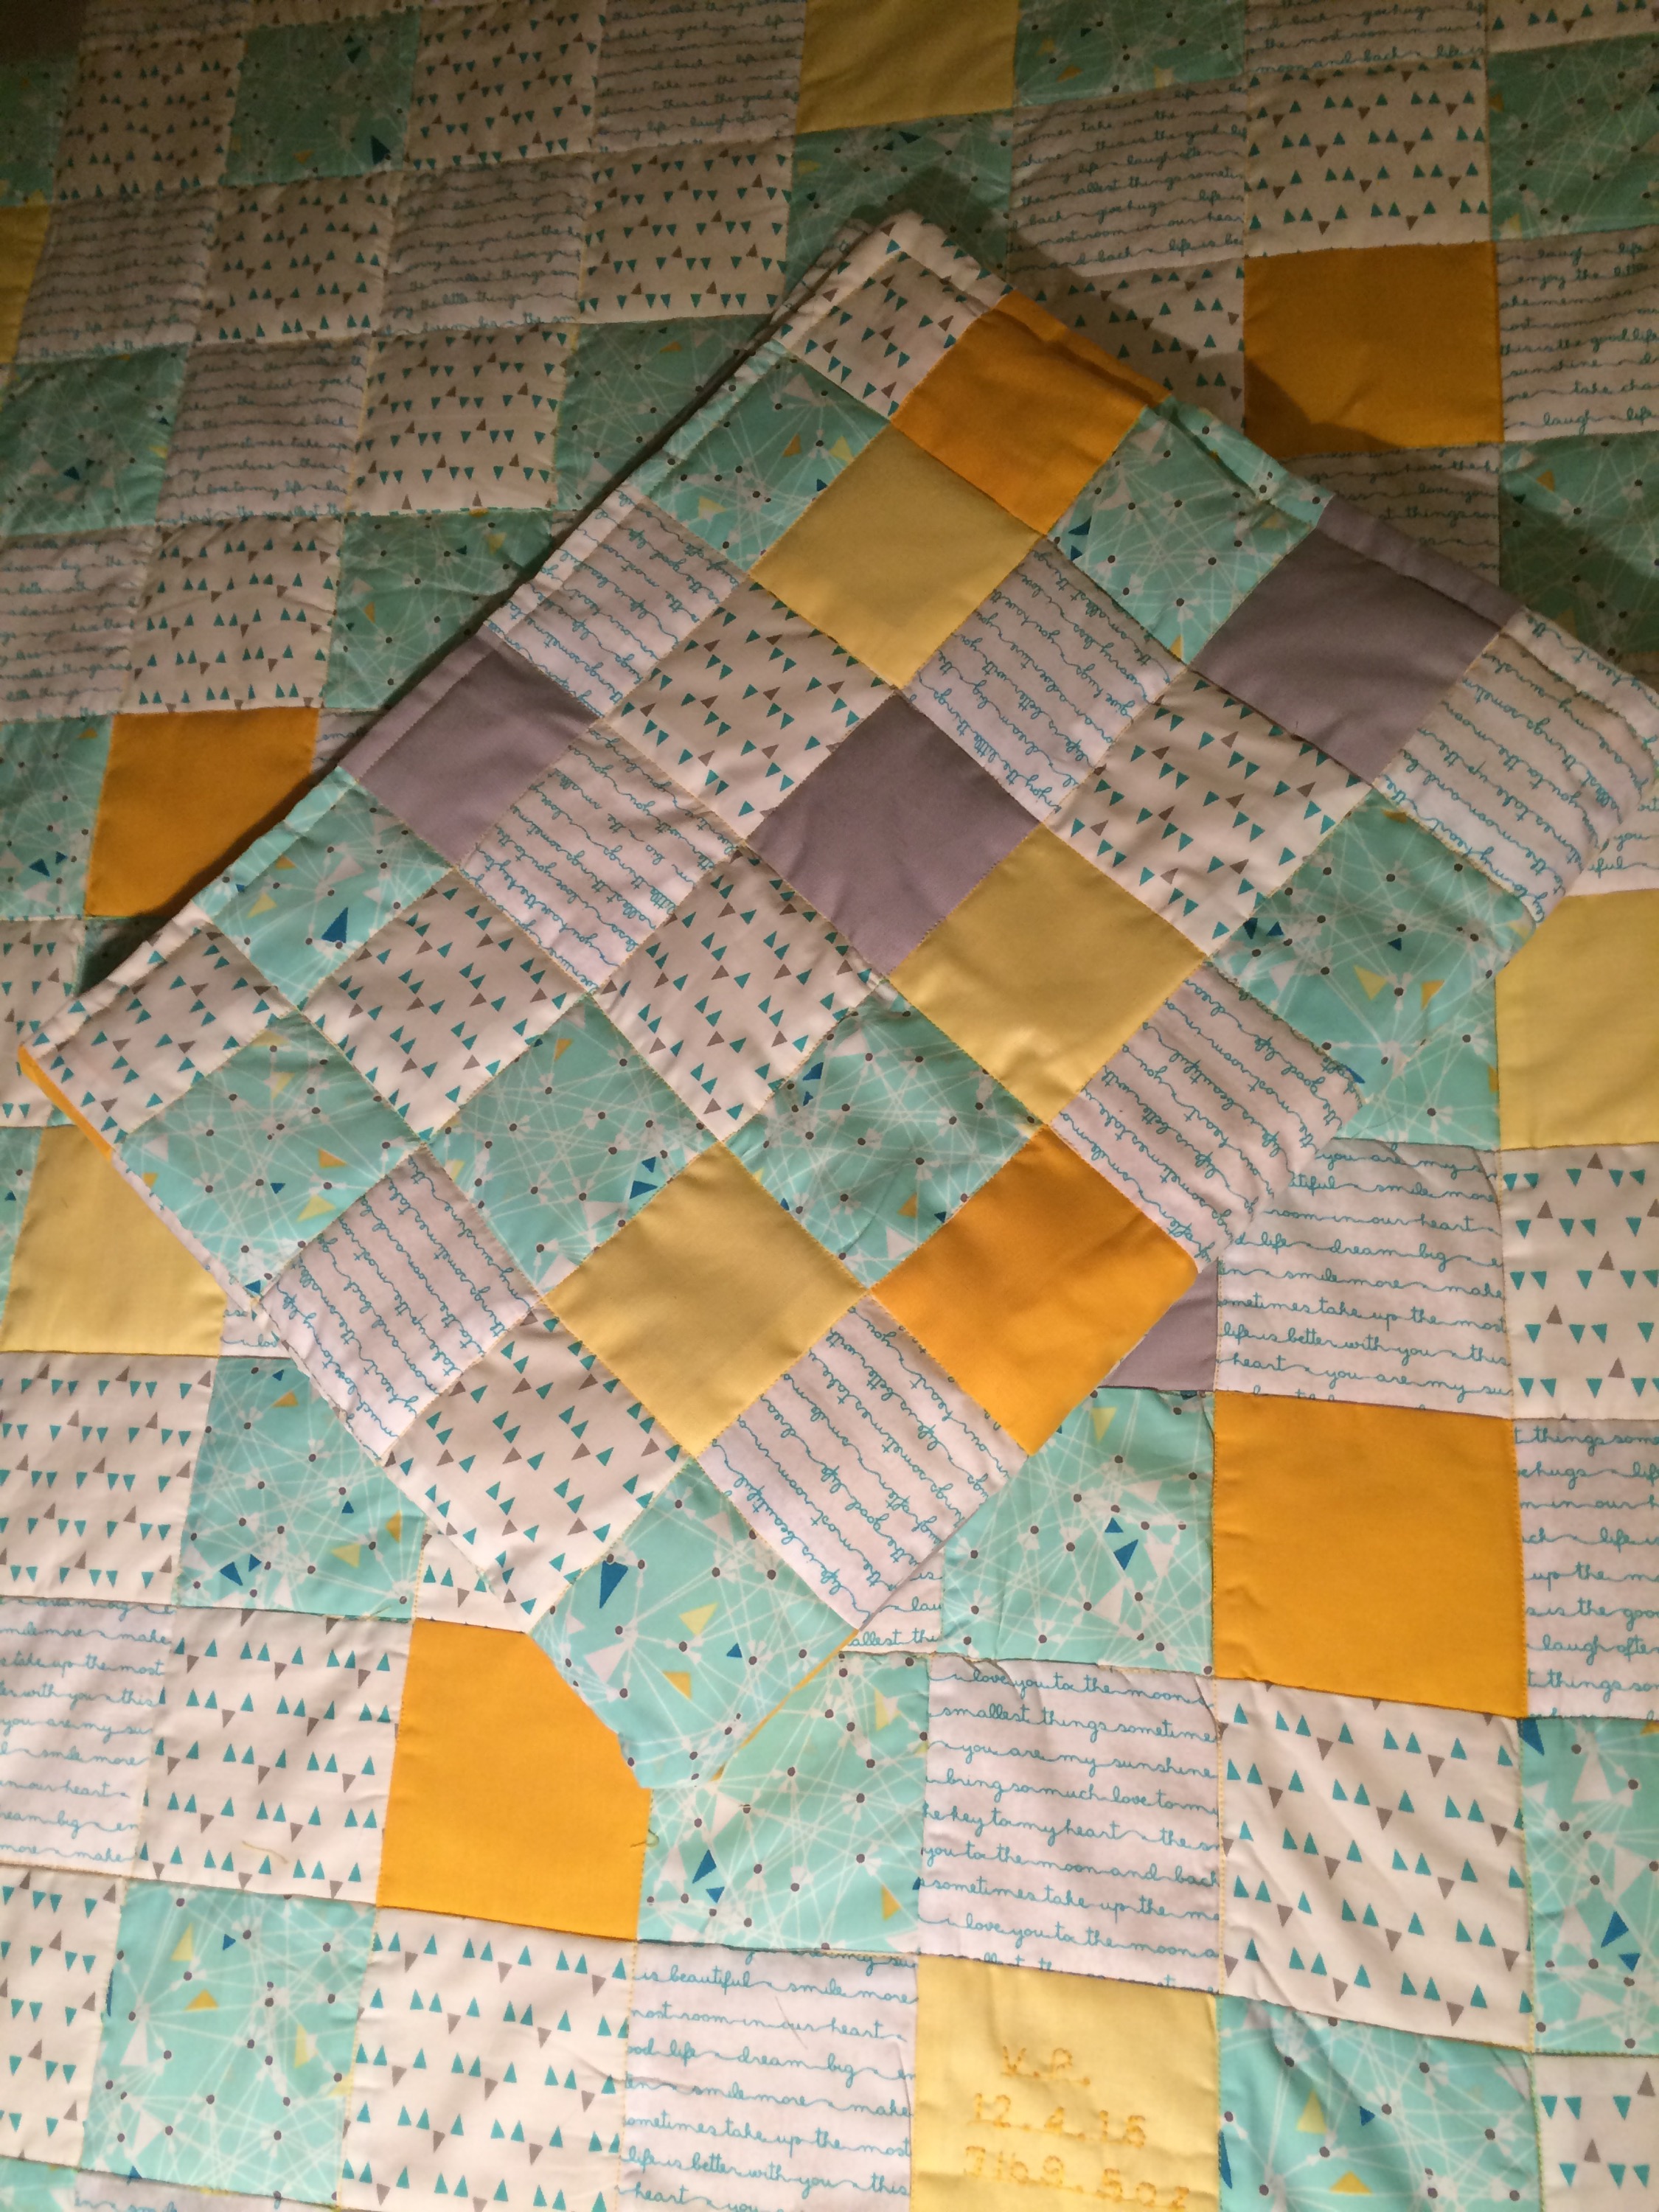
 The above photo demonstrates the size difference due to reducing the seam allowance.
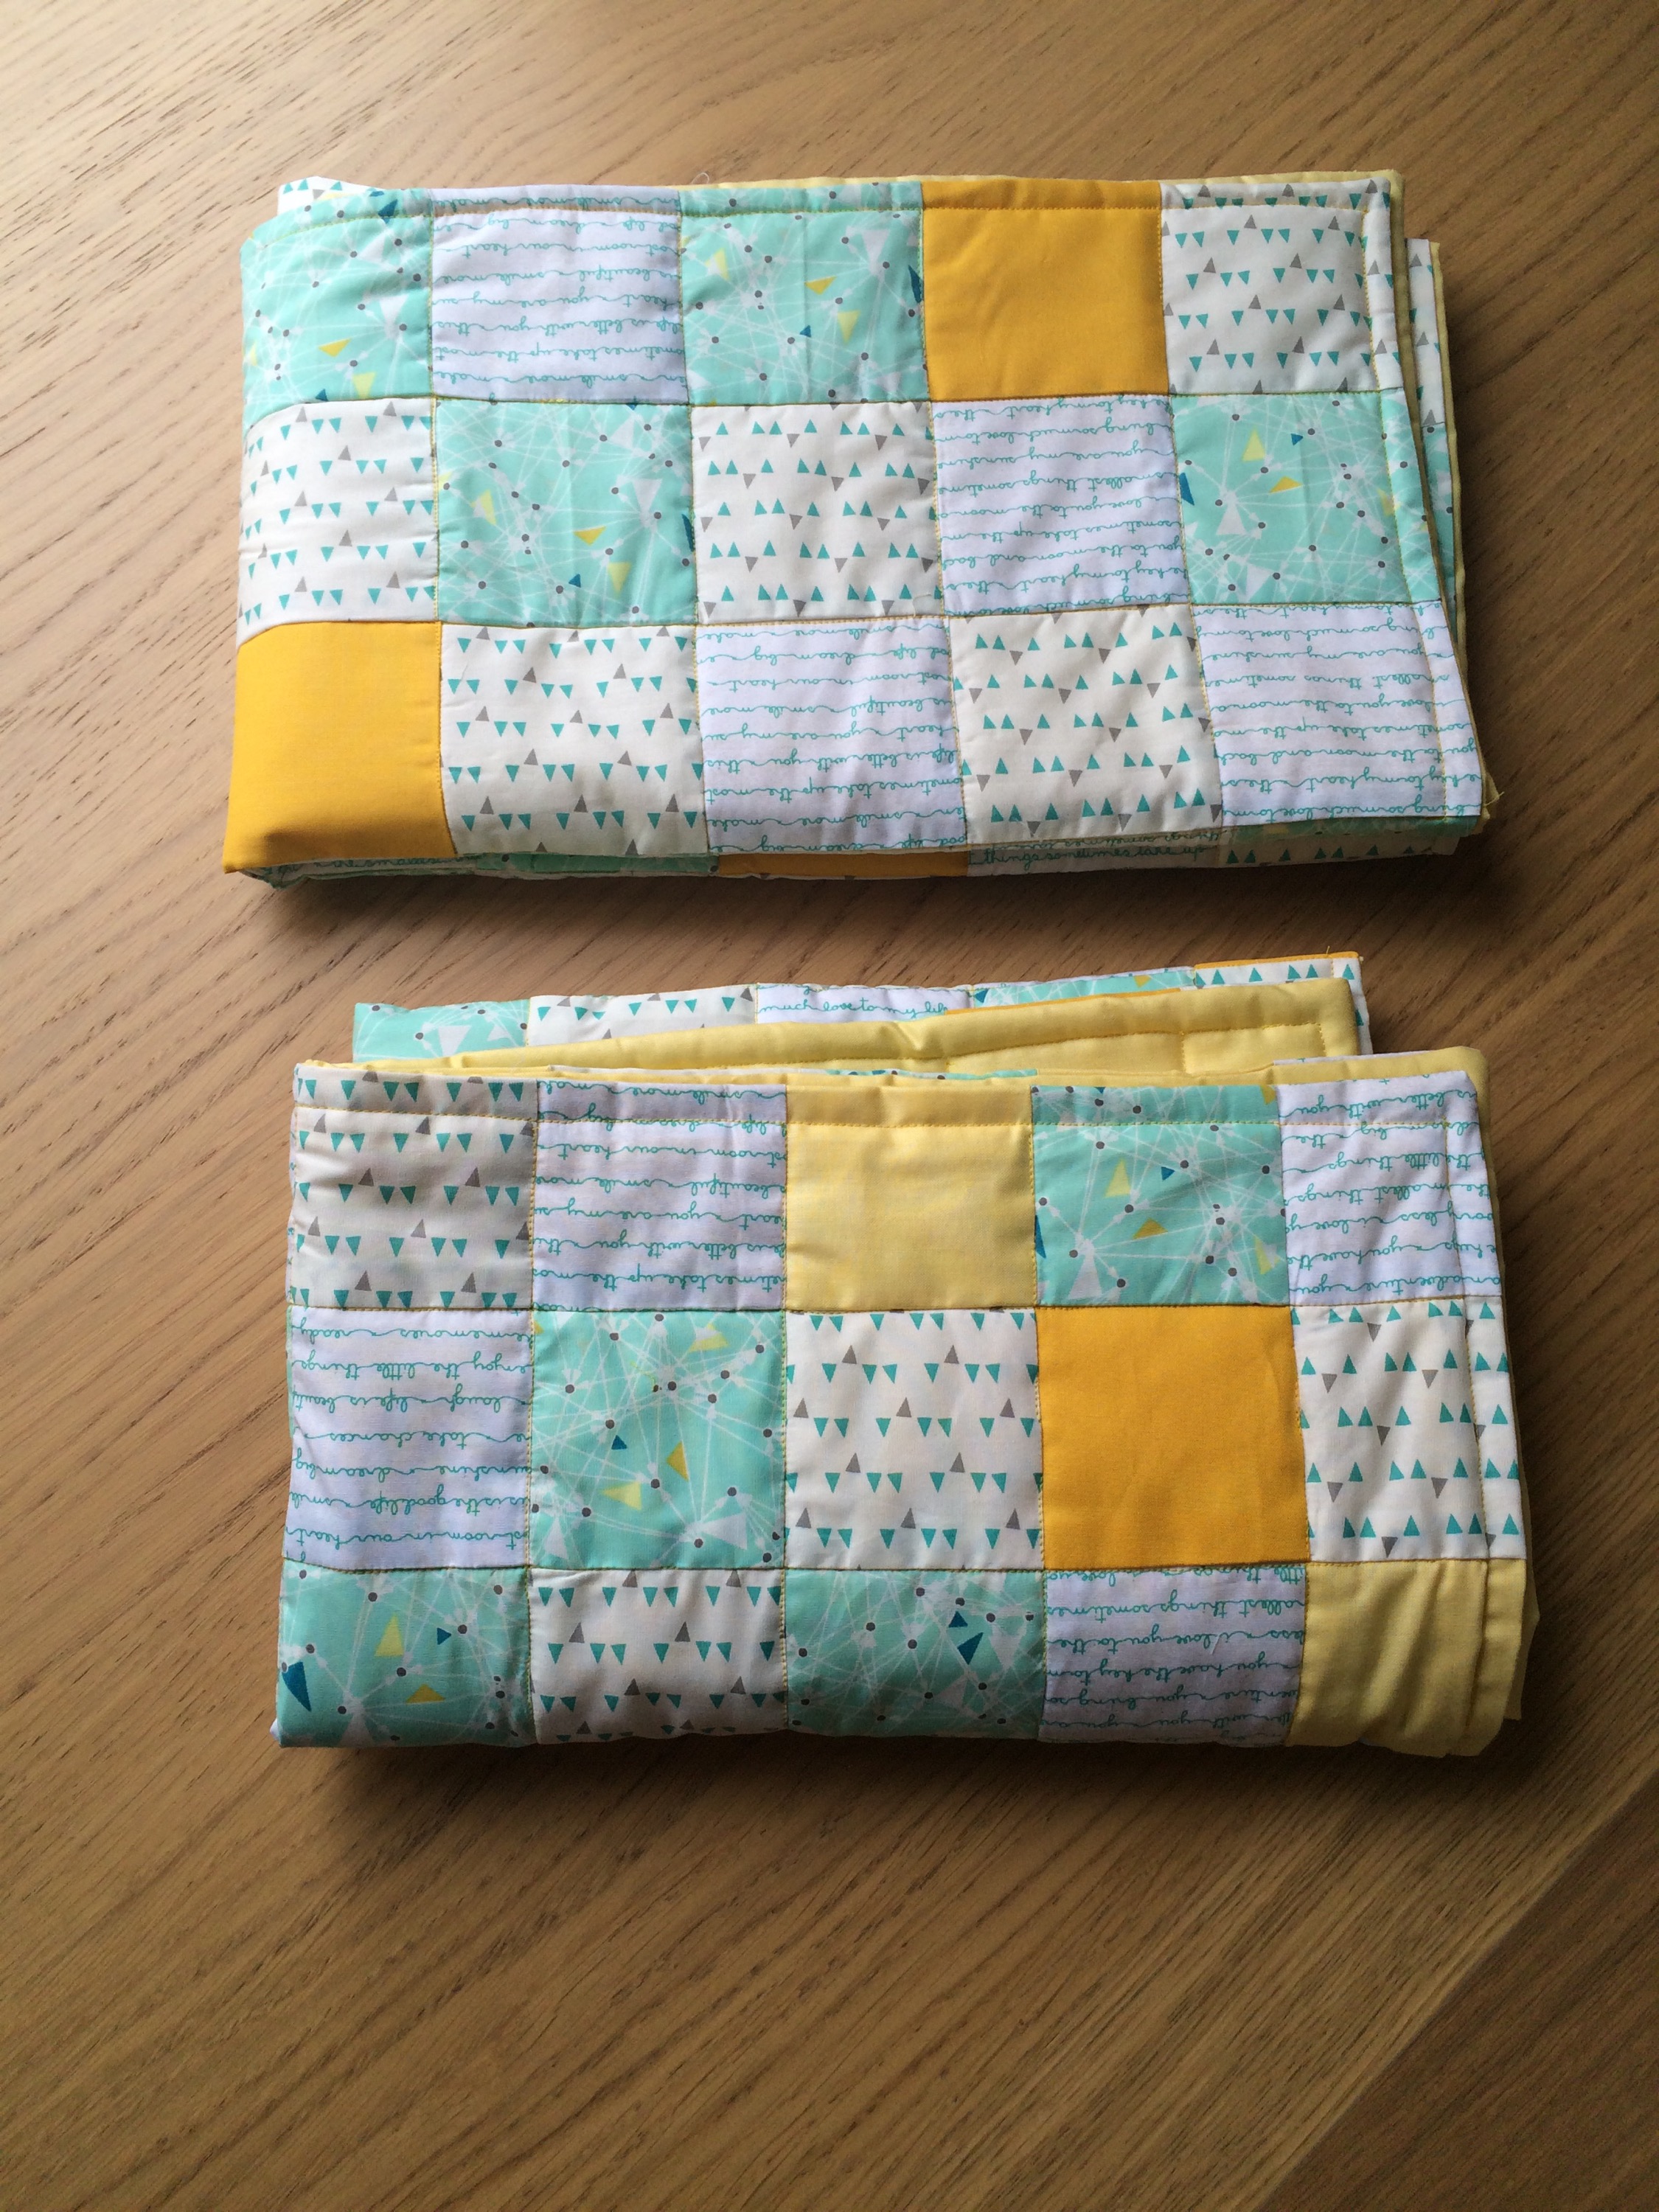
 I fear the wiggle, blur, wobble or whatever the word is, is clearly visible here on the lower quilt. Suggestions on where I went wrong, or how to avoid this next time, are warmly welcomed.
 If and when I make another, I’m tempted to stick more closely to the tutorial, as fewer but larger squares is definitely appealing!
Though neither baby had volunteered to model their quilt as yet, here’s a gorgeous picture of recipient number two, on the first day I met him 💙


Well to me these look absolutely perfect! You matched up the seams so perfectly. I love the fabrics, so ideal for babies. And the baby is gorgeous!! Apparently quilters use only 1/4″ seam allowance which to a dressmaker is TINY!
LikeLiked by 1 person
Thank you 🙂 I think I was just commenting on your post at the same time you were on mine! Thank you, I really like the fabrics too. 1/4″ is tiny, I didn’t realise!
LikeLiked by 1 person
Yes I hit send and your notification popped up! This post made nice reading whilst I was sat with my daughter who has chicken pox!!
LikeLiked by 1 person
I’m glad – I hope she is feeling better today 🙂
LikeLiked by 1 person
Lovely! These both look great, can’t see any problem at all. Beautiful fabric choices. I’d love to have a go at this one day, but have such a huge list of to-dos already, I can’t see it happening any time soon…
LikeLiked by 1 person
Thank you 🙂 I’m a fairly selfish sewer but these made a nice change, and I love the idea of homemade gifts.
LikeLiked by 1 person
Me too, it’s just finding the time…
LikeLiked by 1 person
I love your fabrics – your quilt is super cute! I liked how you didn’t do binding and will try that out for my next quilt. As for friendly a suggestion on how to make the rows line up feel free to check out my tutorial: http://afriendlikeben.com/2015/05/12/making-a-chevron-quilt-full-tutorial/ It helps to actually iron the seams in opposite directions so that the seams can “nuzzle” together.
LikeLiked by 1 person
That’s brilliant and really helpful, thank you Tara 🙂
LikeLiked by 1 person
This makes me want to do another quilt – I haven’t made one for years! No doubt the recipients will be delighted; the personalised square is a thoughtful touch. You must be very proud of your first foray into quilting:)
LikeLiked by 1 person
Thank you – I like them despite their imperfections! Luckily neither recipient is into crafting so hopefully will just be pleased to have something handmade.
LikeLiked by 1 person