

I’ve just finished a completely different type of project, so recently that my fingers are still sore from stitching the final edges.
One of the blogs I follow referenced this pattern, and I thought it was sweet and loved the combination of fabrics. Coupled with the fact that in one month my parents will be flying (driving) south for the winter, and my mum having requested a small stitched item from me as a keepsake, meant that this was the perfect project.
I chose 2 fabrics that I’d bought a few months ago, but which weren’t earmarked for anything. My mum likes Liberty type, ditsy florals and the miniature strawberries are irresistible. As this project was undertaken away from home, there were certain items I had to do without, a printed template of the pattern being one. Instead, and not easily defeated, I used kitchen roll and my iPad. It worked ok but if I want to make a second, I think a nicely cut out cardboard template would make things easier.
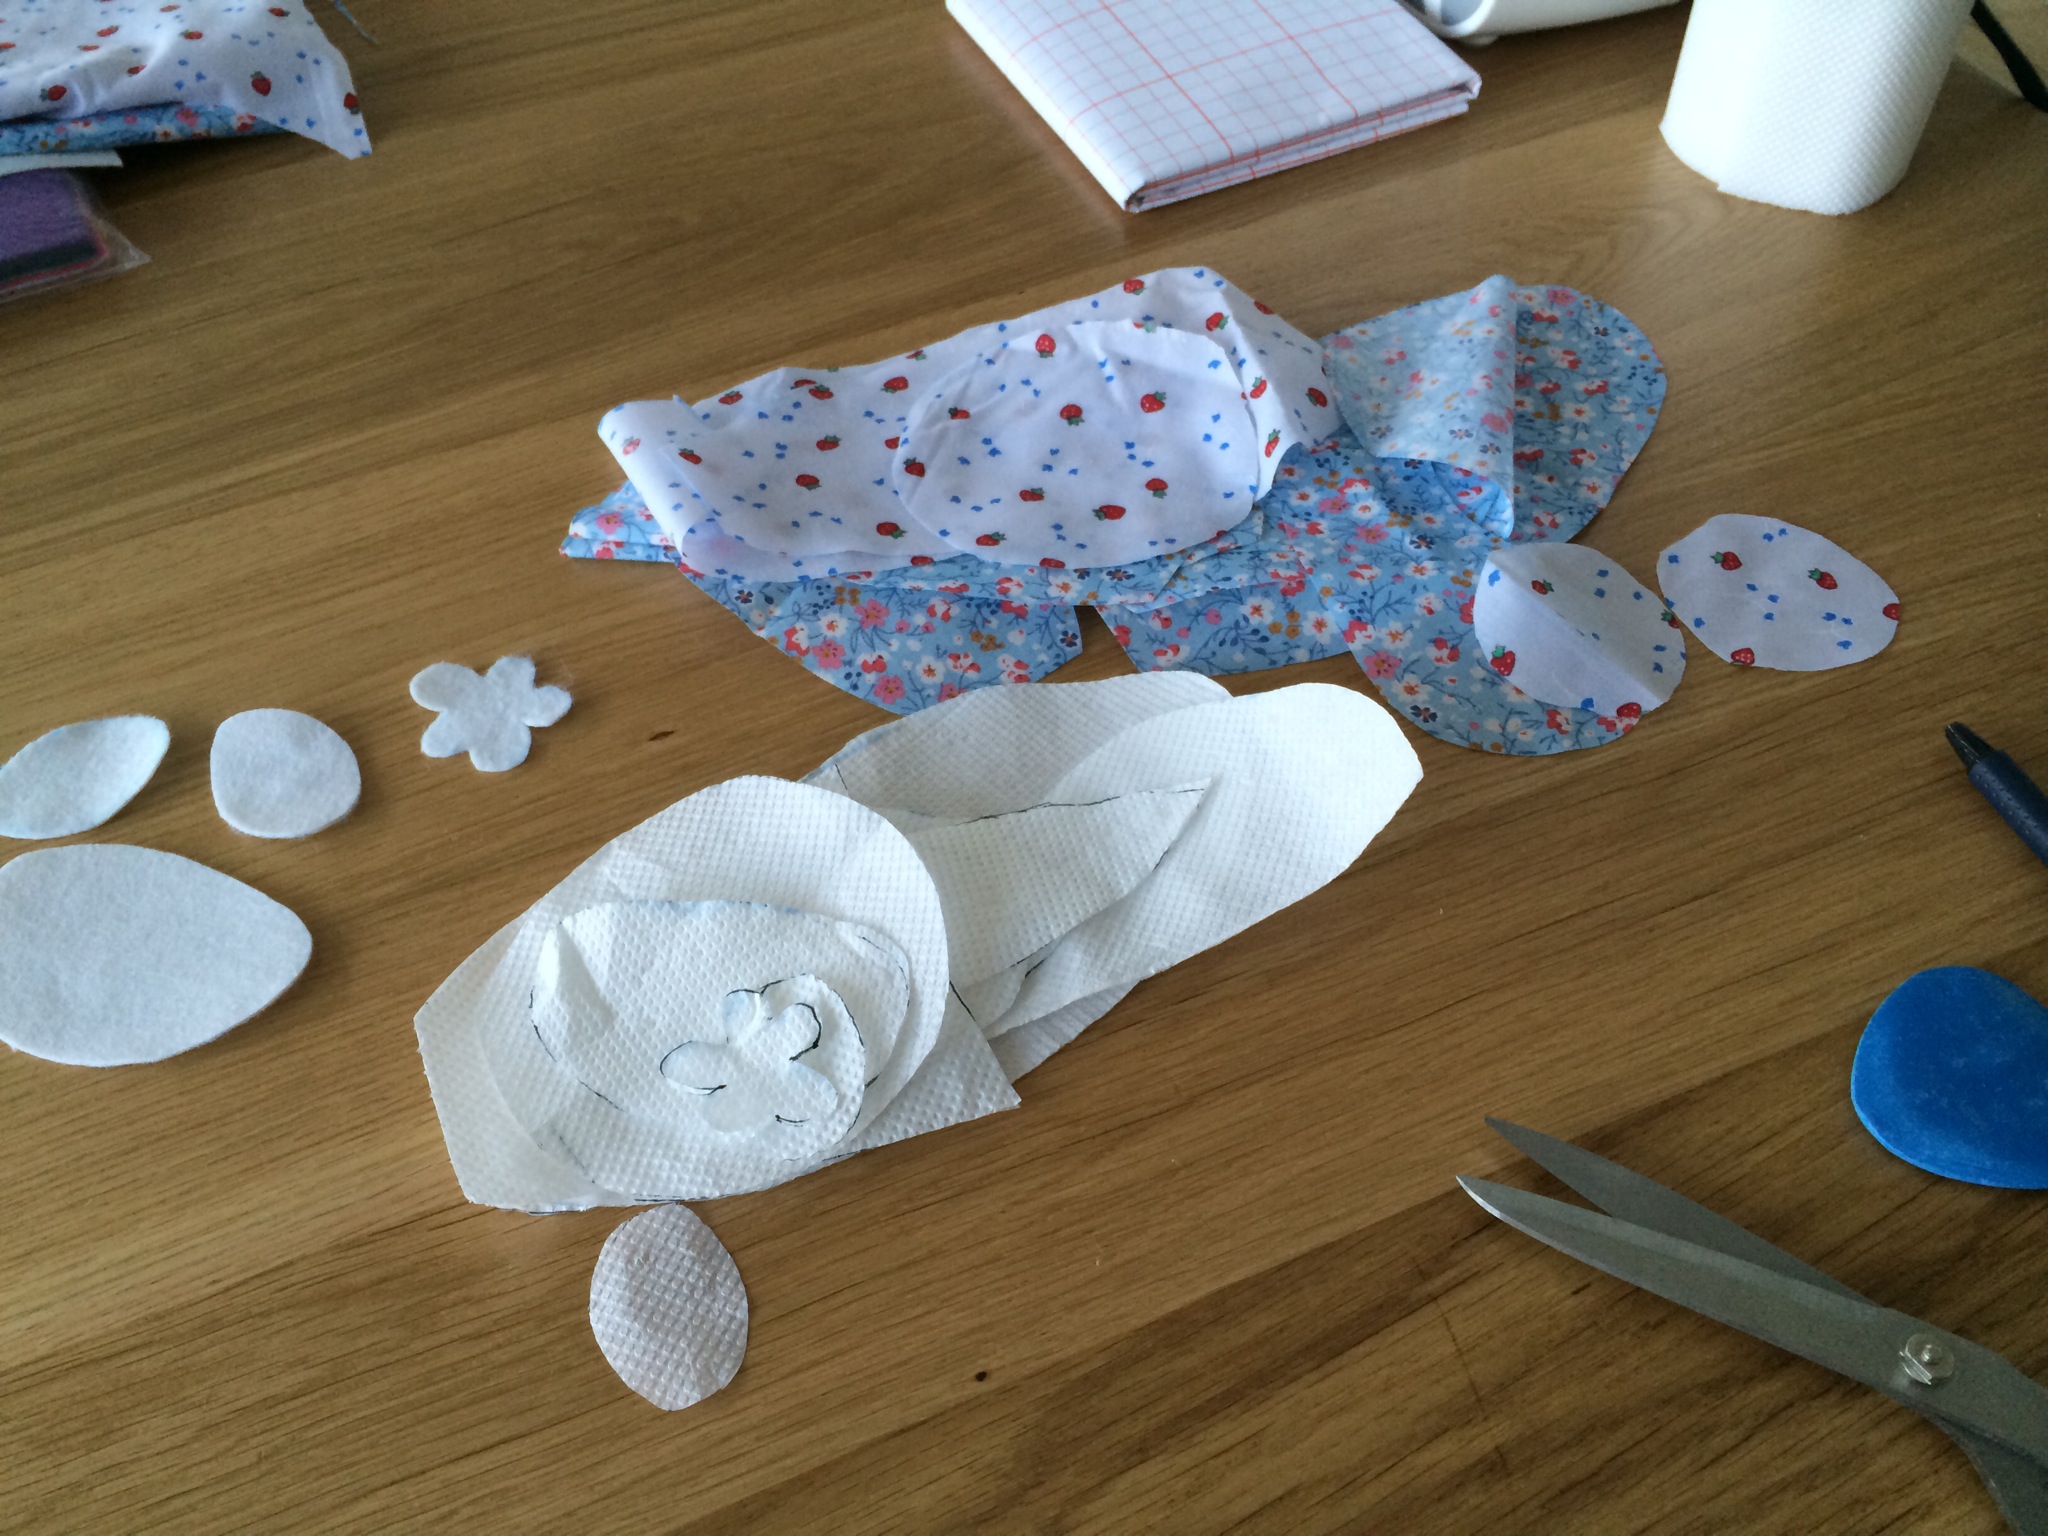
It was easy to cut out the right amount of each item from the correct fabric, and I played it safe and stuck with white felt for the face, paws and tail. Drawing around and cutting out the pieces took a while but was straightforward. Next I made the legs and the arms. I knew I could only go so far that evening as I had no wadding, but I wanted to do as much as I could without. The arms and legs were easy, although rather than using satin stitch to attach the paws to the arms, I clicked the wrong setting on my machine and ended up with a more jagged effect. I decided I could live with it and for consistency, stuck to the same stitch for attaching the other bits of felt.

Both because I didn’t have buttons with me and because I wanted quite a delicate look, I stitched the eyes on to the felt by creating a kind of star with many strands – I only had single strand cotton rather than embroidery thread with me.

I attached the face and contrast tummy to the main fabric, and jaggedly attached the tail on the back. There was the option of using an extra piece of fabric, like a squashed eye shape, to the bottom of the back of the fabric. The idea being that this helps the completed bunny sit up instead of just laying flat. I added this. I then made the ears and got a little confused about which way around they should be fixed, but I tried to follow the instructions. Then I was done until wadding could be sourced.

I’ll let you into a little secret: I gave up on wadding (patience is not my strong point) and used much more readily available cotton wool. As this is to be a gift for my mum and not a small child, I knew it would be unlucky to get wet, so I’m hoping the cotton wool wears well.
First I stuffed the arms and legs.

I wasn’t absolutely sure how to attach them without sewing a hem between, as it felt like leaving raw edges would cause me problems later, so I did hem between the legs and just by the sides of the arms. Then I had to turn the rabbit inside of itself, taking heed of the advice to tuck the arms, legs and ears well out the way. I couldn’t be quite sure at this point if what I was doing was right!

This is when I became even more impatient – I knew the rabbit was almost done but still had to pin and stitch it, before stuffing the main body and closing the seam. Pinning was tricky, as I was pinning 3-4 layers of fabric, including some that was already hemmed and I couldn’t see how it looked right side round. It seemed that the rabbit was too fat to be able to fit under my sewing machine foot, so I resigned to hand sewing it together. I used back stitch in the hope that it would be firm and strong but not pucker too much. I thought about where best to leave the gap for stuffing and decided the tummy would be less noticeable and there was a decent sized gap between arm and leg.
Once stitched around I turned the bunny right way around, and was pretty pleased, other than somehow I’d not pulled one of the ears through enough, so some of the finished hem from the initial attaching was still exposed. Not one for unpicking, I decided this added to his handmade charm. I stuffed the body and tried to squeeze and flatten it so it was fairly even and not too lumpy. Finally I closed the gap, using what I think is the actual slip stitch.
When I’d done this, I went back and stitched down the extra piece near the ear to disguise it a little.

Then he was finished! He turned out bigger than I imagined, and as with my other projects taught me a few lessons. Next time I would attach the face lower, as the seams have meant it’s not quite centred. I’d check my machine setting and would like to experiment with different fabrics. I’m still unsure about when to close certain seams or whether his ears are on the right way around (I’m thinking not). I’m pleased with him because it’s the first time I’ve followed a pattern of this kind and I made him completely myself, with no advice or support from anyone. It took me two evenings to make him, so for me this project would need to be only for someone special. Despite his faults I know my bunny will be loved, and what more can a stuffed rabbit ask?


I love him! He’s very sweet!!
LikeLike
He is so cute.
LikeLike
I think I might need to give this a go…
LikeLike
Go for it! If I can manage it, anyone can! 🙂
LikeLike