
Just over a week ago, I came across a tweet from Mollie Makes linking to this tutorial. Somewhat rashly, I hopped straight over to eBay and ordered the necessary supplies. All but the lime coloured ribbon arrived.
I started off by printing out the mistletoe template, and cutting the 9 sprigs from a square of felt.
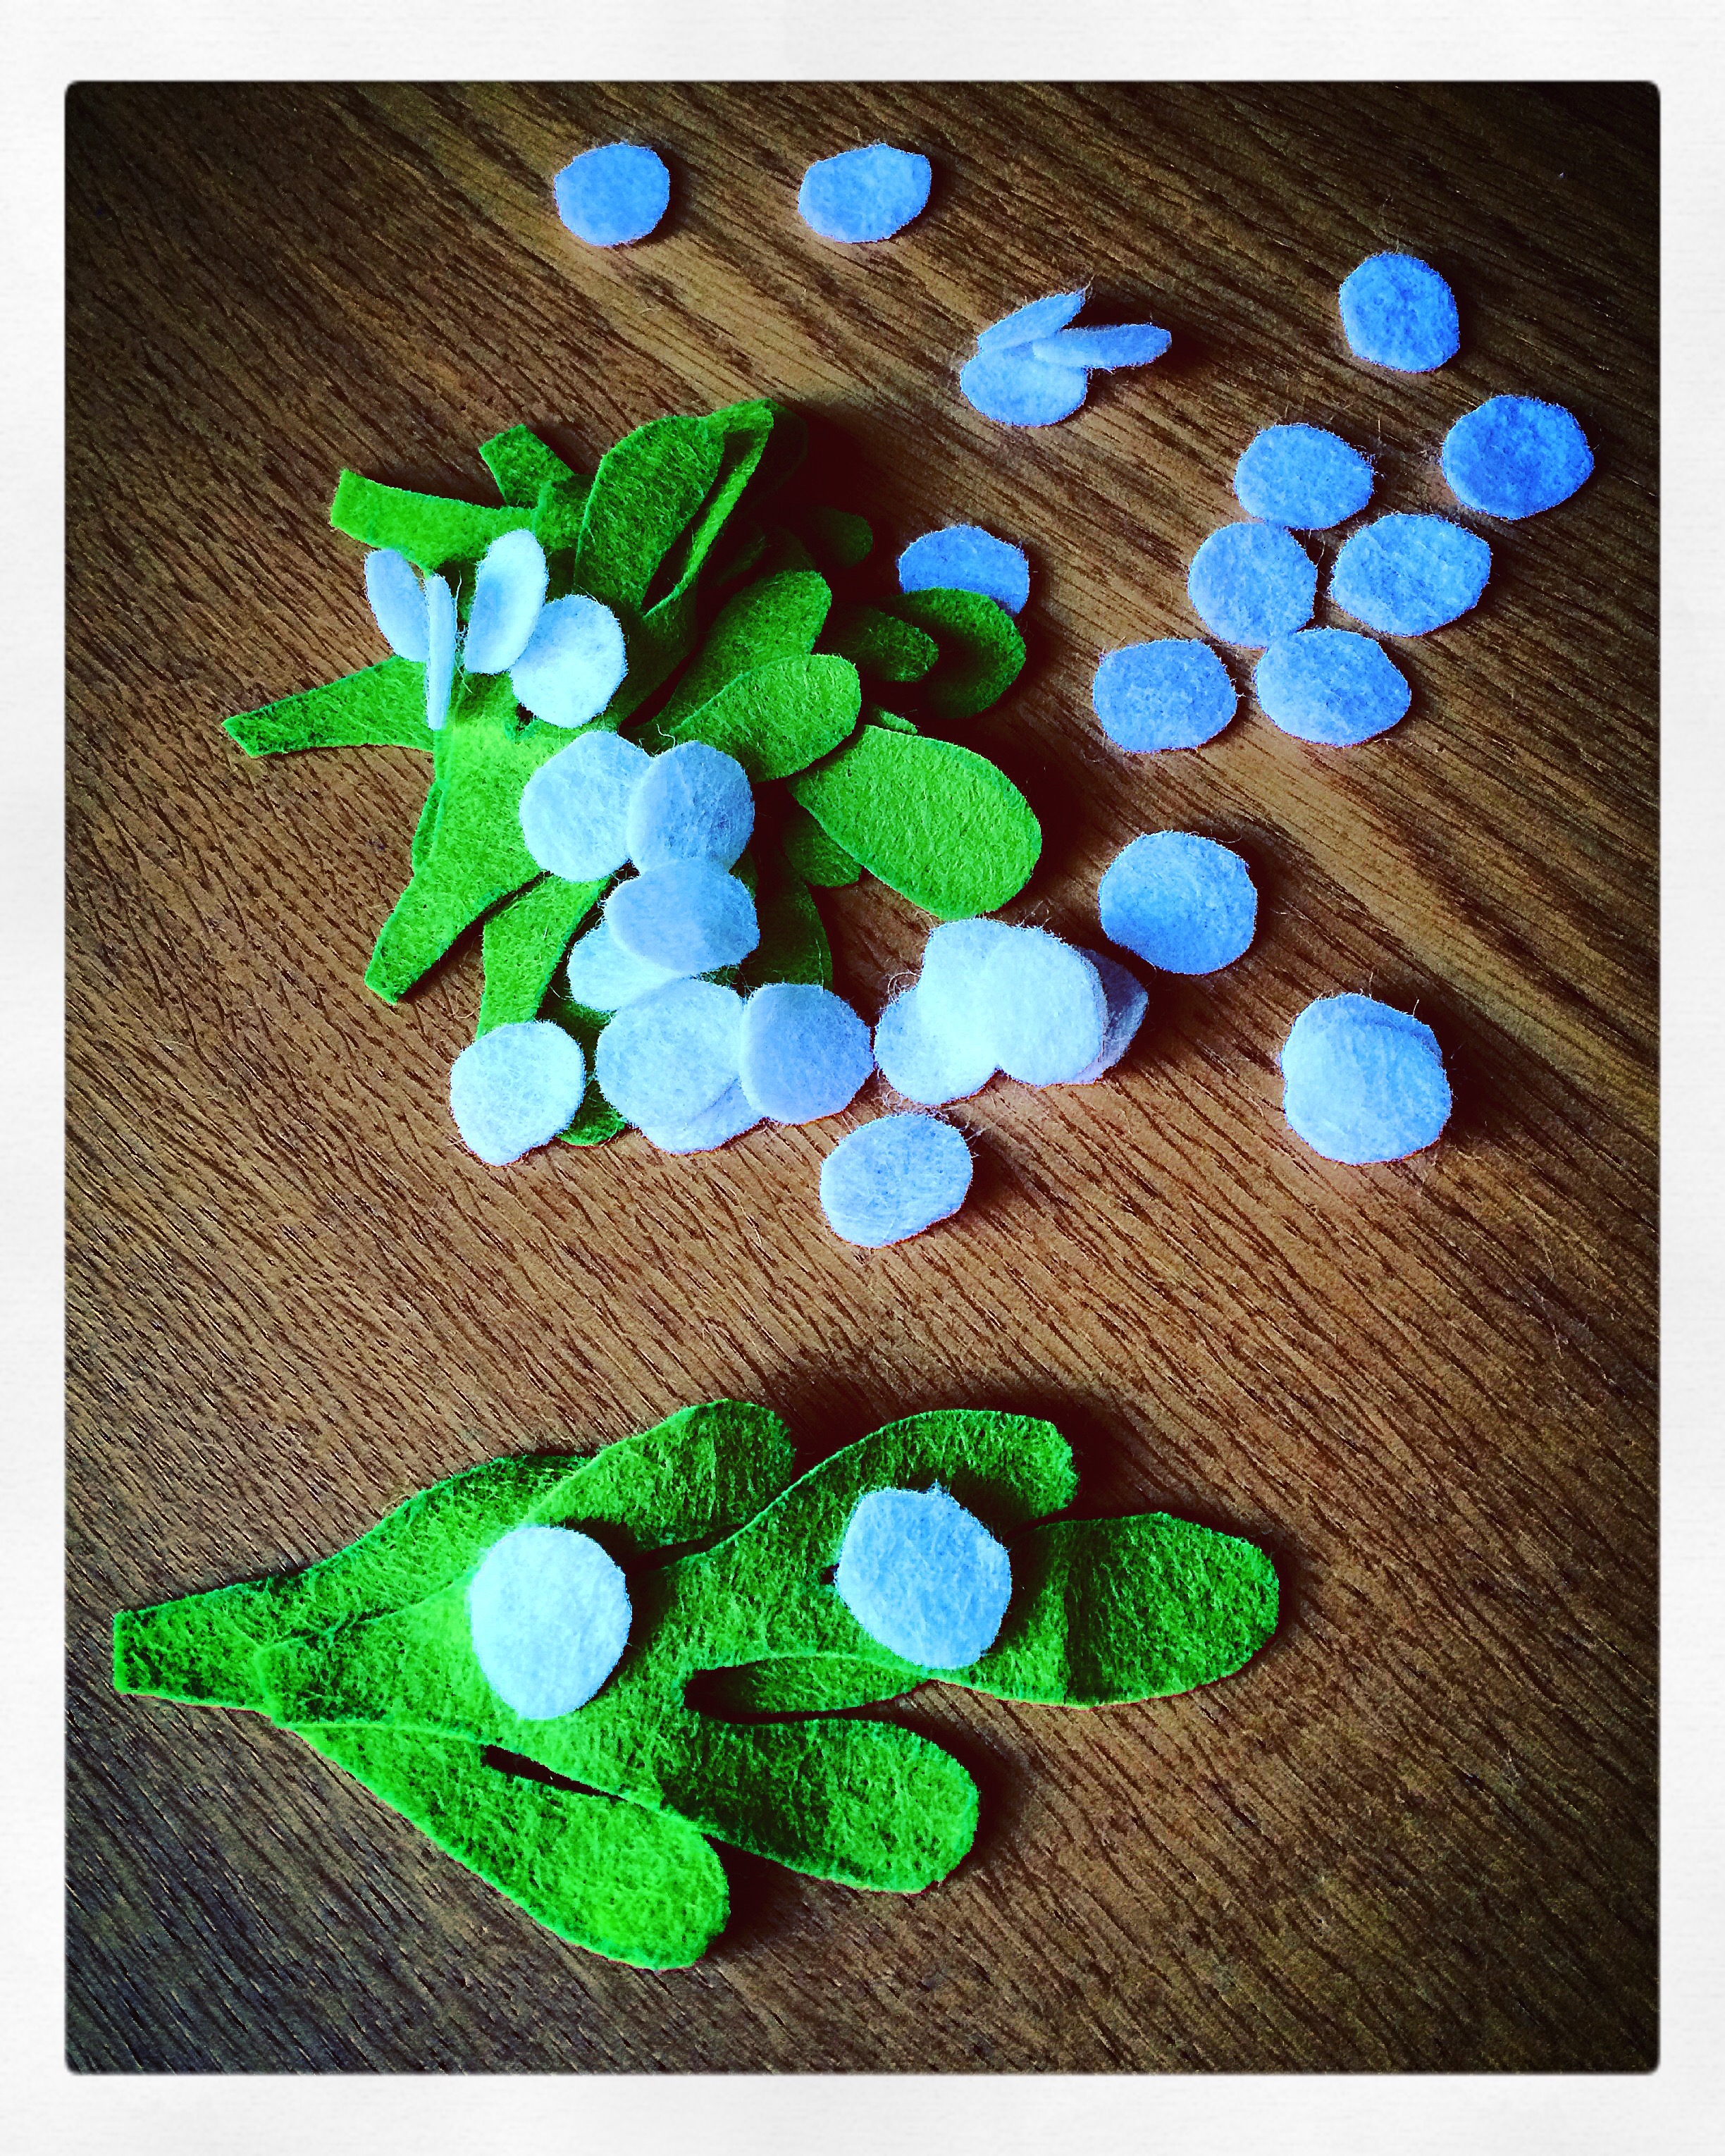
 I then cut out the circles of white to make the berries, but had to return to these later as I’d cut them almost double the requisite size.
 I stitched veins along the leaves then machine stitched on the newly decreased berries.
 Several berries had barely caught from the few back stitches I’d used, so I then had to reattach some of them with a few more stitches.
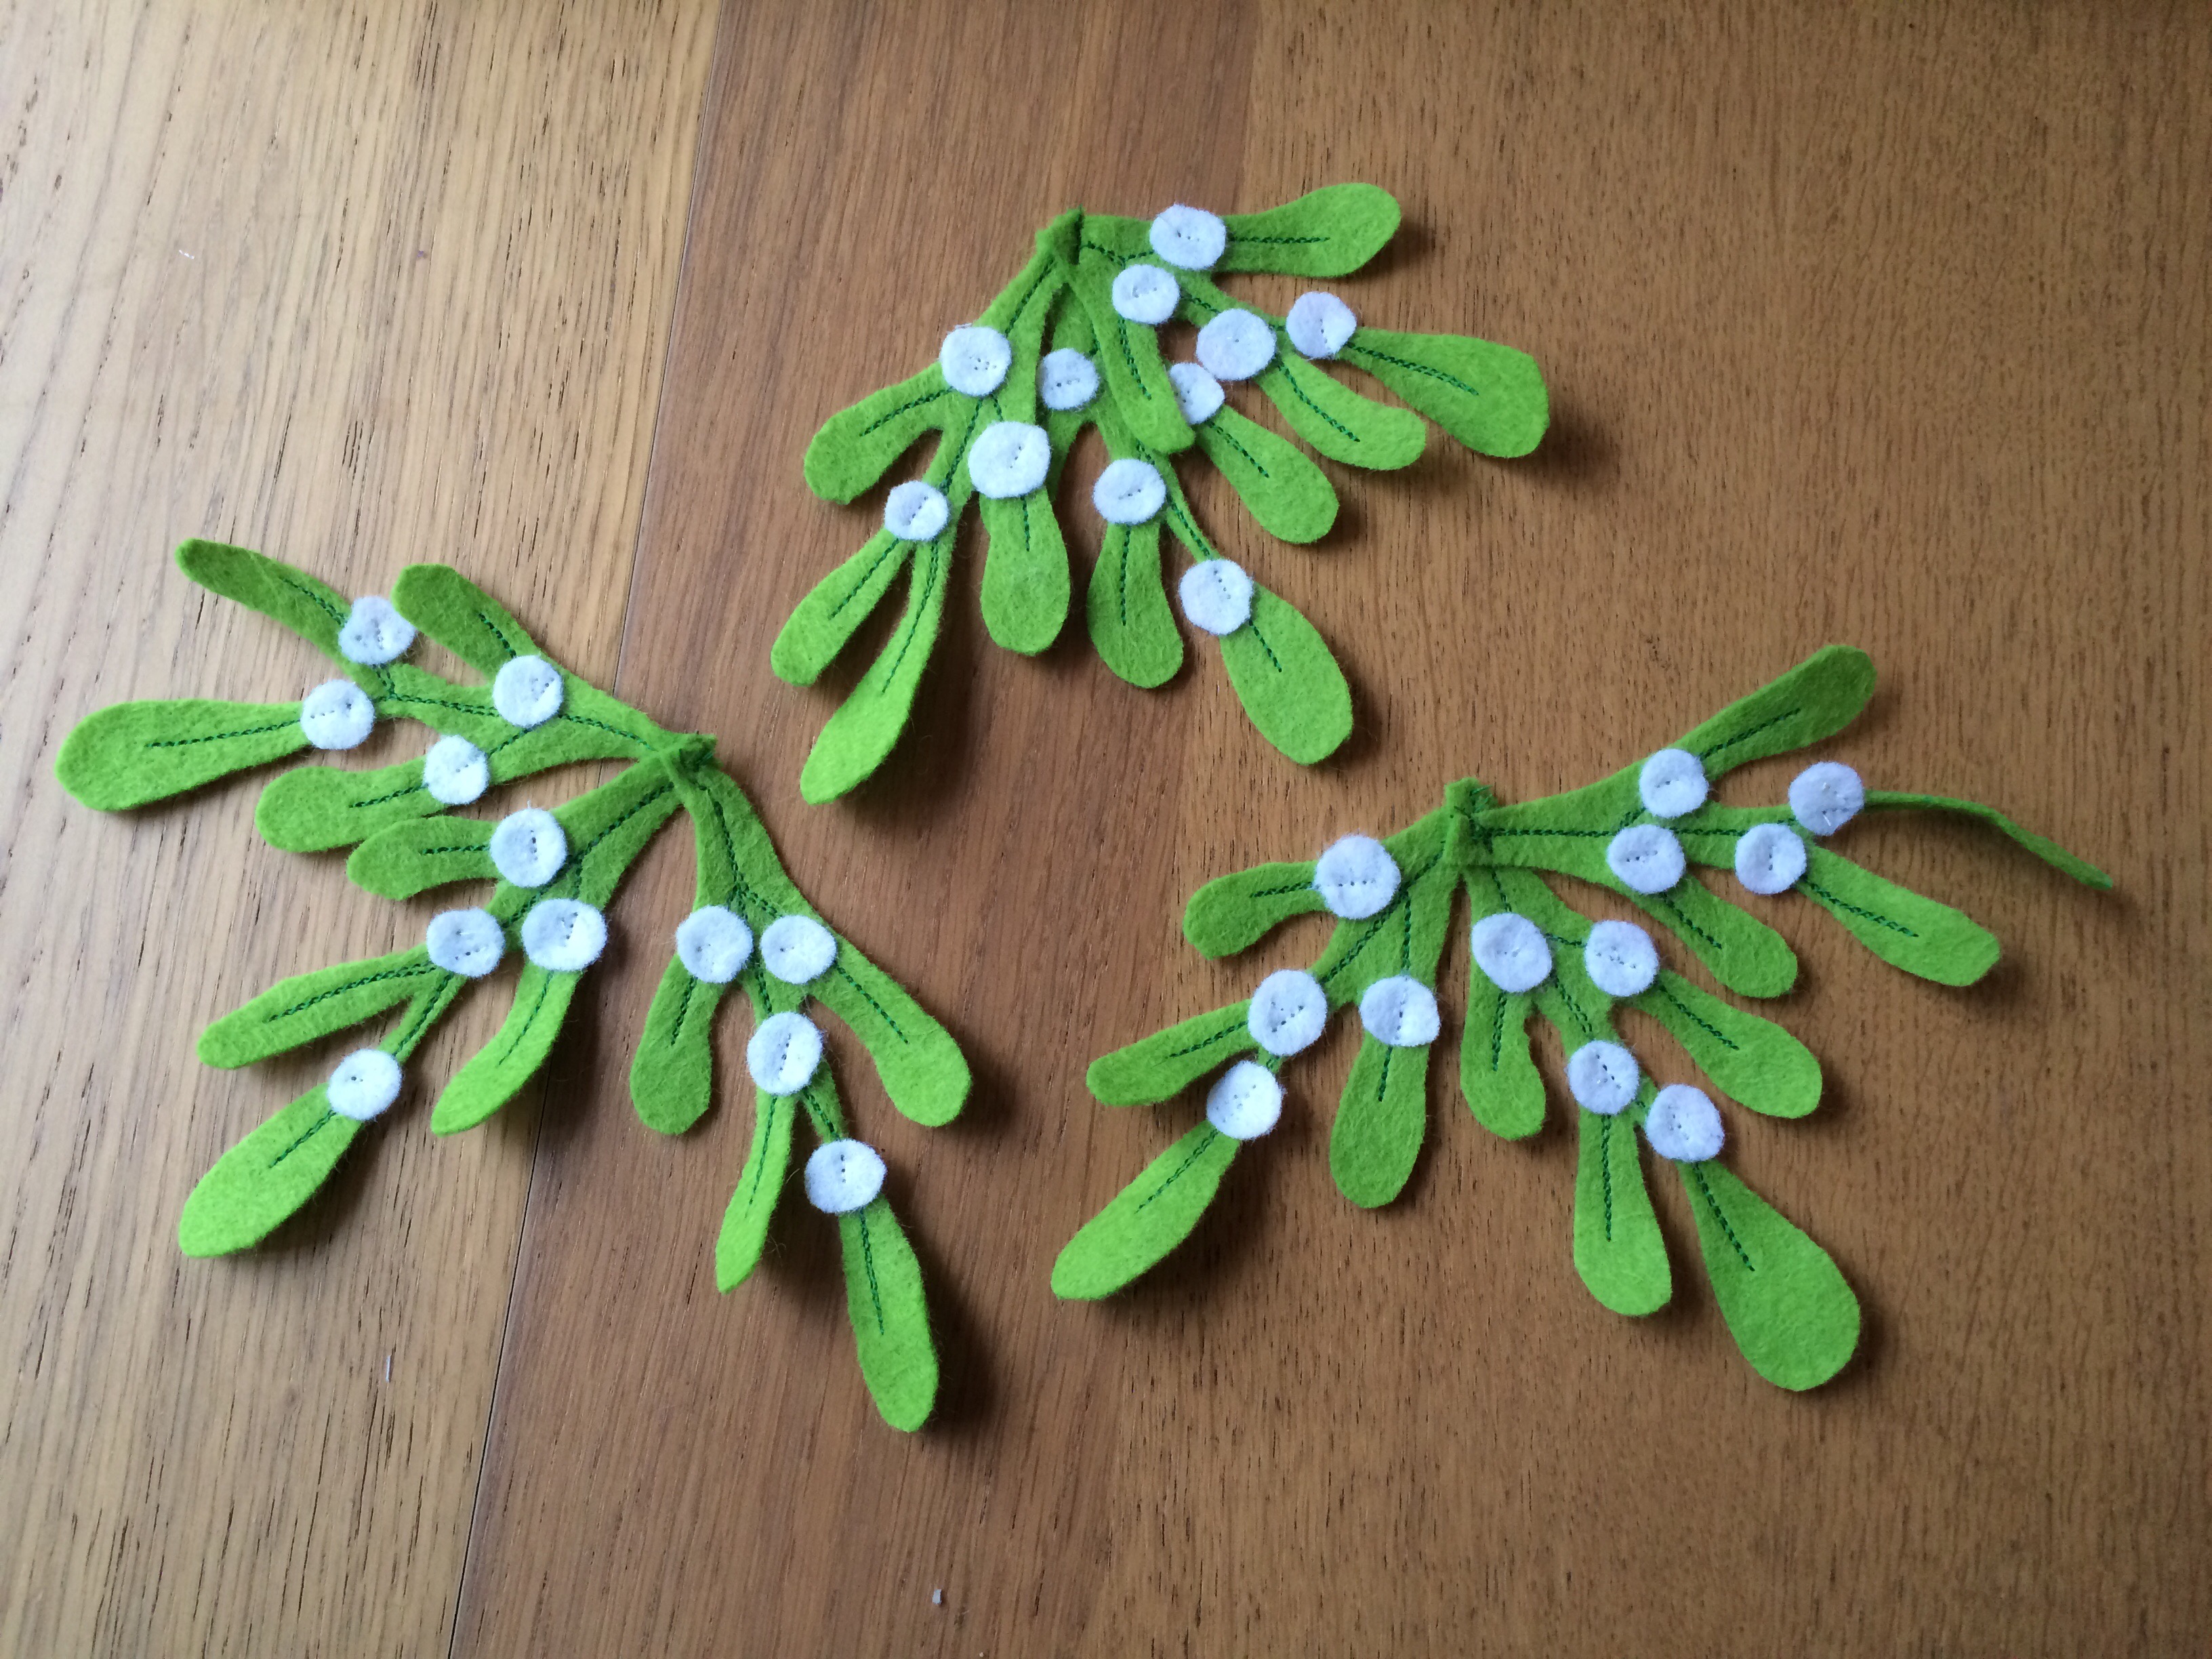
 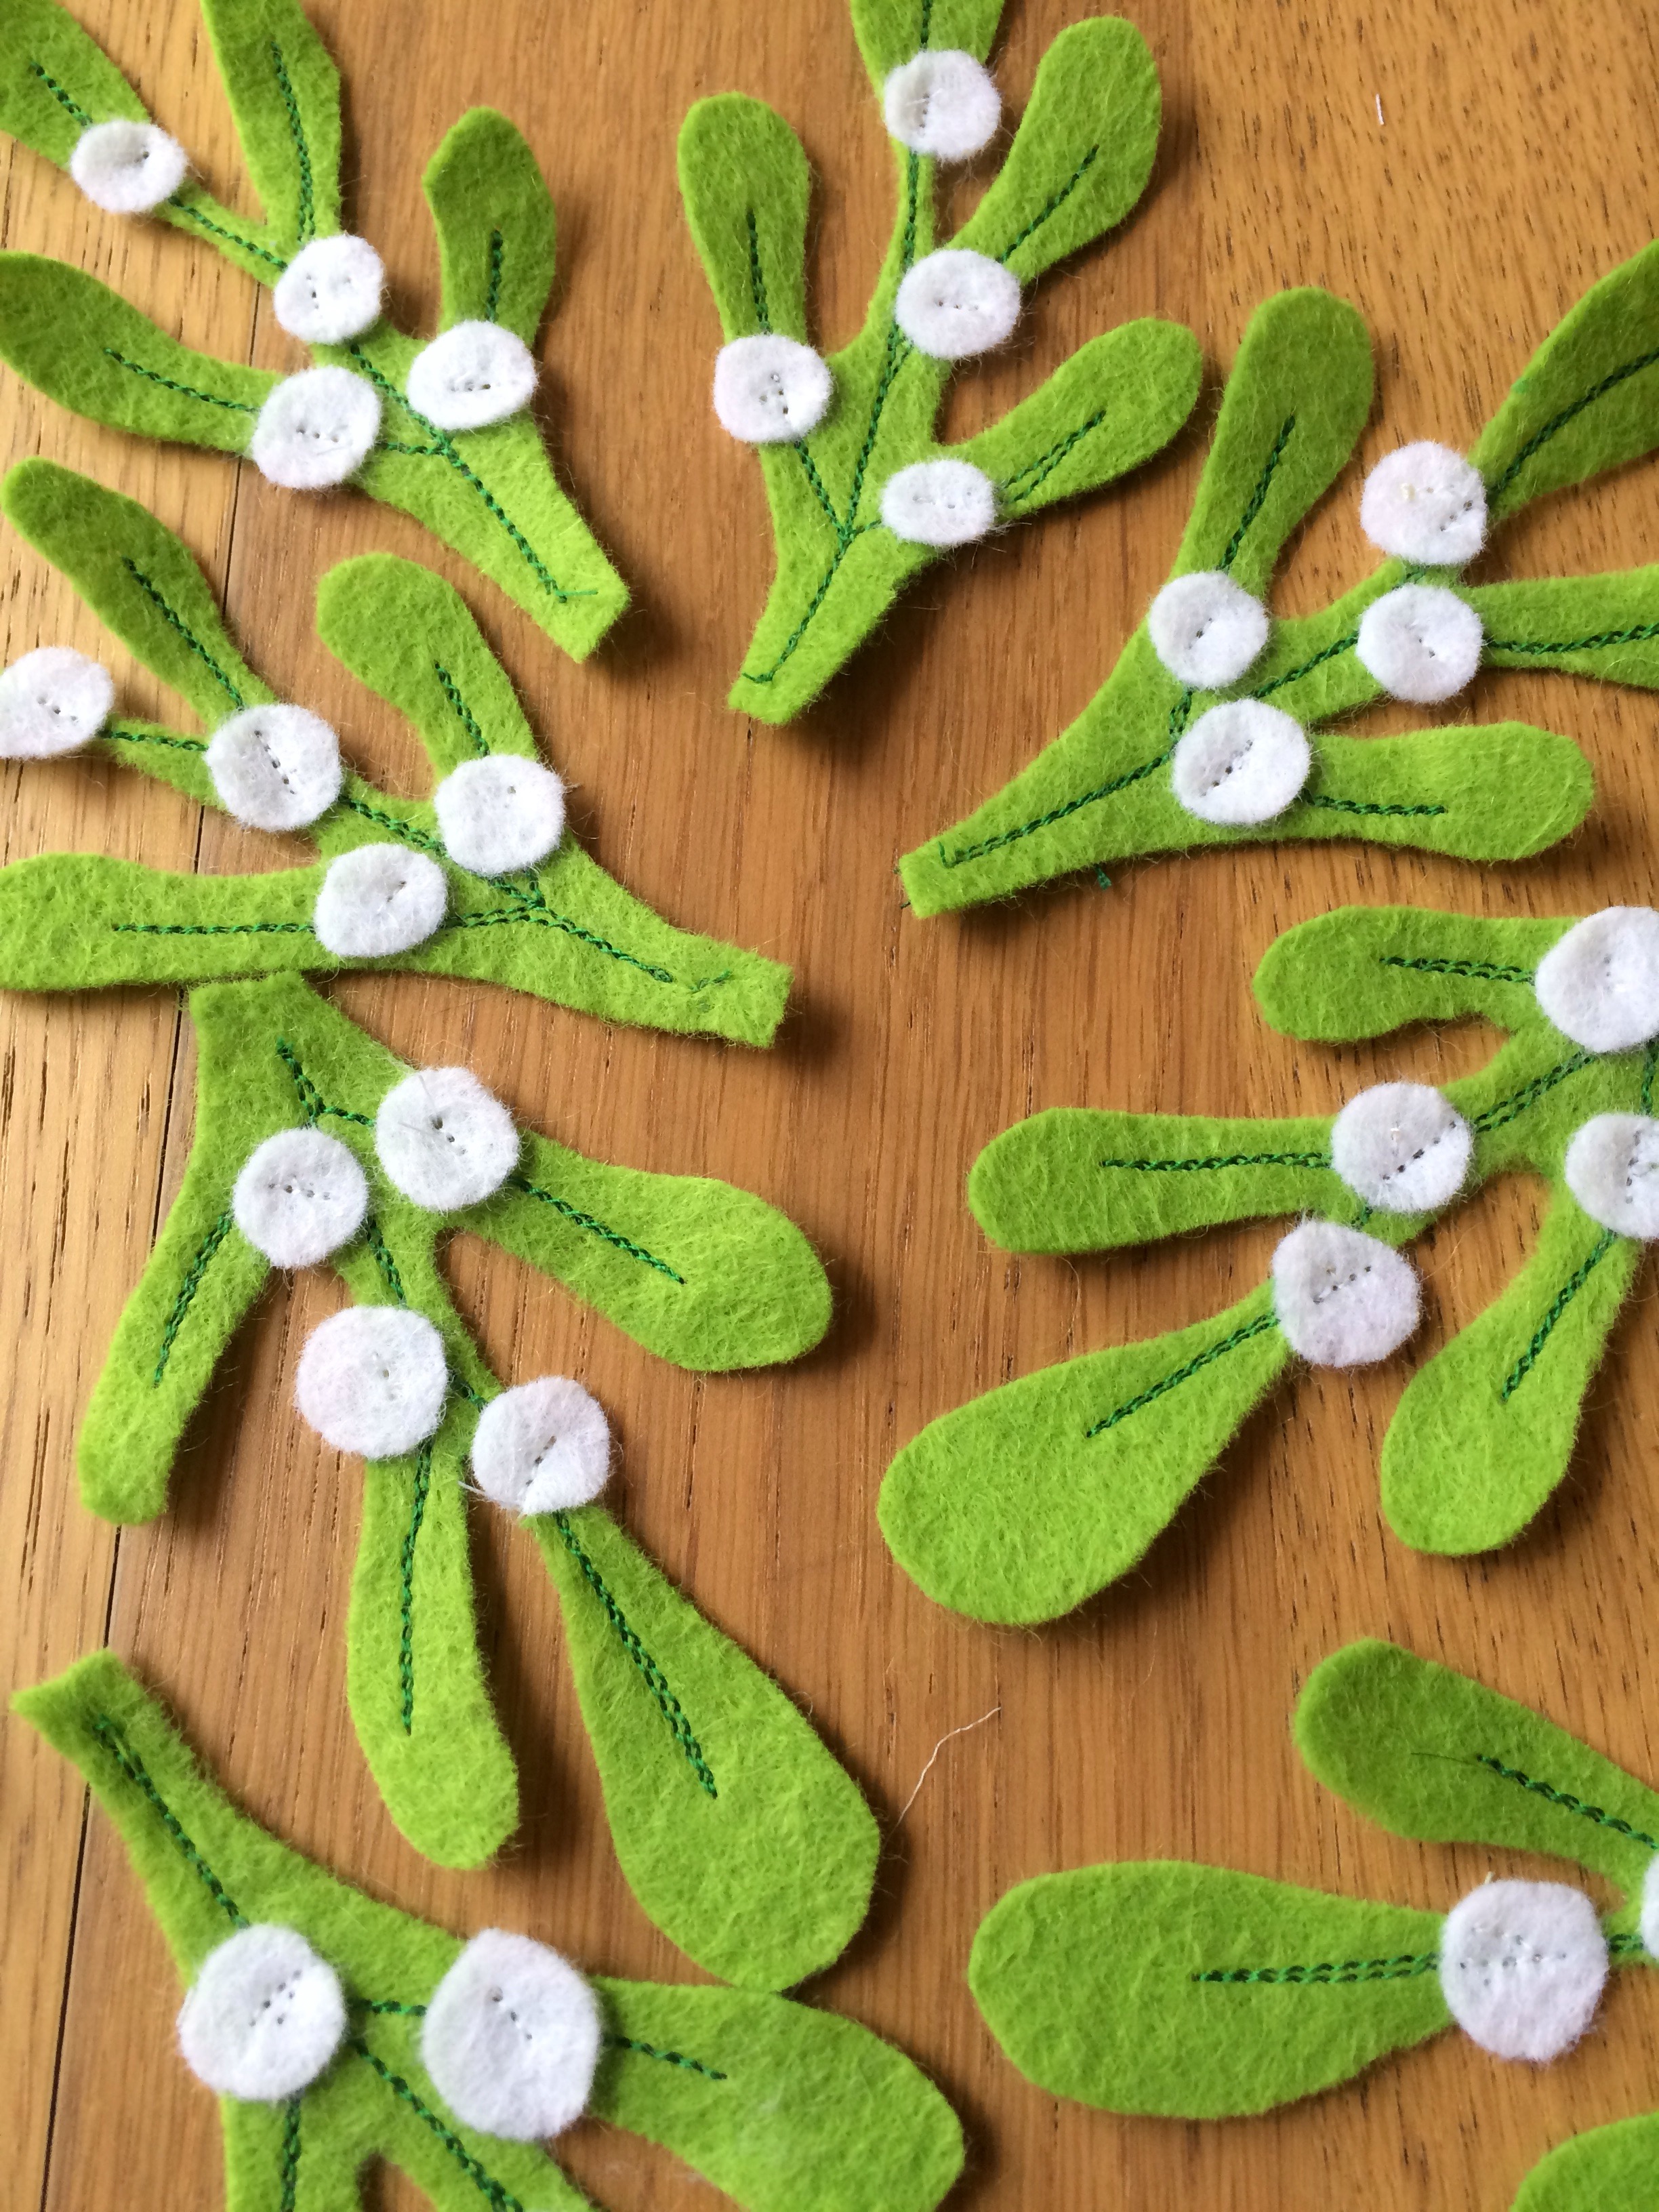 The sprigs were then sewn into threes groups of three.
 The only thing that put me off this tutorial was the prospect of cutting out 150 8cm circles, but I grabbed my trusty black Frixion, and a stiff piece of card, and decided tackling them as three groups of fifty seemed less arduous.
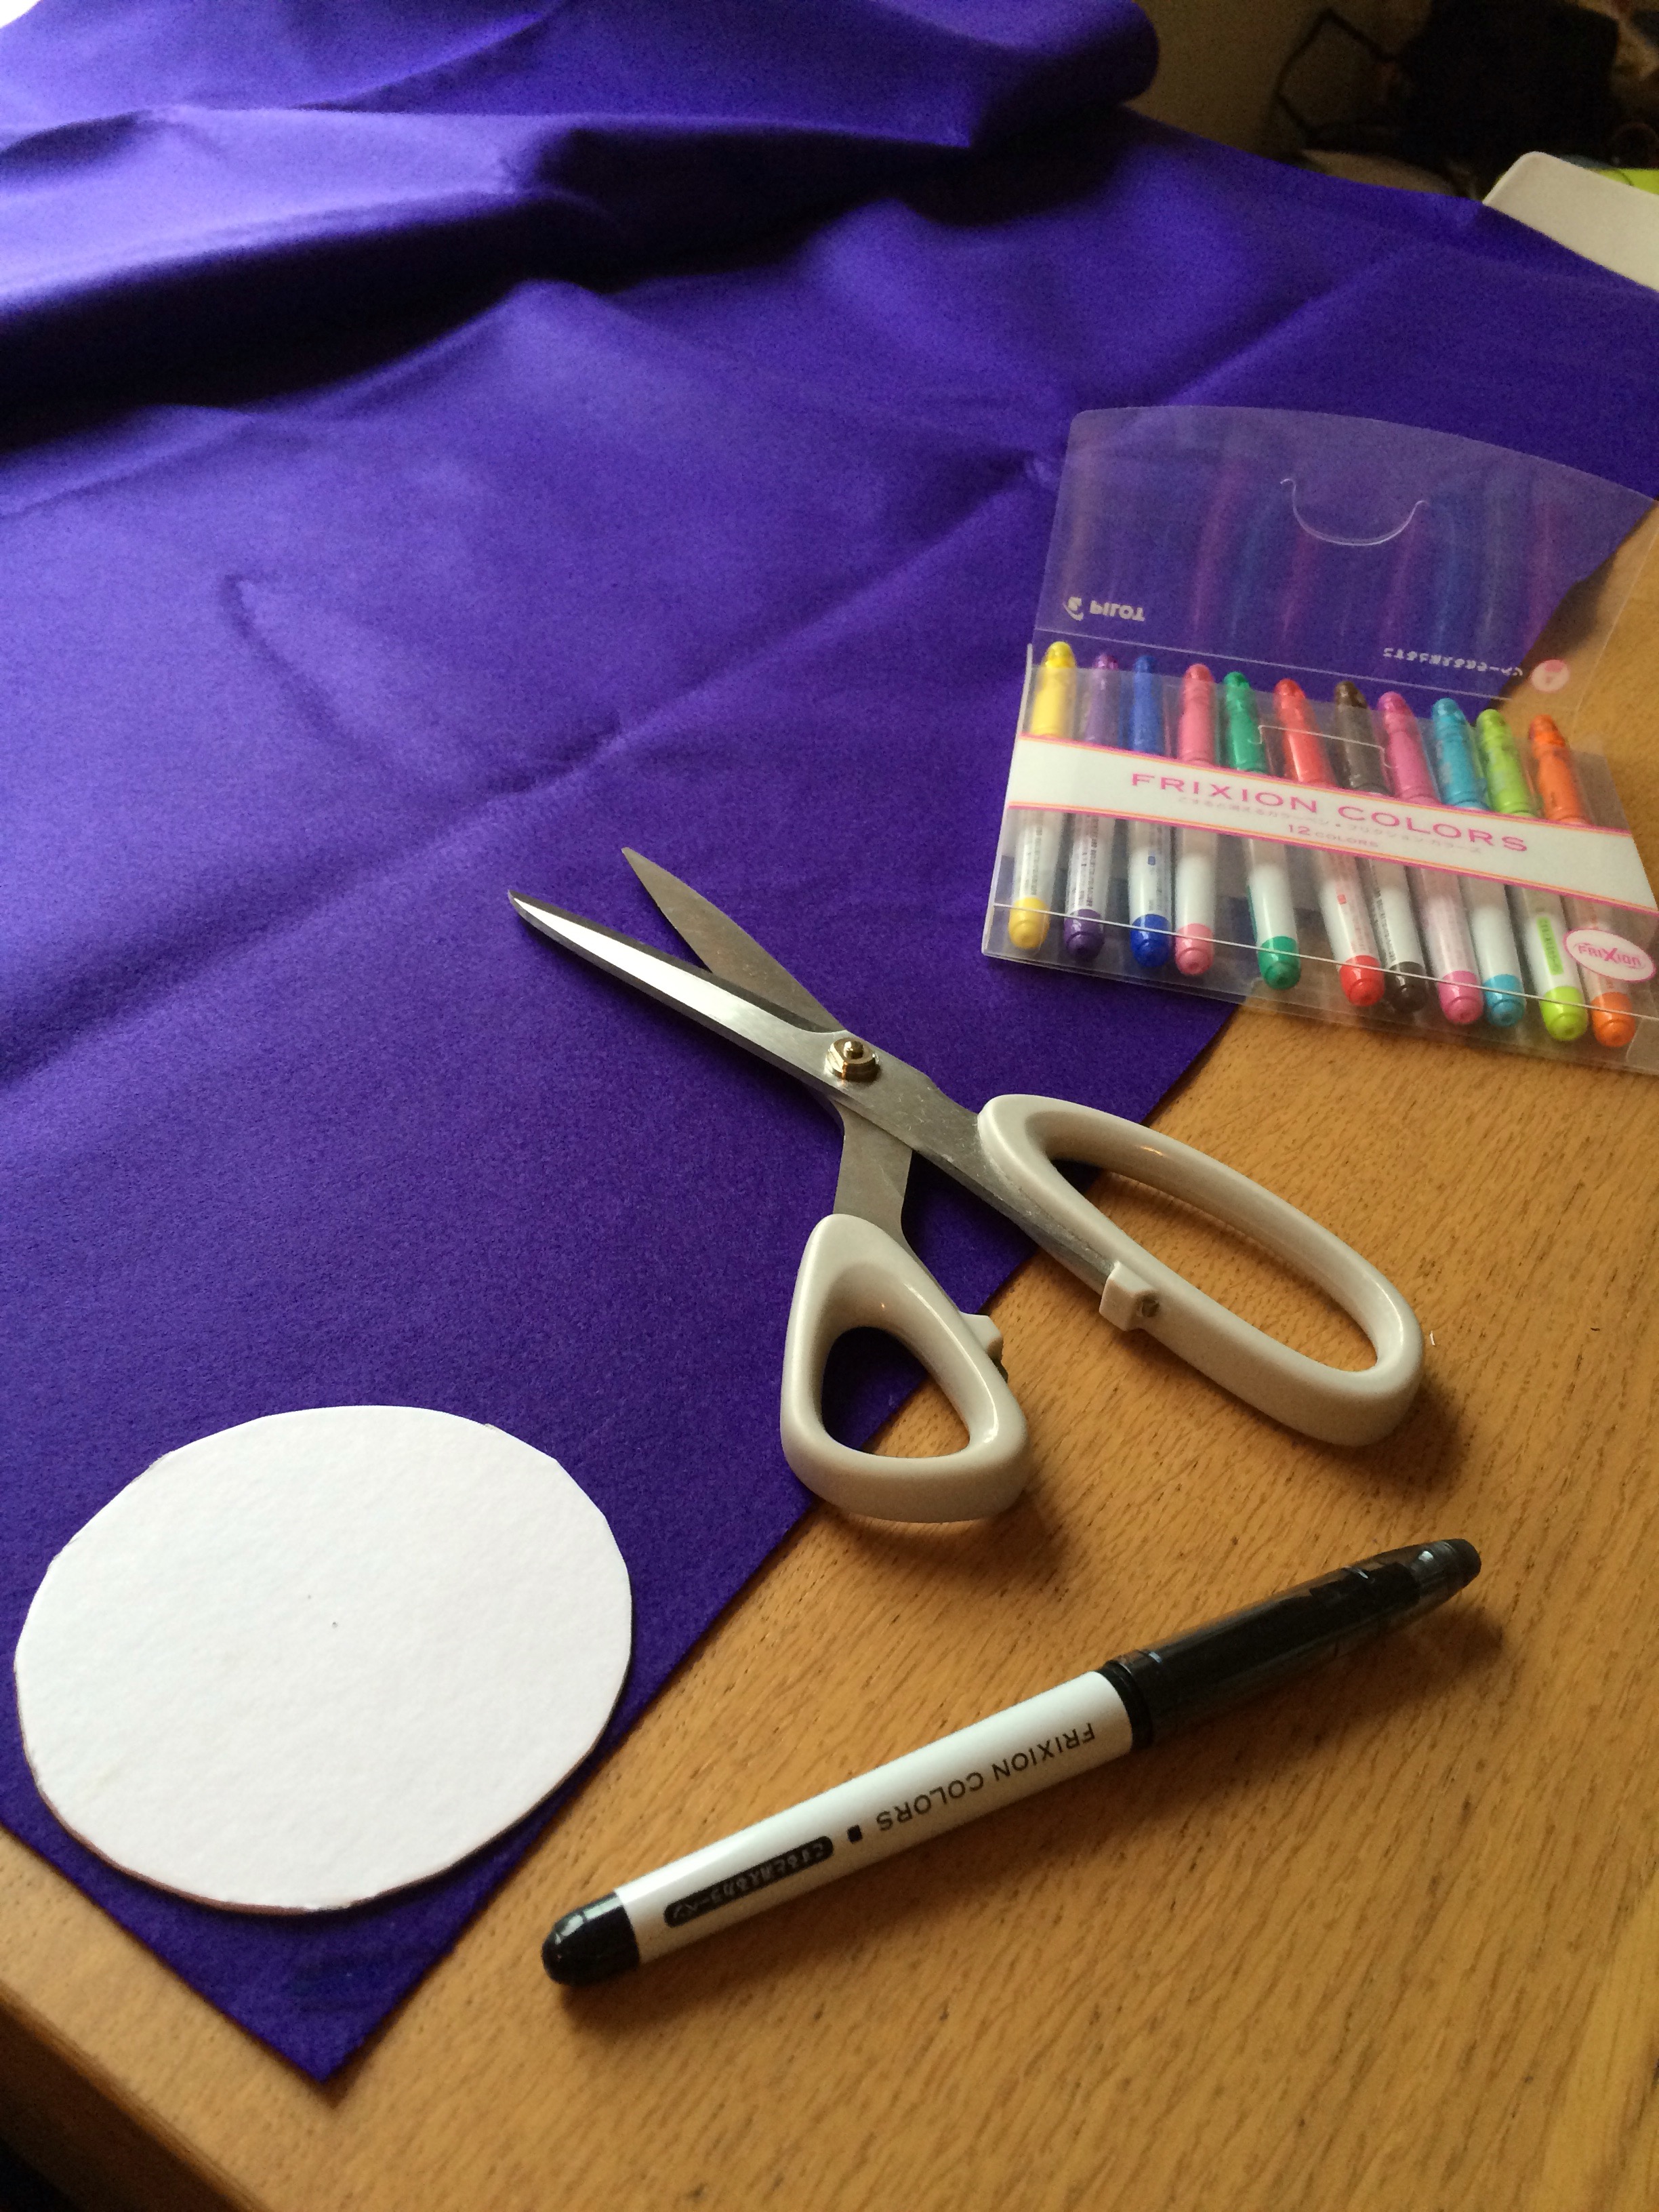 I’d ordered one wide metre of purple felt which was plenty for this project.
 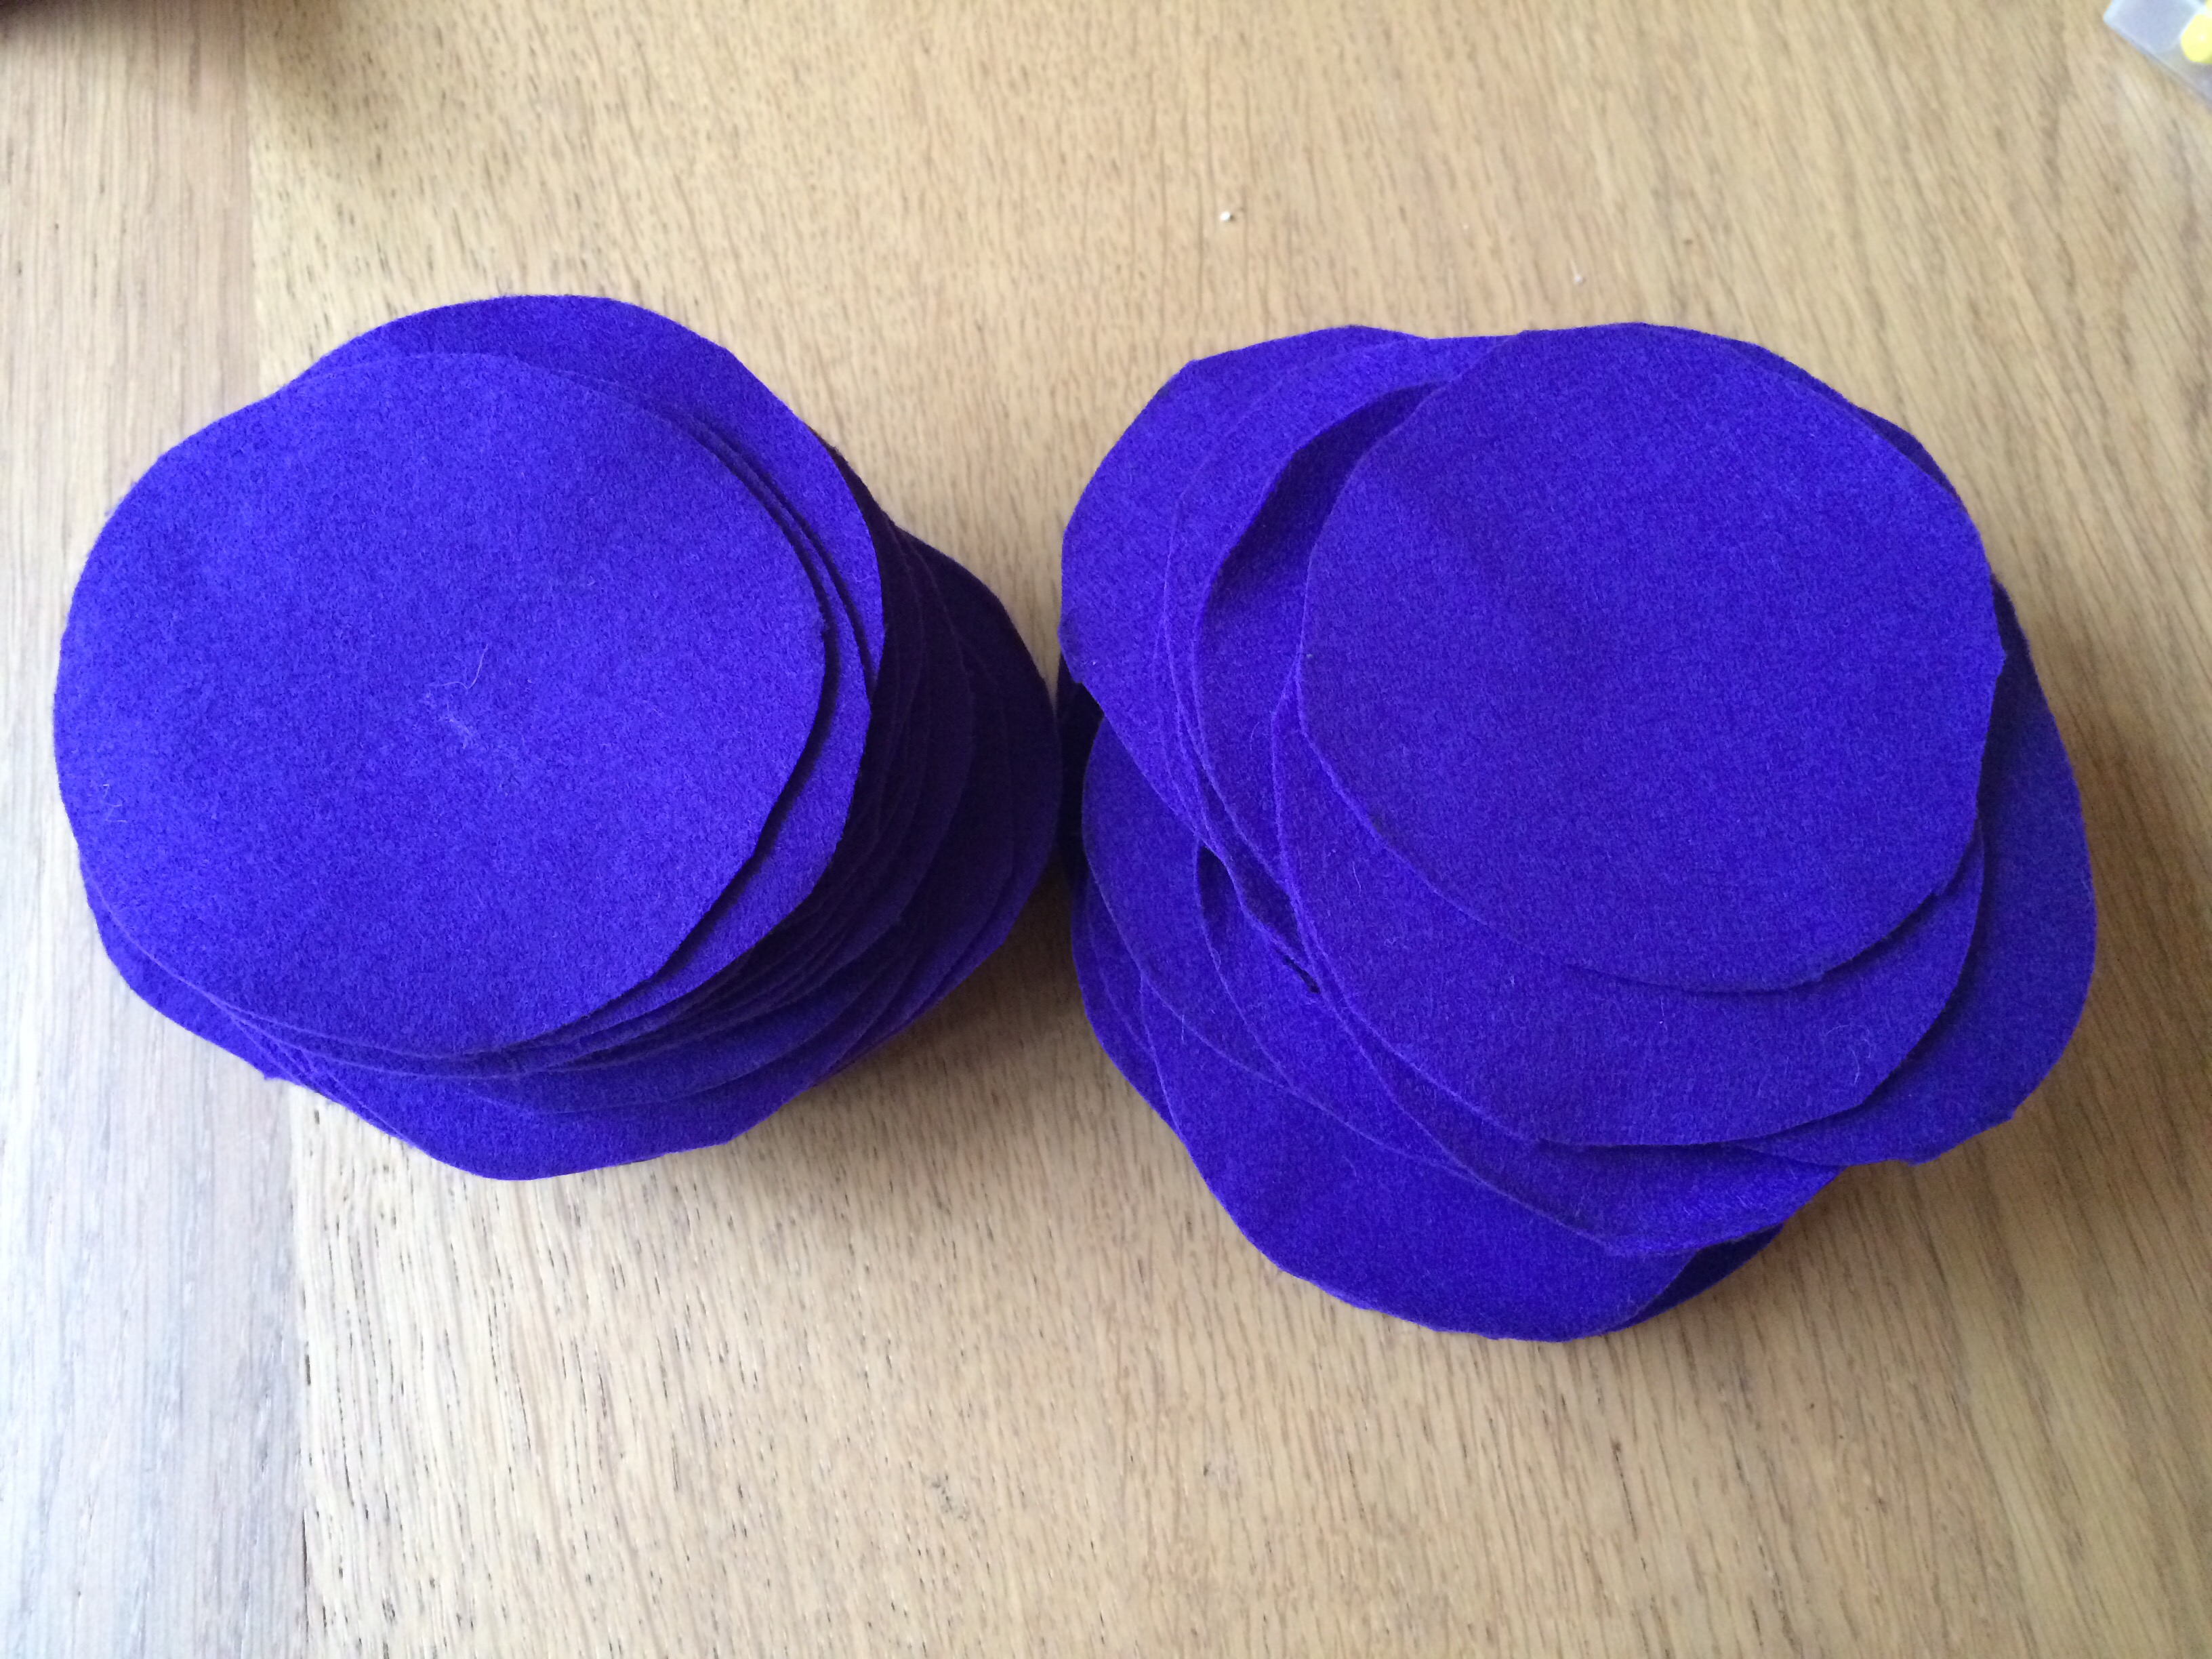 Cutting out multiple circles turned out to be the perfect thing to accompany binge-watching box sets on Prime, which I’m considering writing a dedicated post about soon. Fairly quickly and very easily, I soon had my three towers of circles.
The only real mishap with this make was that, whilst I had ordered a new box of pins specifically for this project, the seller had clearly got mixed up and sent me a cheap waxed tape measure instead. At this time of year, and for an amount barely exceeding £1, it didn’t feel like the best use of my time to pursue a replacement or refund, and luckily instead I was able to use a box of unused Merchant and Mills pins I received last Christmas .
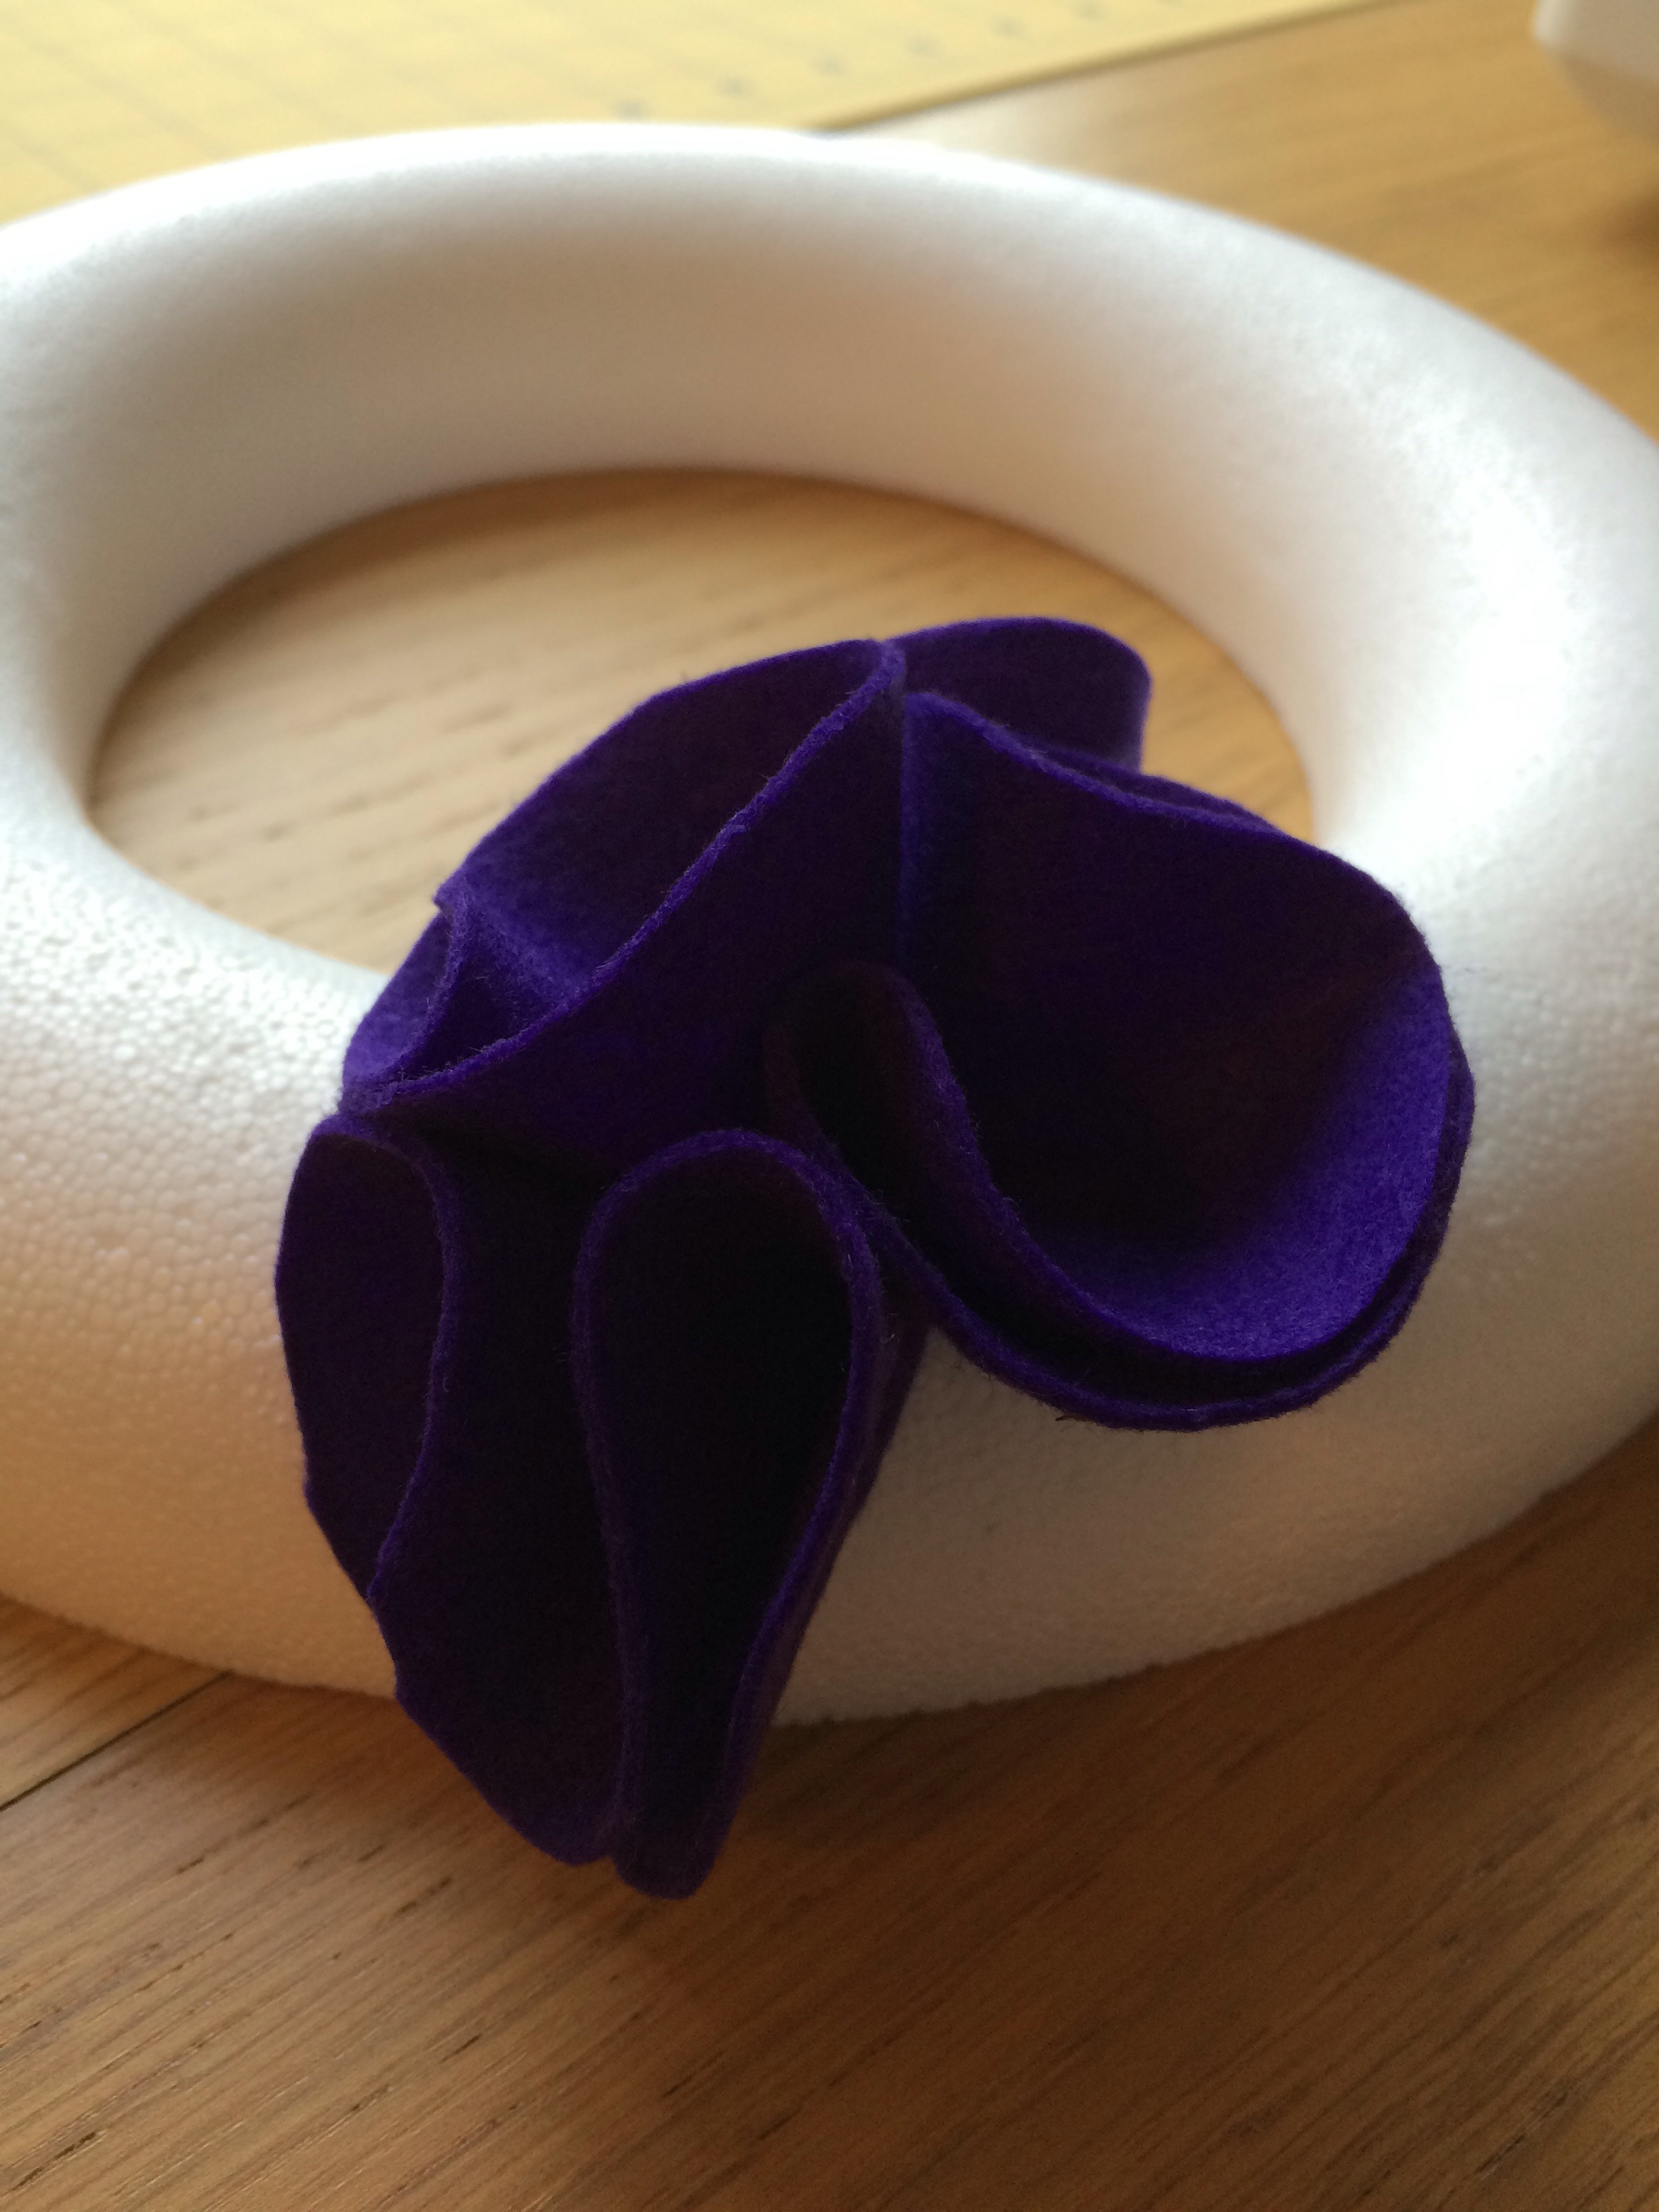 Each circle had to be folded in half, then half again, to a quarter, then a pin placed through the point. I think this could be done as a two step process, but I went ahead and then pinned each one into the polystyrene ring. At first it was tricky to know how tightly to pin the circles, as I knew each pile of fifty would need to cover a third of the ring.
 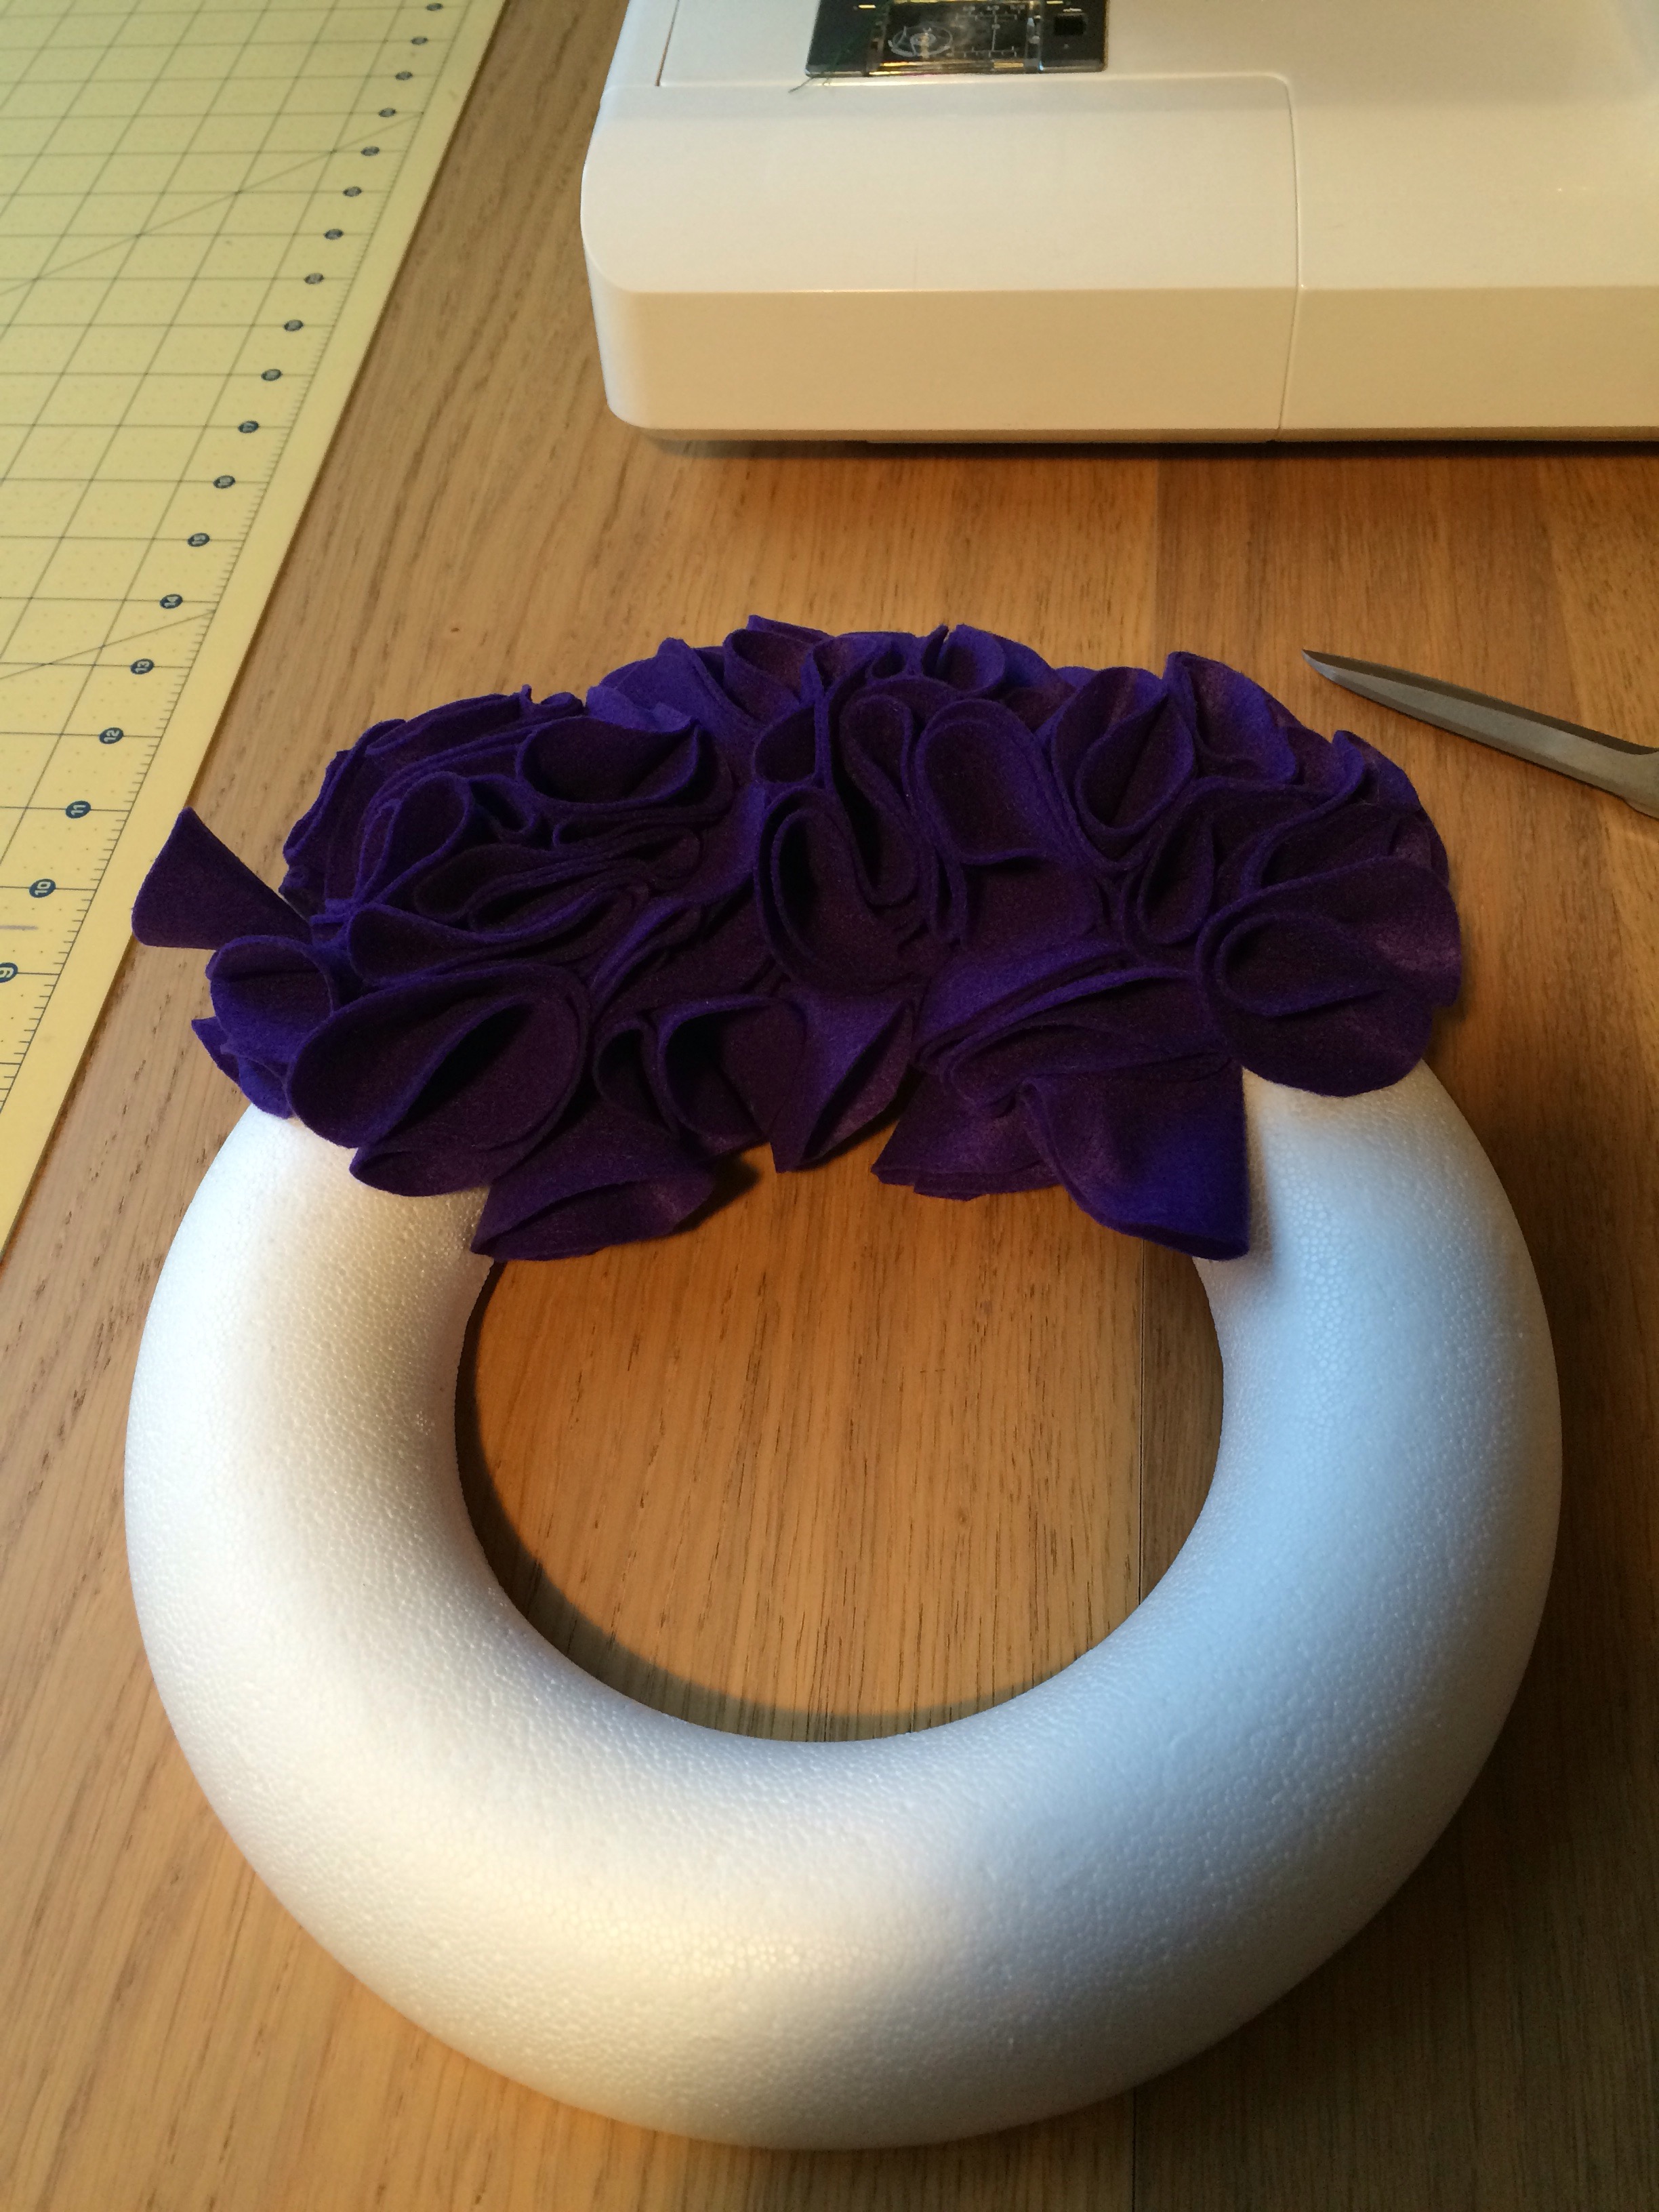 As I worked my way around from the first third, I knew I needed to space out the circles more otherwise I would need to cut more, but I didn’t want the white of the ring showing through either. I kept pinning and turning the ring to try and make the circles face different directions, as recommended by the tutorial.
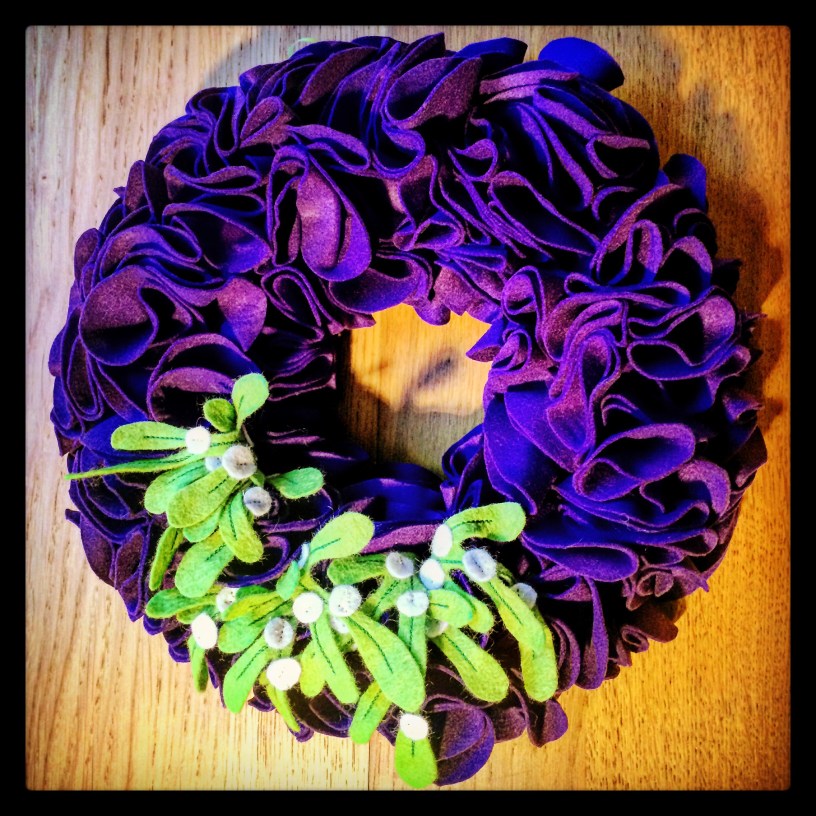
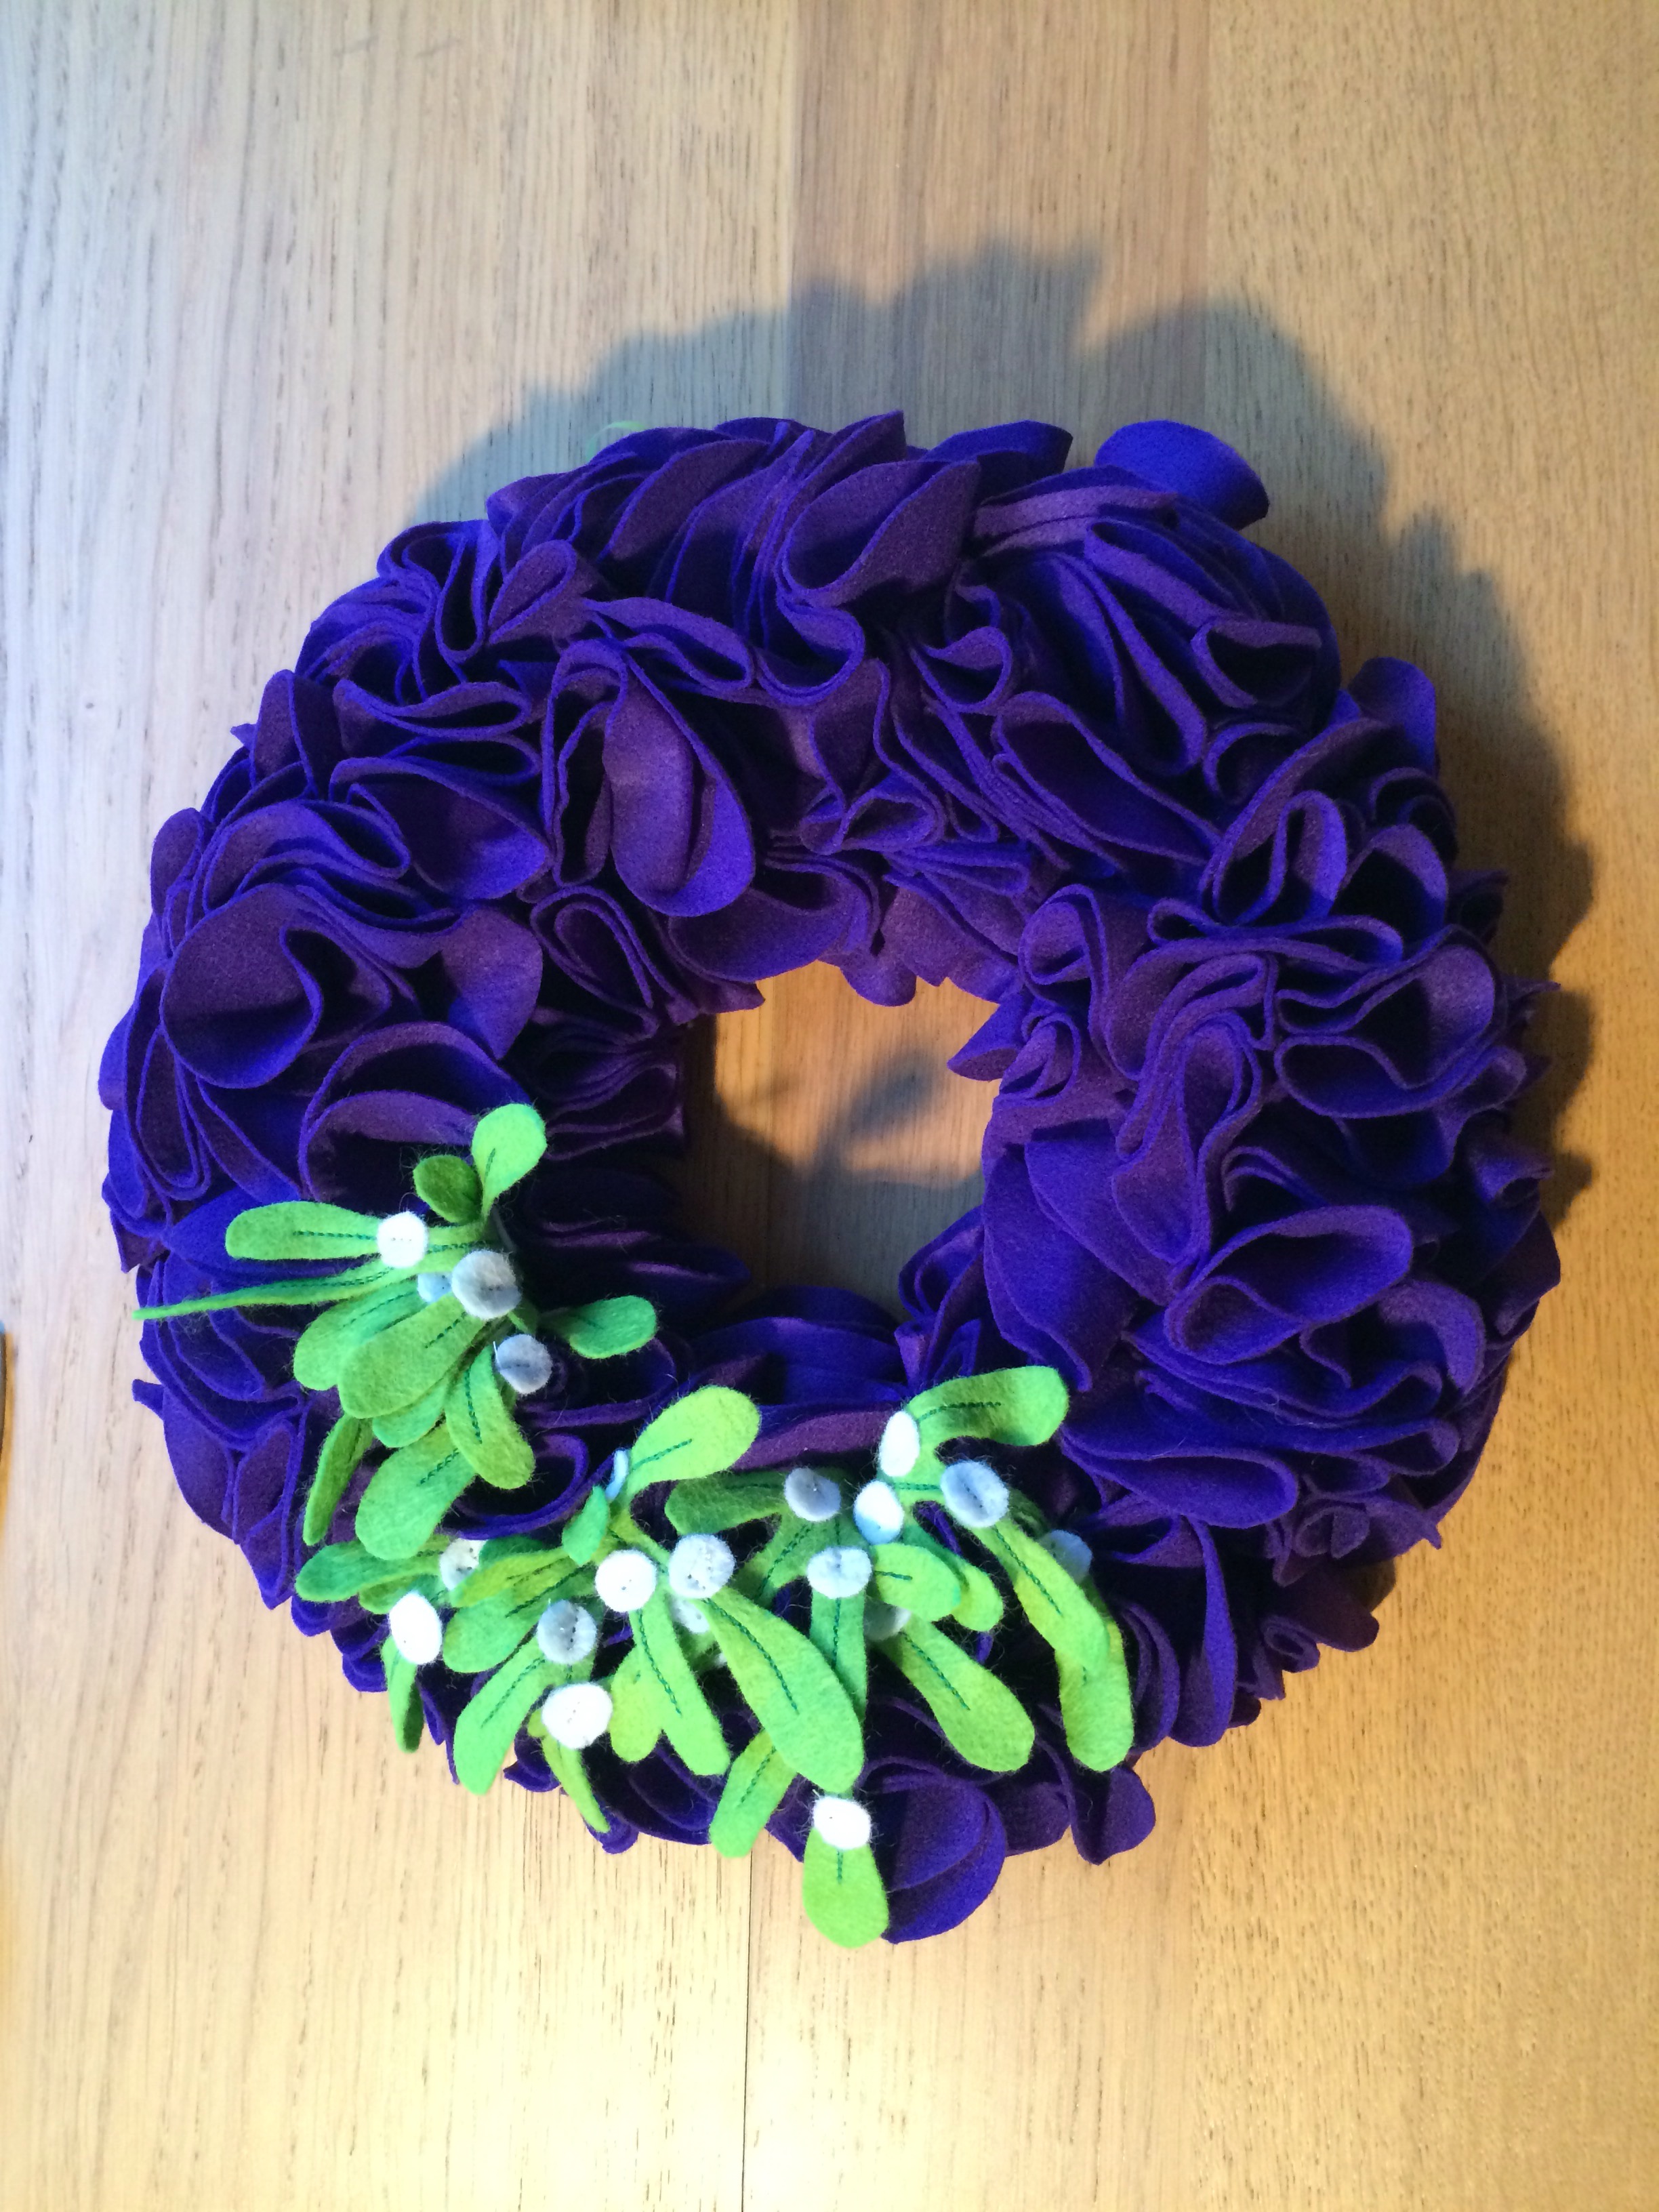 When it was covered and looked fairly even, I pinned on the mistletoe, plus pinned on a little loop of regular parcel ribbon at the back. I may replace this with the satin ribbon when it arrives. There is also supposed to be a fancy bow made of satin ribbon beside the mistletoe, but I’m not sure it needs it.
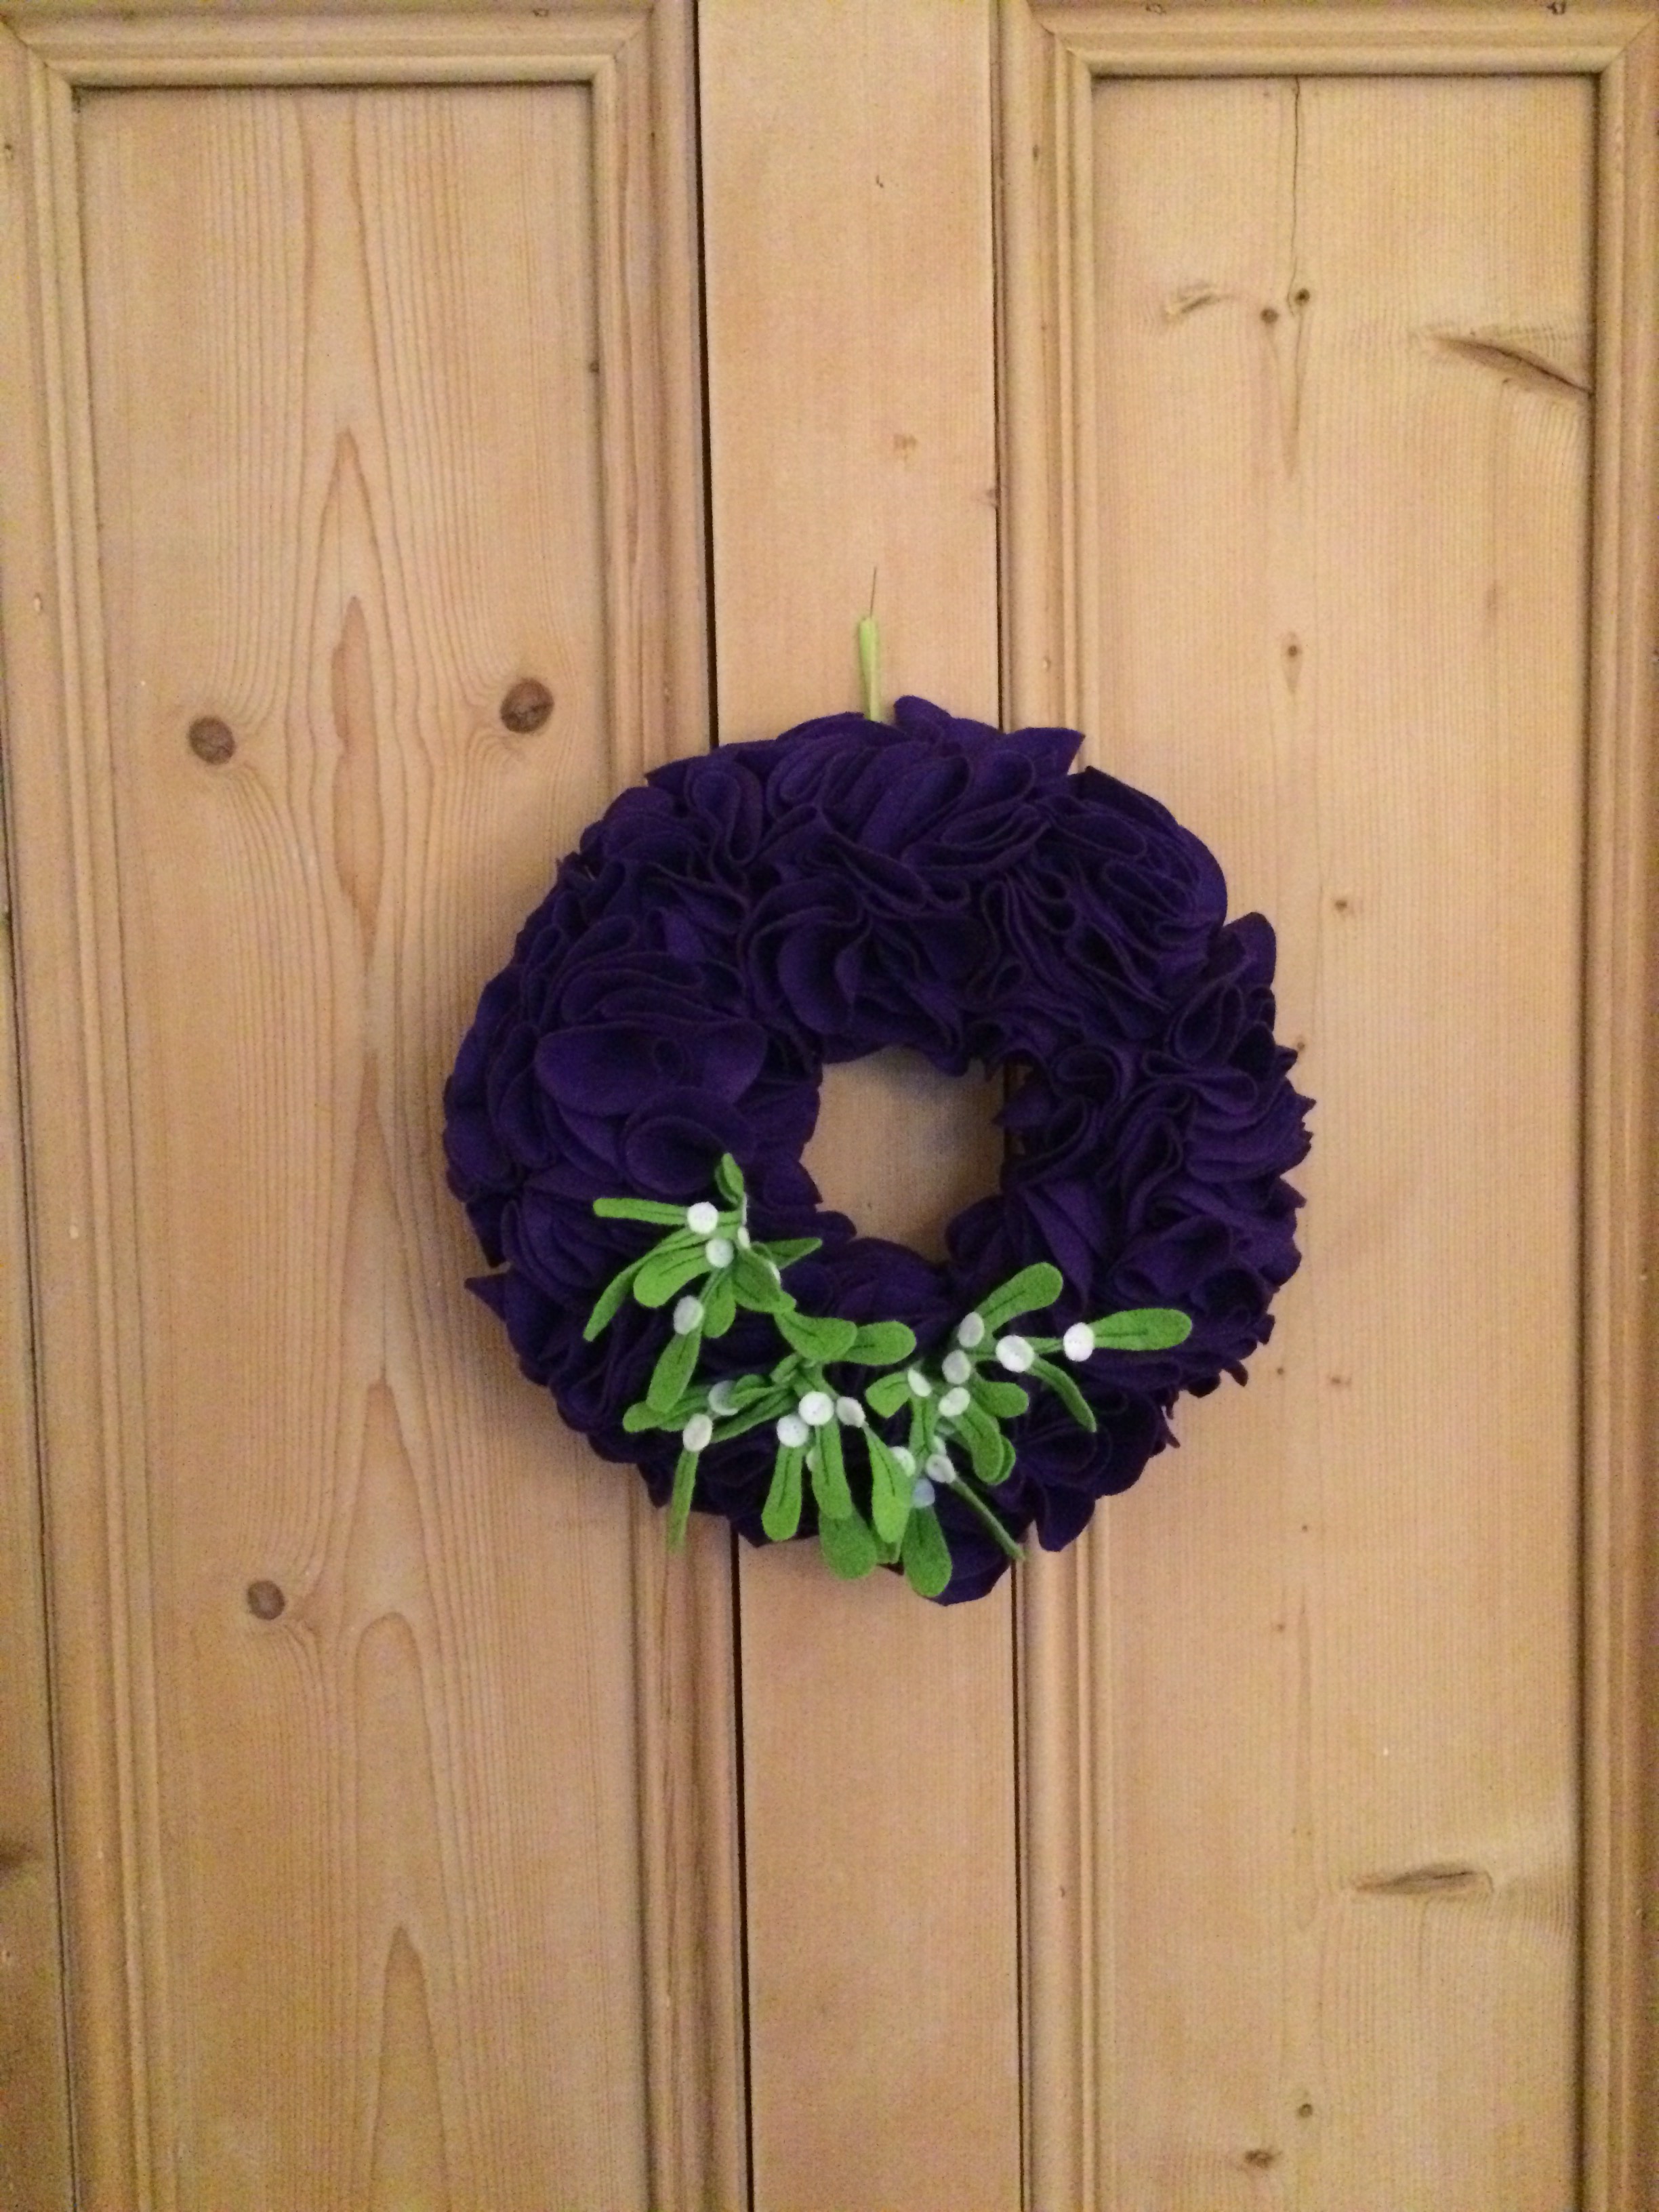 I think this garland will stay indoors, for this year at least. It was a very enjoyable, simple and satisfying project, and I’m hoping it lasts for a while. In total, the supplies cost me around £16, which I don’t think is excessive for something I had fun making and will keep. I wouldn’t have chosen purple as a Christmassy colour but I actually really like it with the green of the mistletoe.
Have you tried making anything like this before, and if so, did you follow the tutorial to the letter or did you add your own twist?

IT looks great, but I’m not sure I’d have the patience for all those circles… That said, I’ve finally finished all the shopping, both presents and food, so I’m hoping to find a little time for some Christmas sewing over the next couple of days before relatives arrive…
LikeLiked by 1 person
Patience really isn’t my greatest virtue, so this make is pretty uncharacteristic for me 🙂 you sound so organised – unlike me on either the present or the food front! Hope you do find some time to yourself before relatives descend.
LikeLiked by 1 person
I think patience is required so much in our day jobs that there’s none left for our nearest and dearest! 😉
LikeLiked by 1 person
It looks beautiful! I really like the purple. I’m glad 150 circles wasn’t too bad after all. That would have concerned me! Well done!
LikeLiked by 1 person
It looks stunning, and so complicated, but it doesn’t sound too difficult. I think I’ll pink that for next year! 😀
LikeLiked by 1 person
You should – I know it’s a while away, but I’m looking forward to seeing your version!
LikeLiked by 1 person
It’s gorgeous, very unusual – I’m going to follow the link and hopefully make one next year.
LikeLiked by 1 person
This is absolutely AMAZING!! I love it! You may have even persuaded me to give one a go 🙂
LikeLiked by 1 person