

On the day I broke up from school for the Christmas holidays, I stayed up alone, very late, and made lists of everything I both needed and wanted to achieve over the fortnight off. I knew at the time it was far-fetched, but one of the makes I included on the list was a baby quilt for a lovely lady at work who was due to go on maternity leave in February. In an unusual moment of organisation, I had ordered the fabrics for the quilt topper back in November. More typically, however, I waited until the day before the baby shower to begin making the quilt.
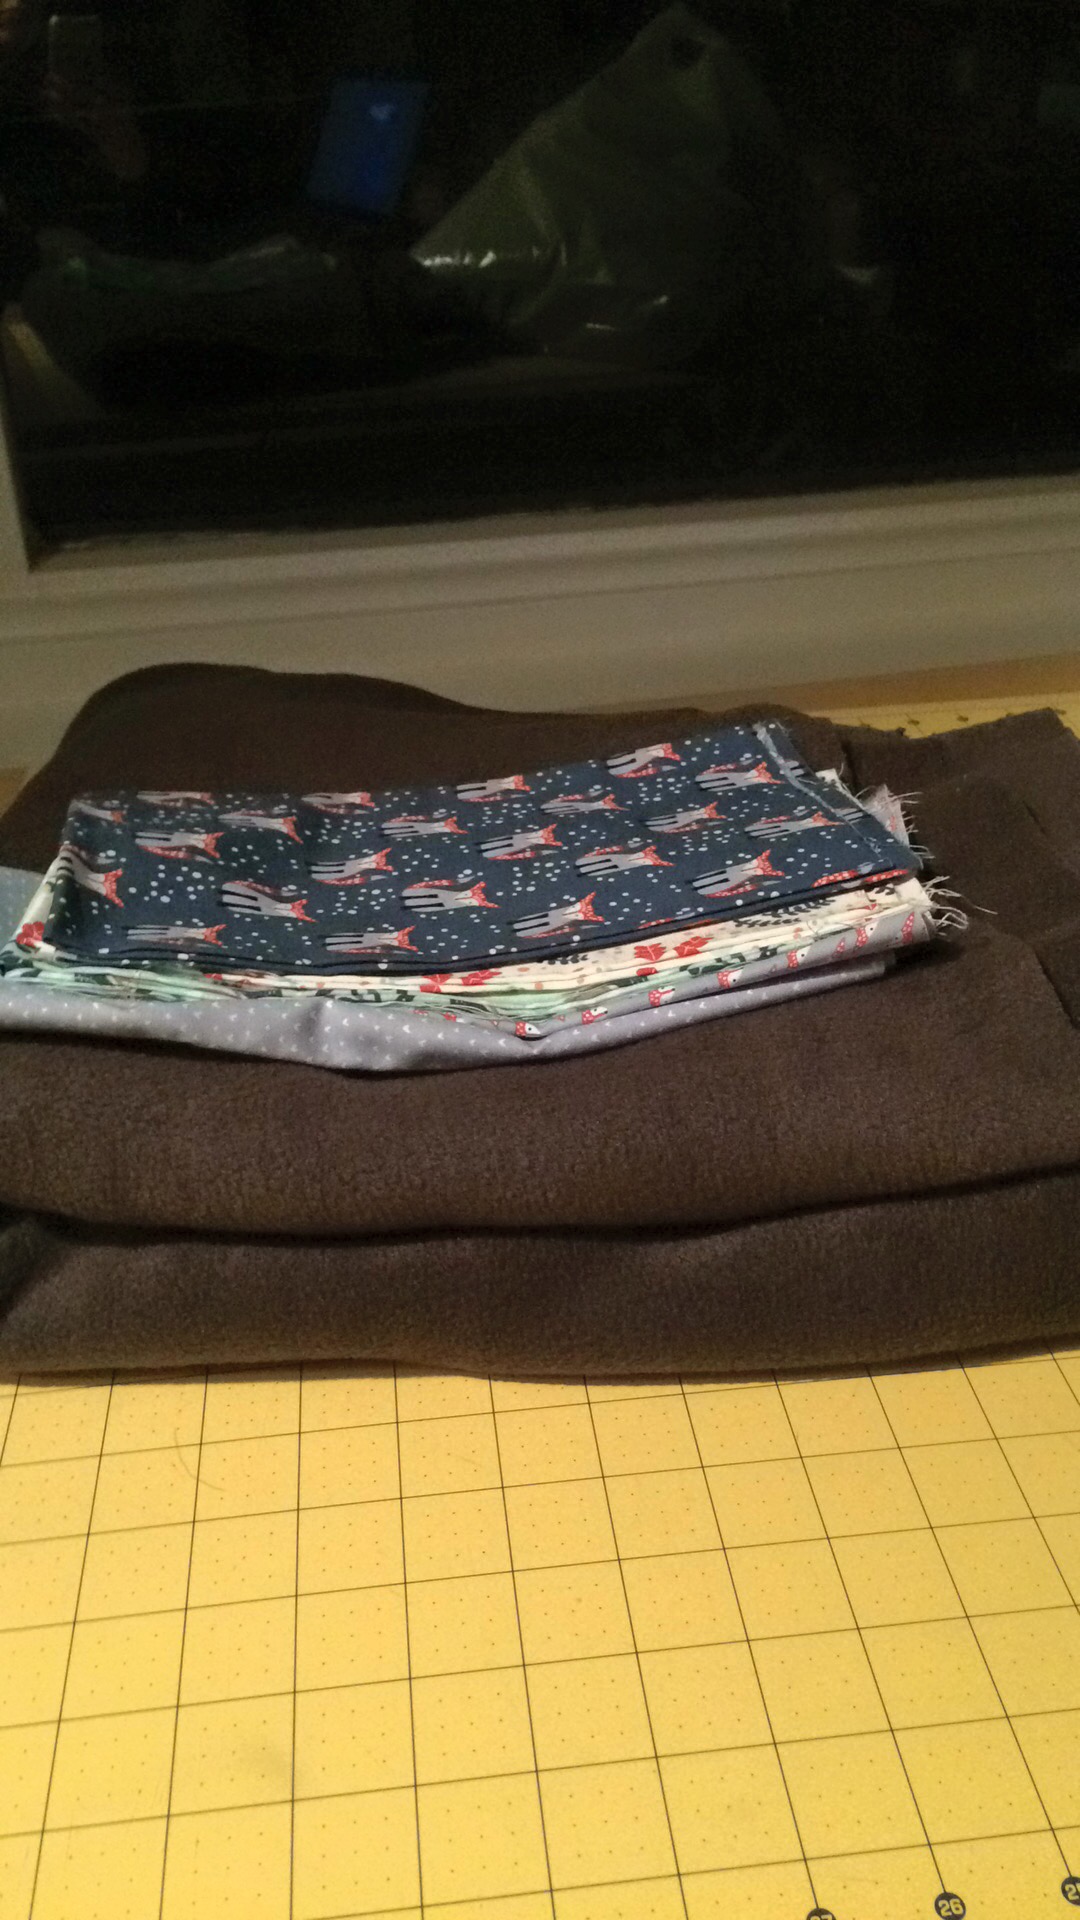
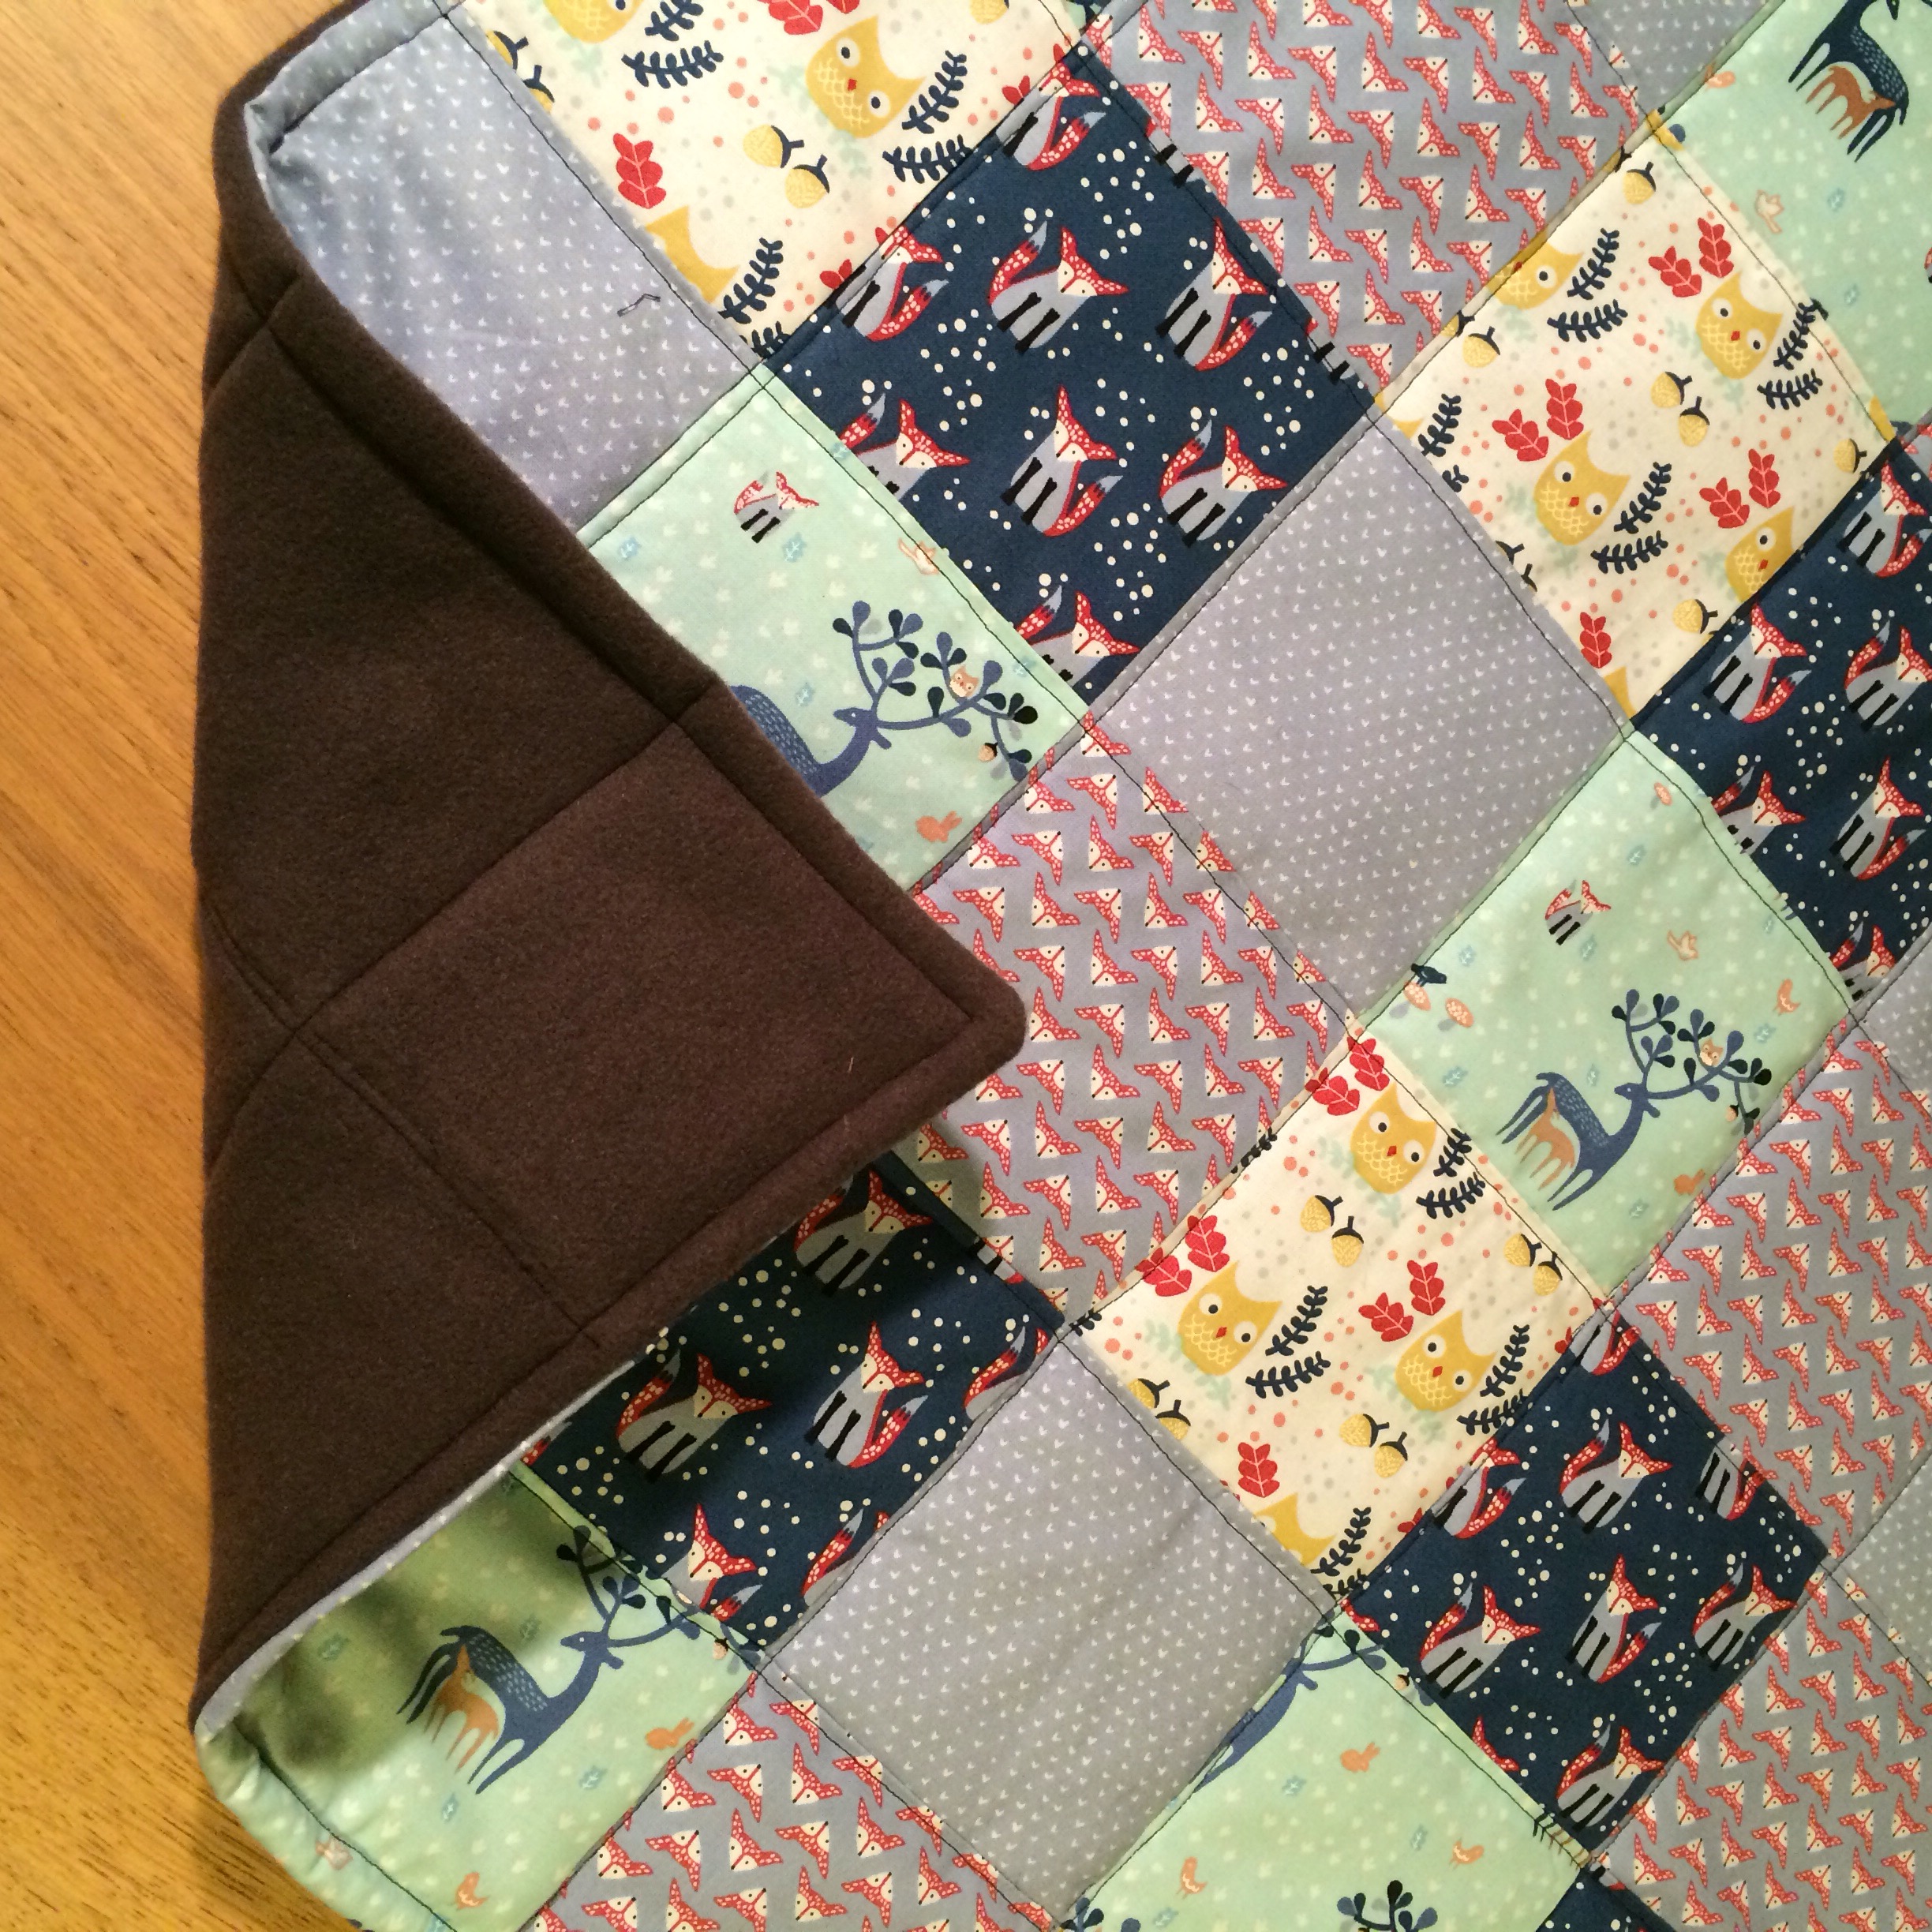
I had chosen to use this gorgeous Dear Stella collection from Elephant In My Handbag – keep reading for a fantastic special voucher code! I knew that mum-to-be Kelly loved fabrics featuring owls and animals, and the colour scheme seemed appropriate for a boy. On Saturday’s trip to Dewsbury, I picked up 1.5m of dark grey fleece to use as quilt backing. I’d bought a couple of metres of lightweight wadding a while ago, so the warm and fairly heavy fleece was perfect to add just the right amount of weight to the quilt.
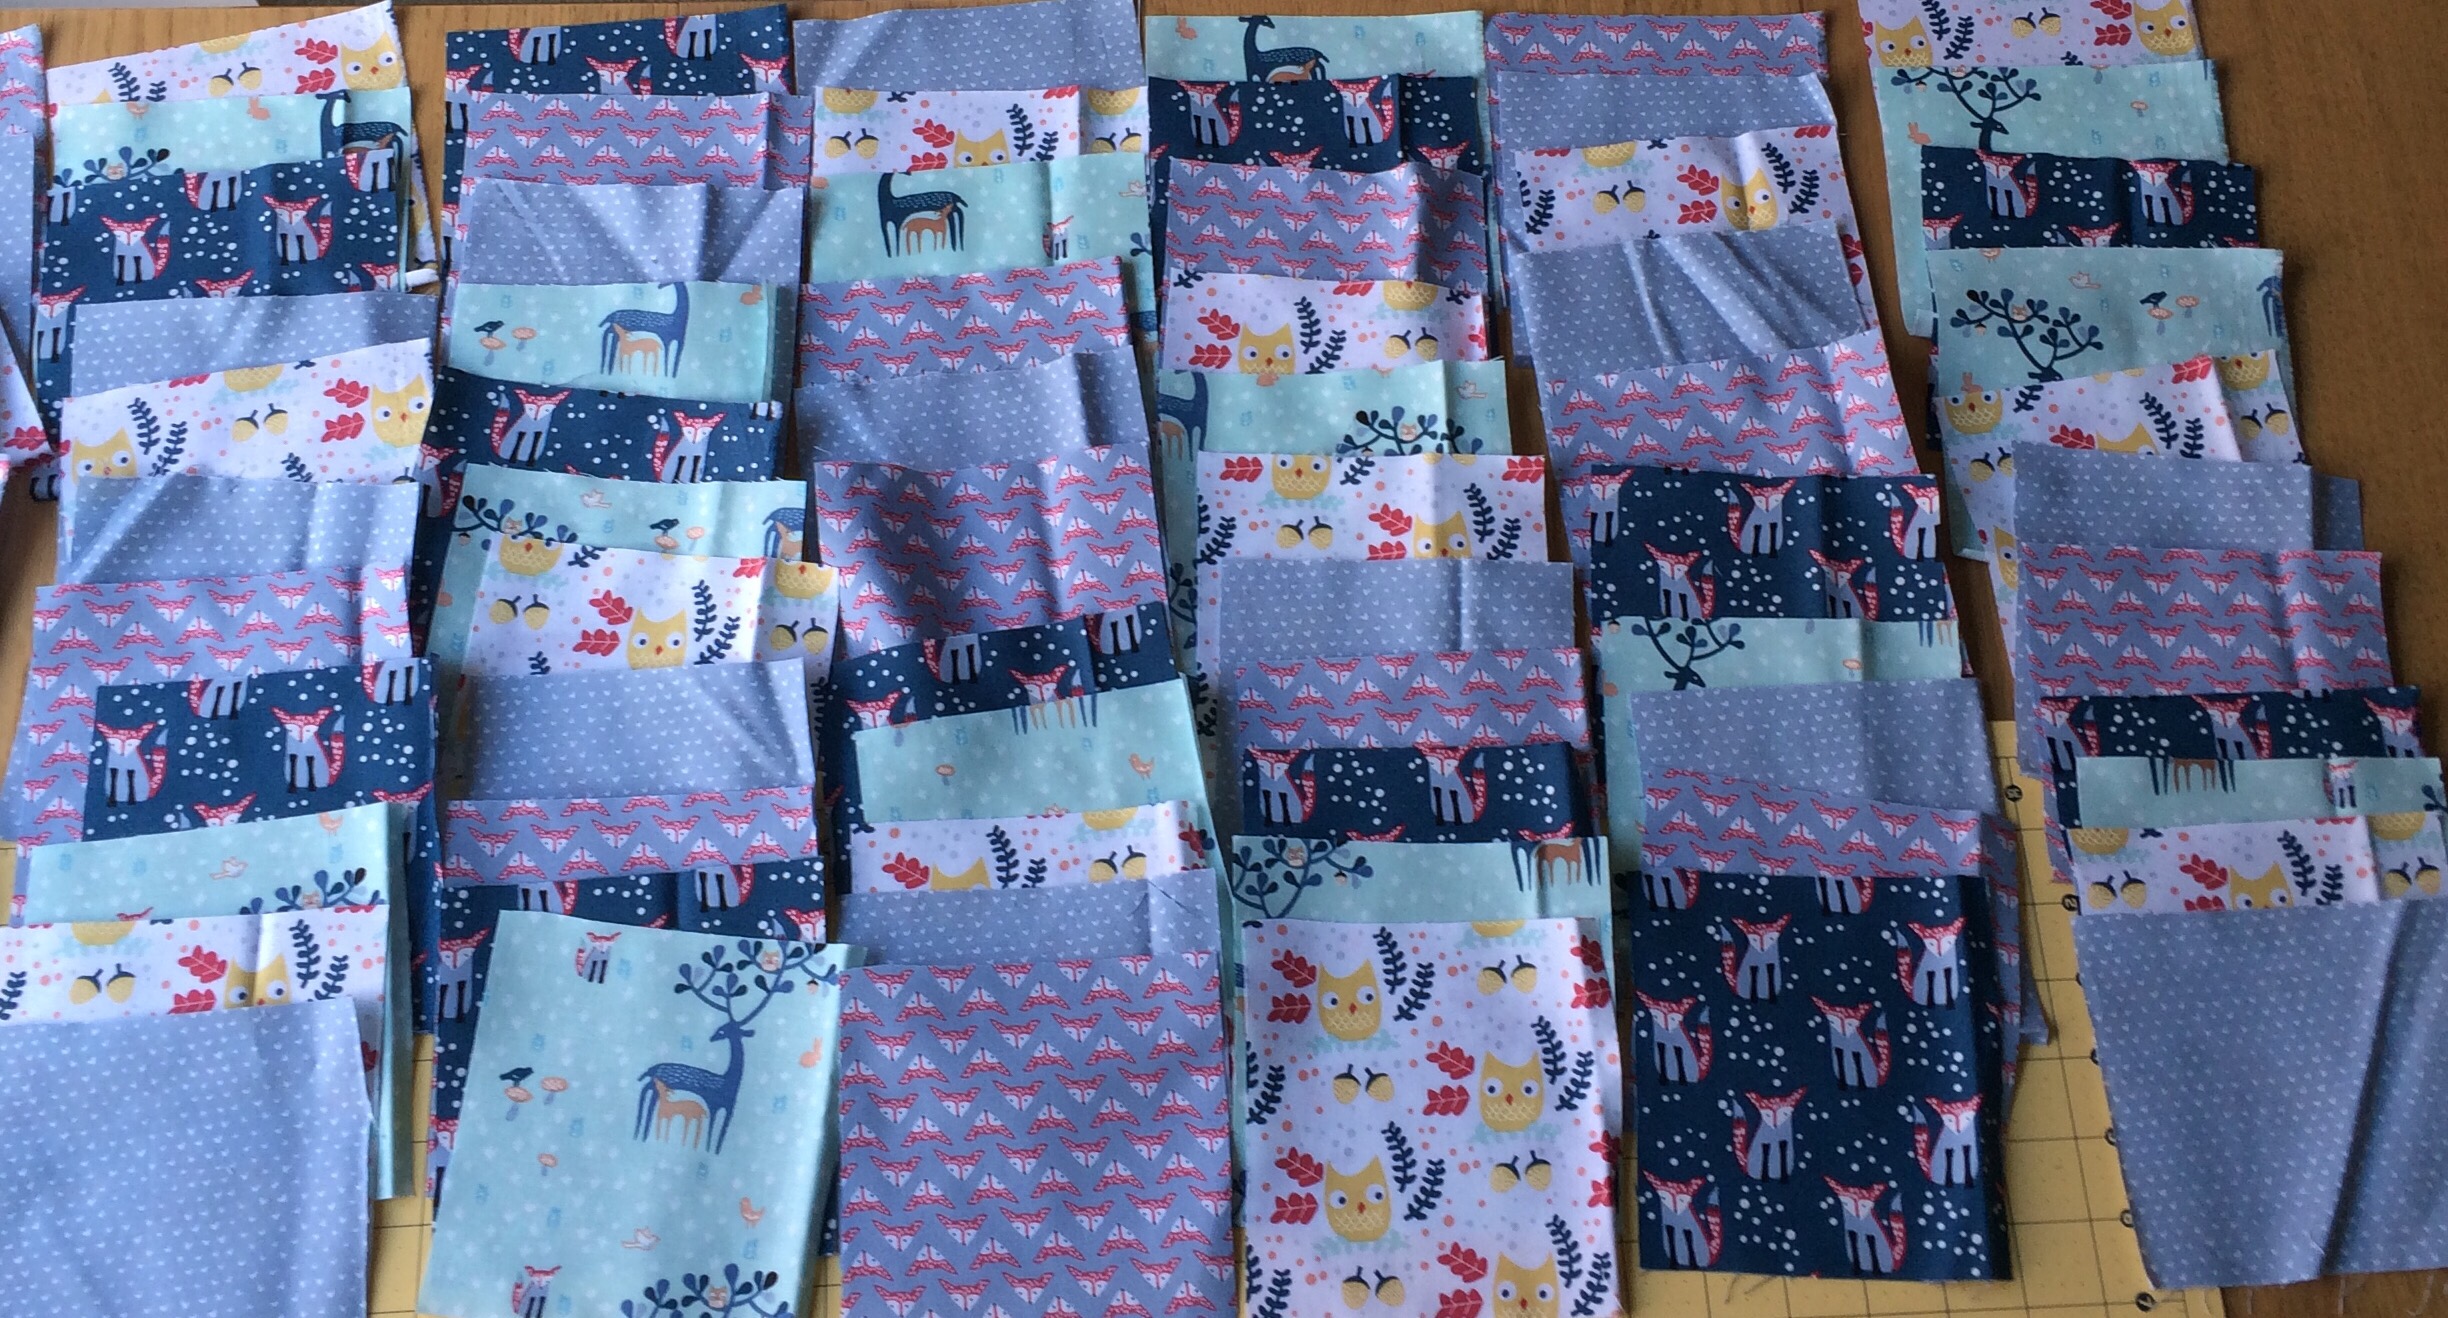
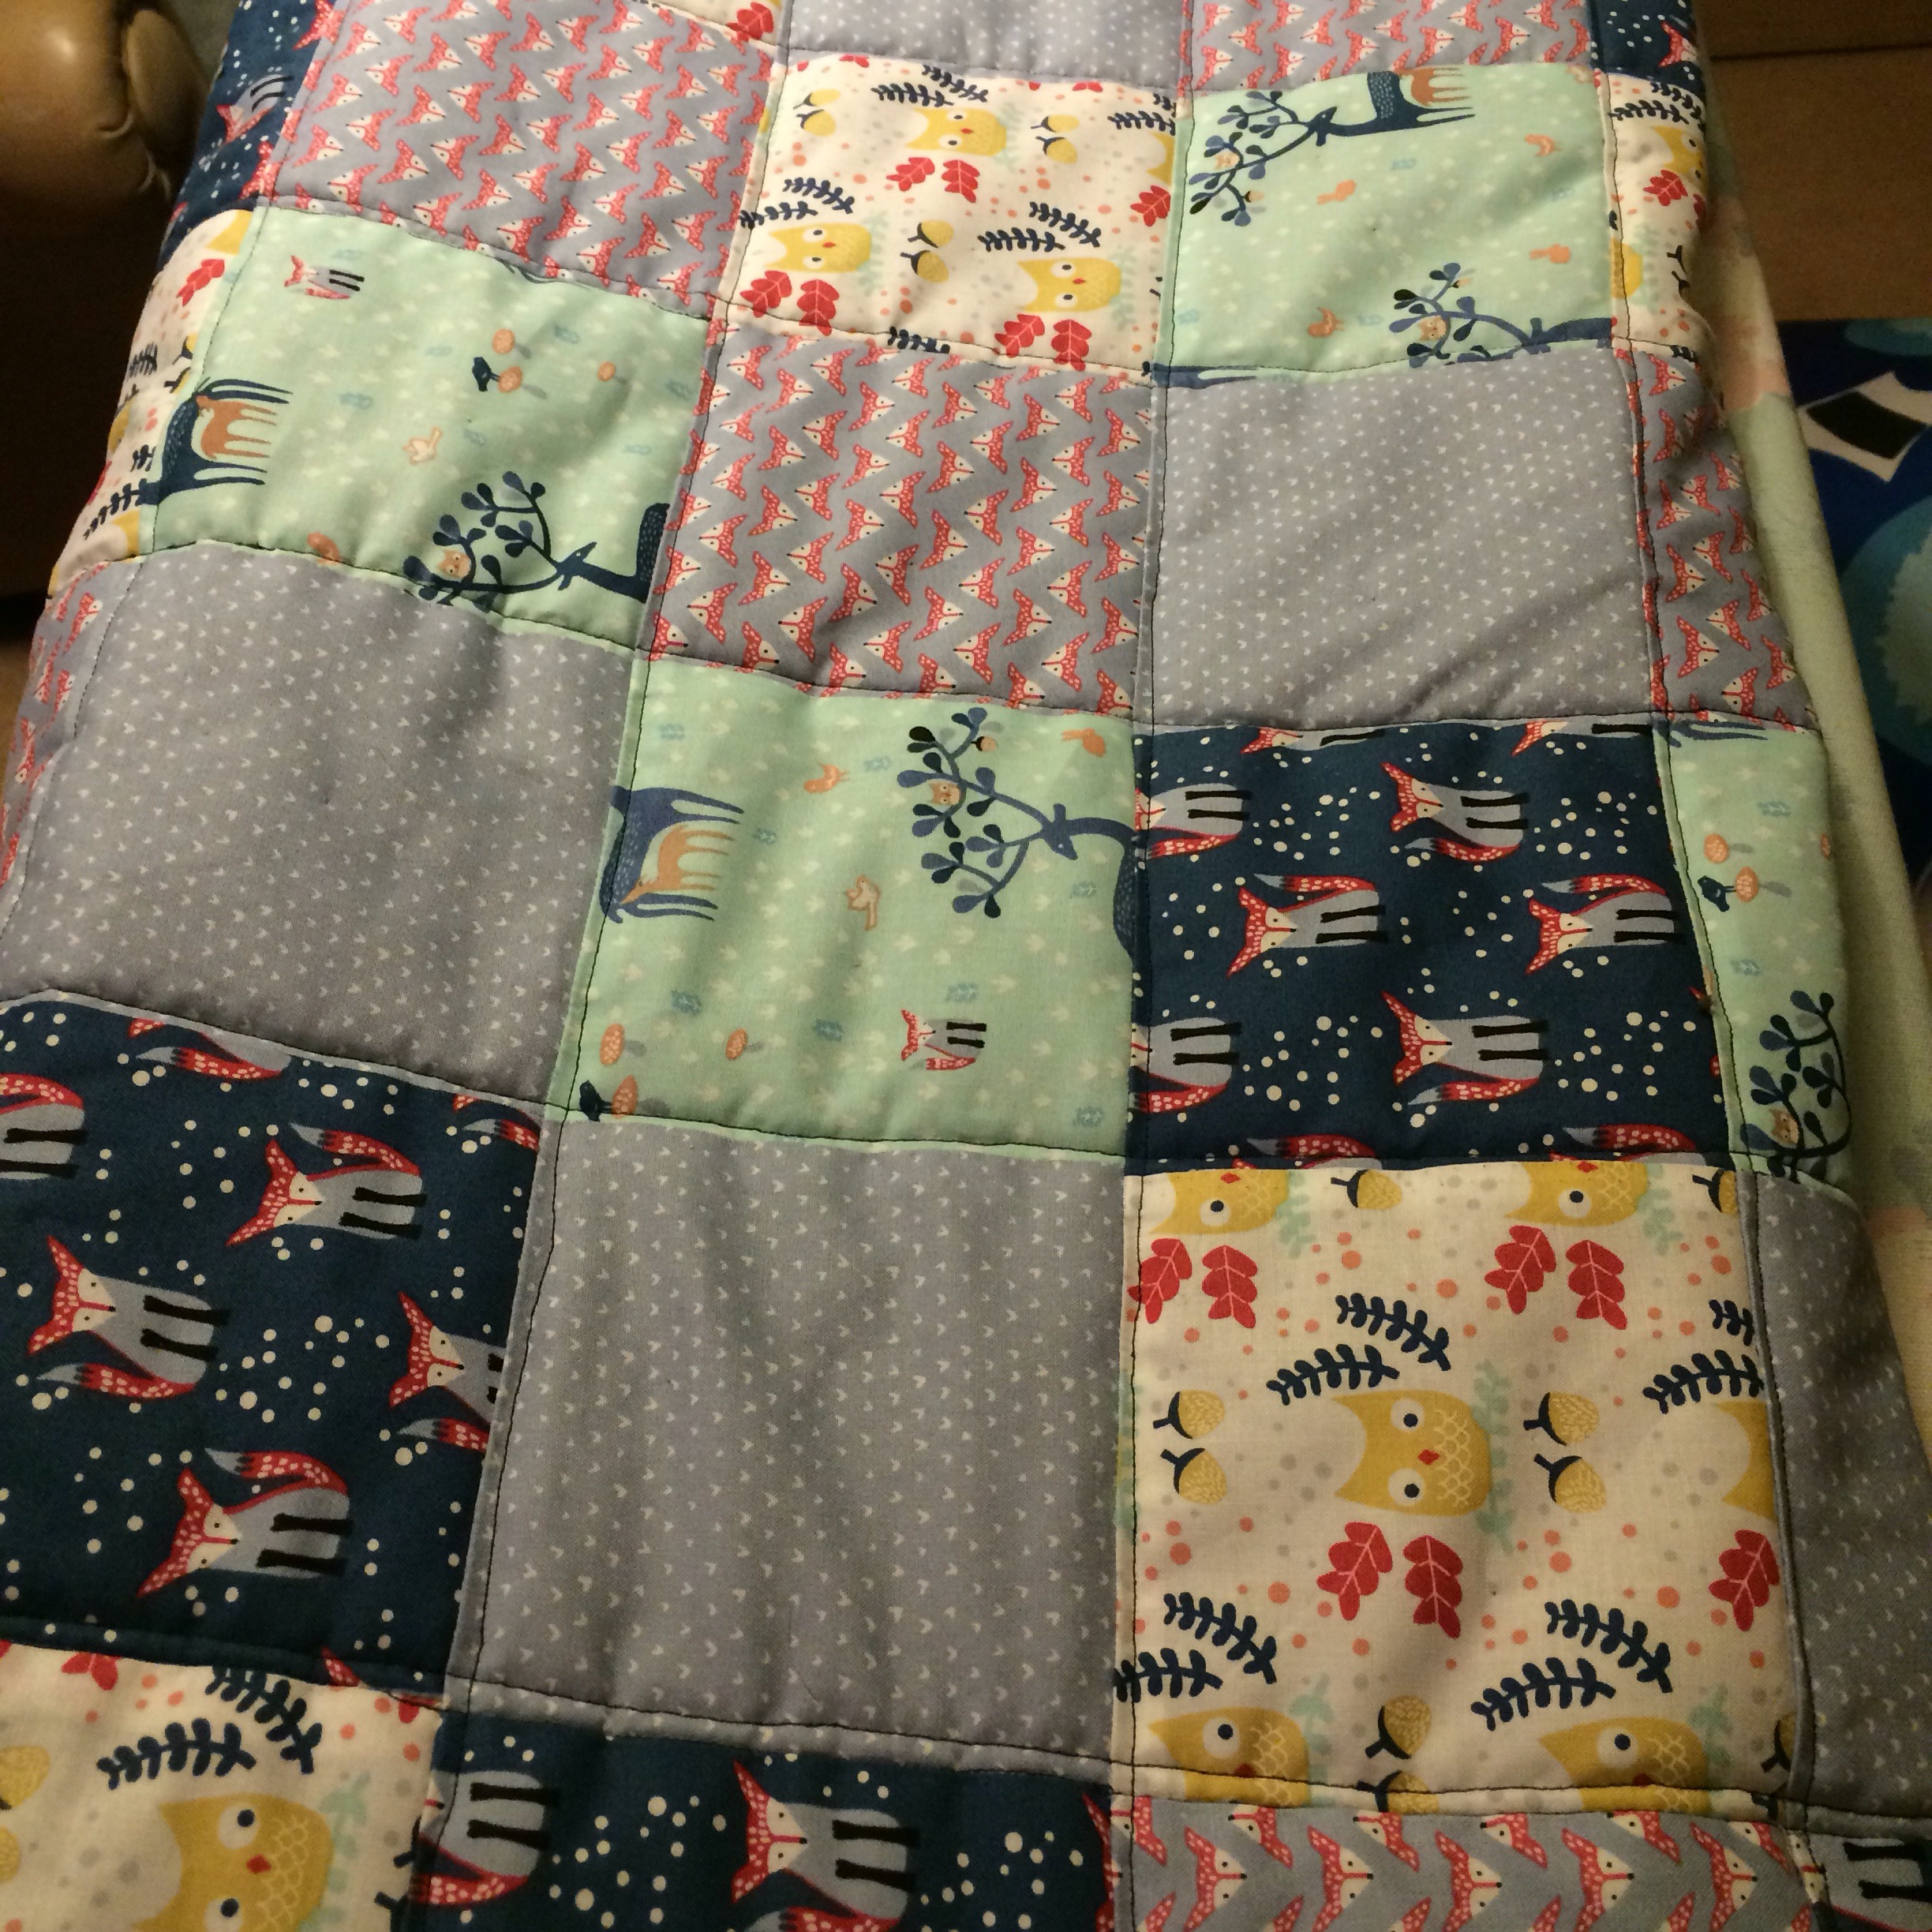
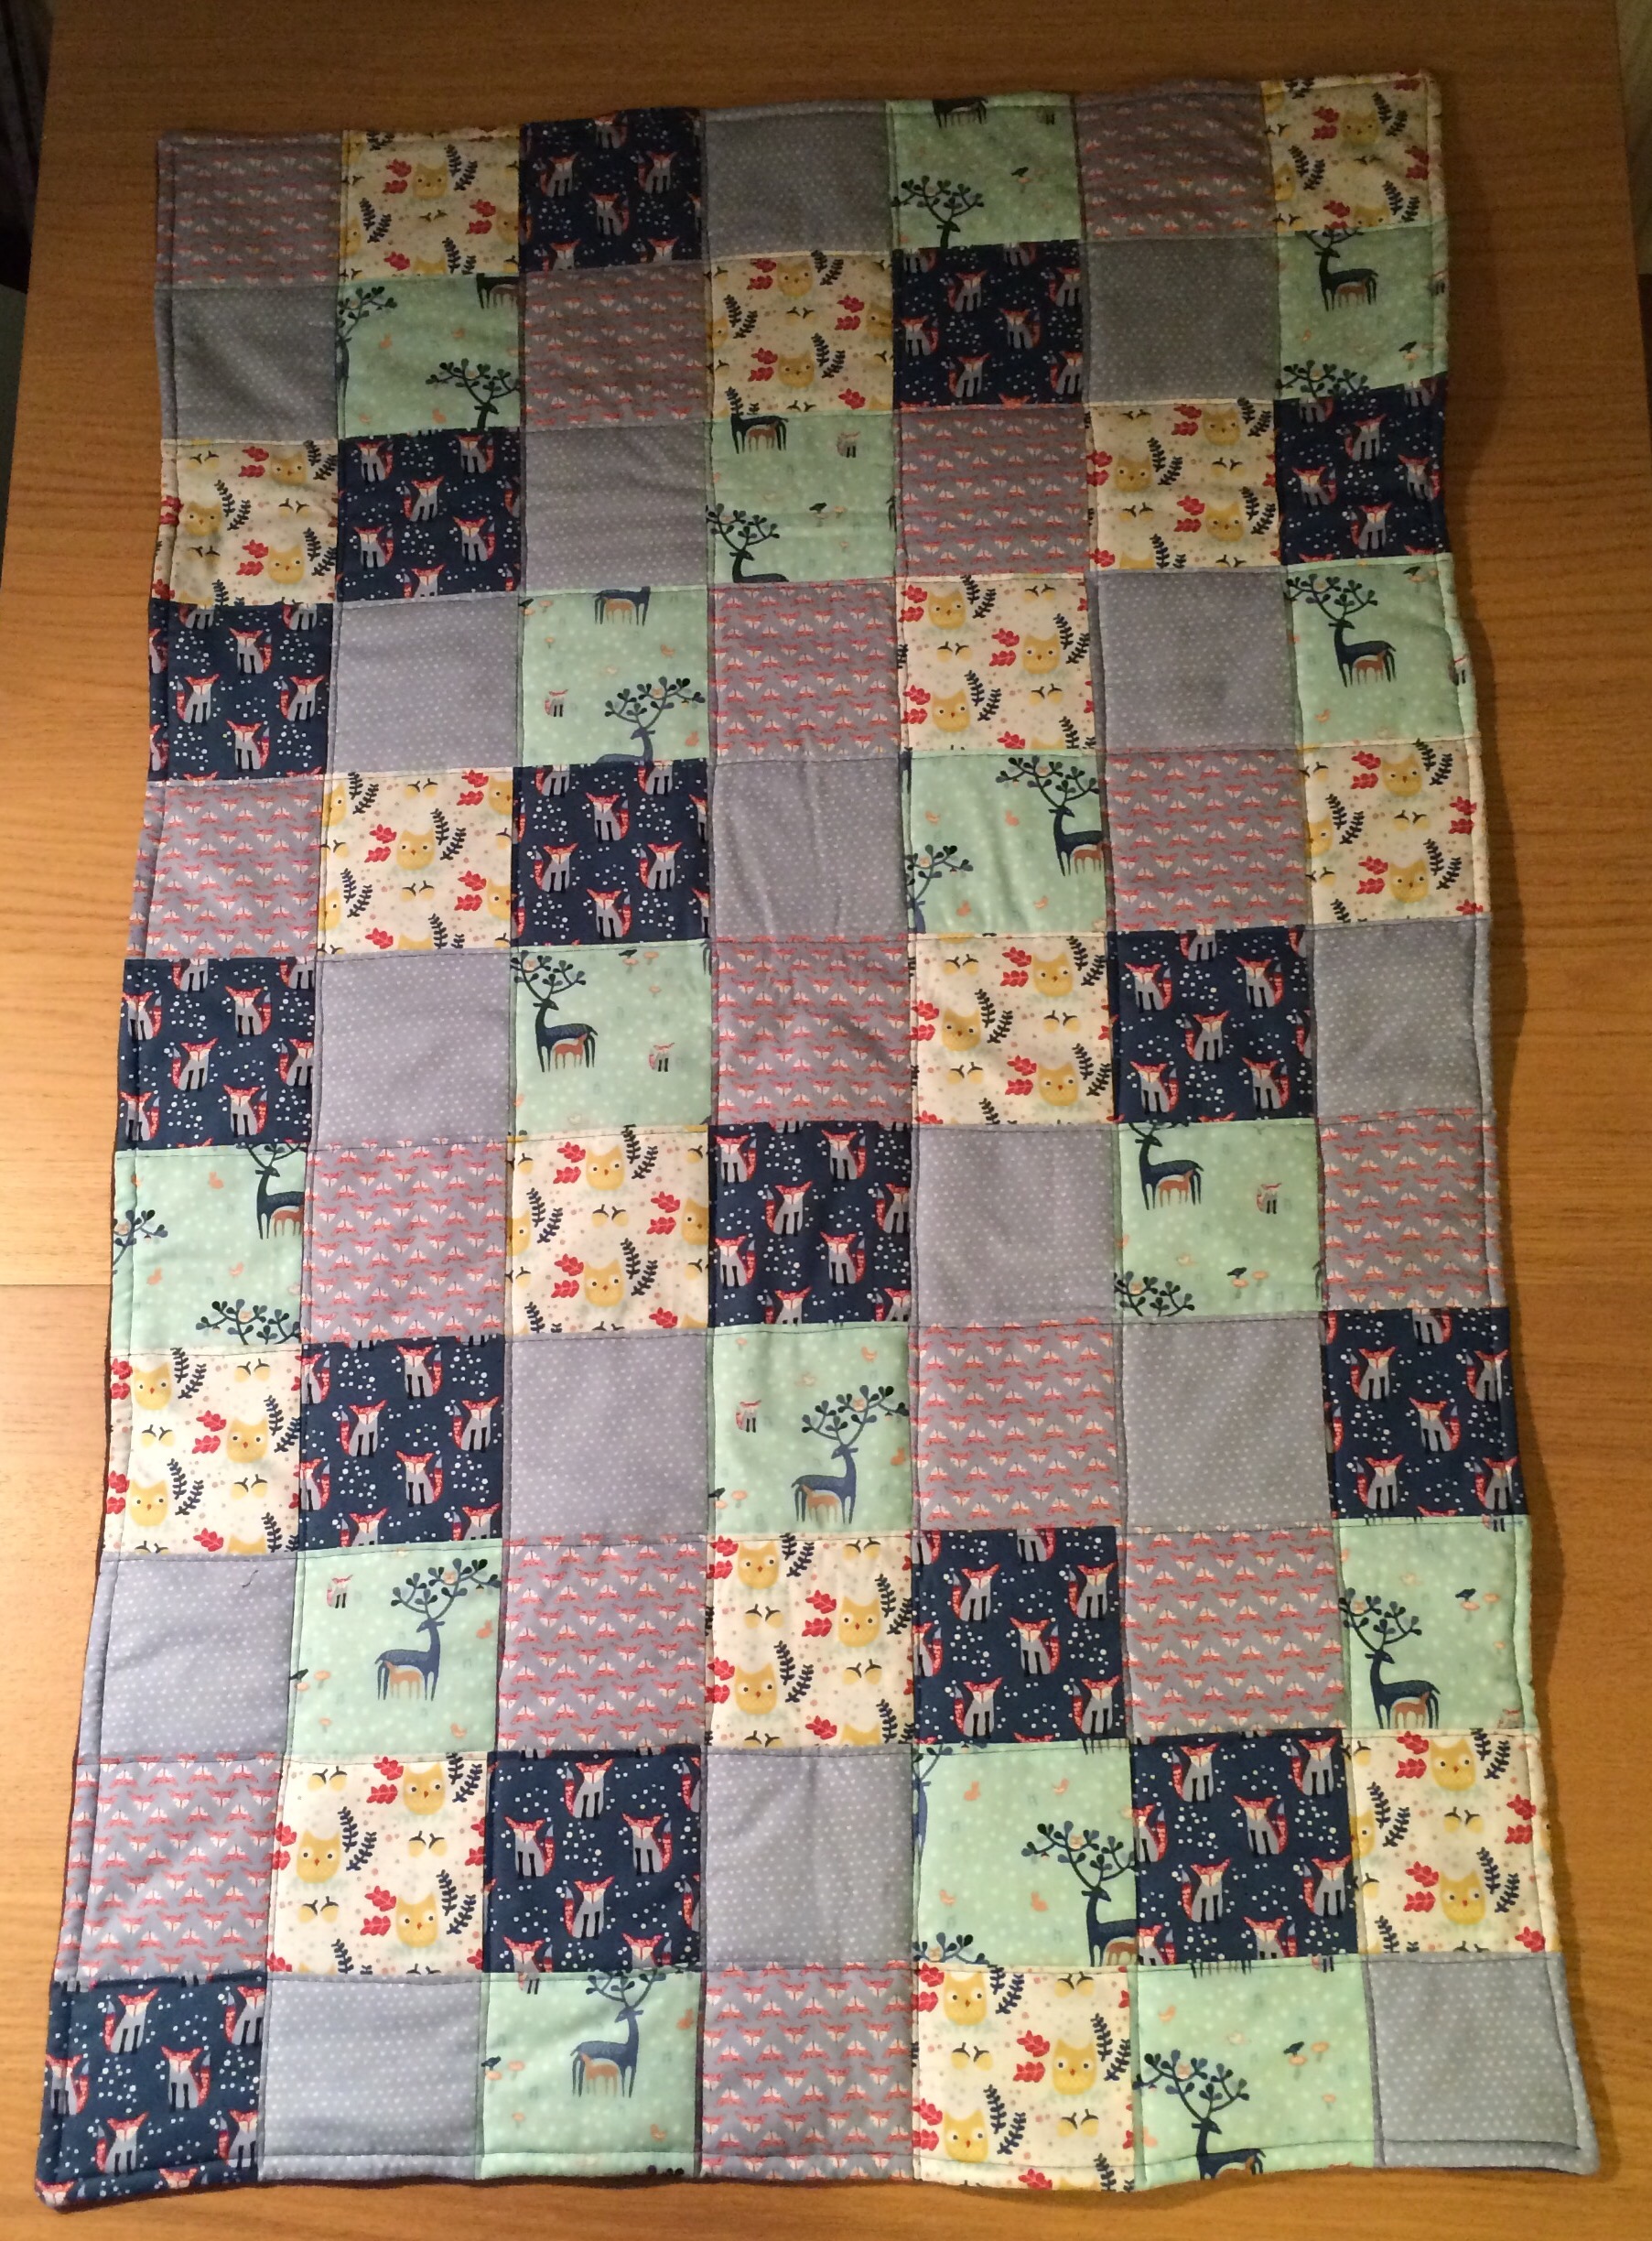
I cut the fat quarters into 5″x 5″ squares, which left only 2 narrow strips of waste. I didn’t place them in a particular order but made sure two matching squares didn’t touch. I ended up with with a quilt that was seven 5″ squares wide and eleven 5″ squares long – fairly random I know but the approximate shape and size I wanted.
 I tend to make up the sizes of the squares and finished quilt myself, but always refer to this tutorial for advice on technique.
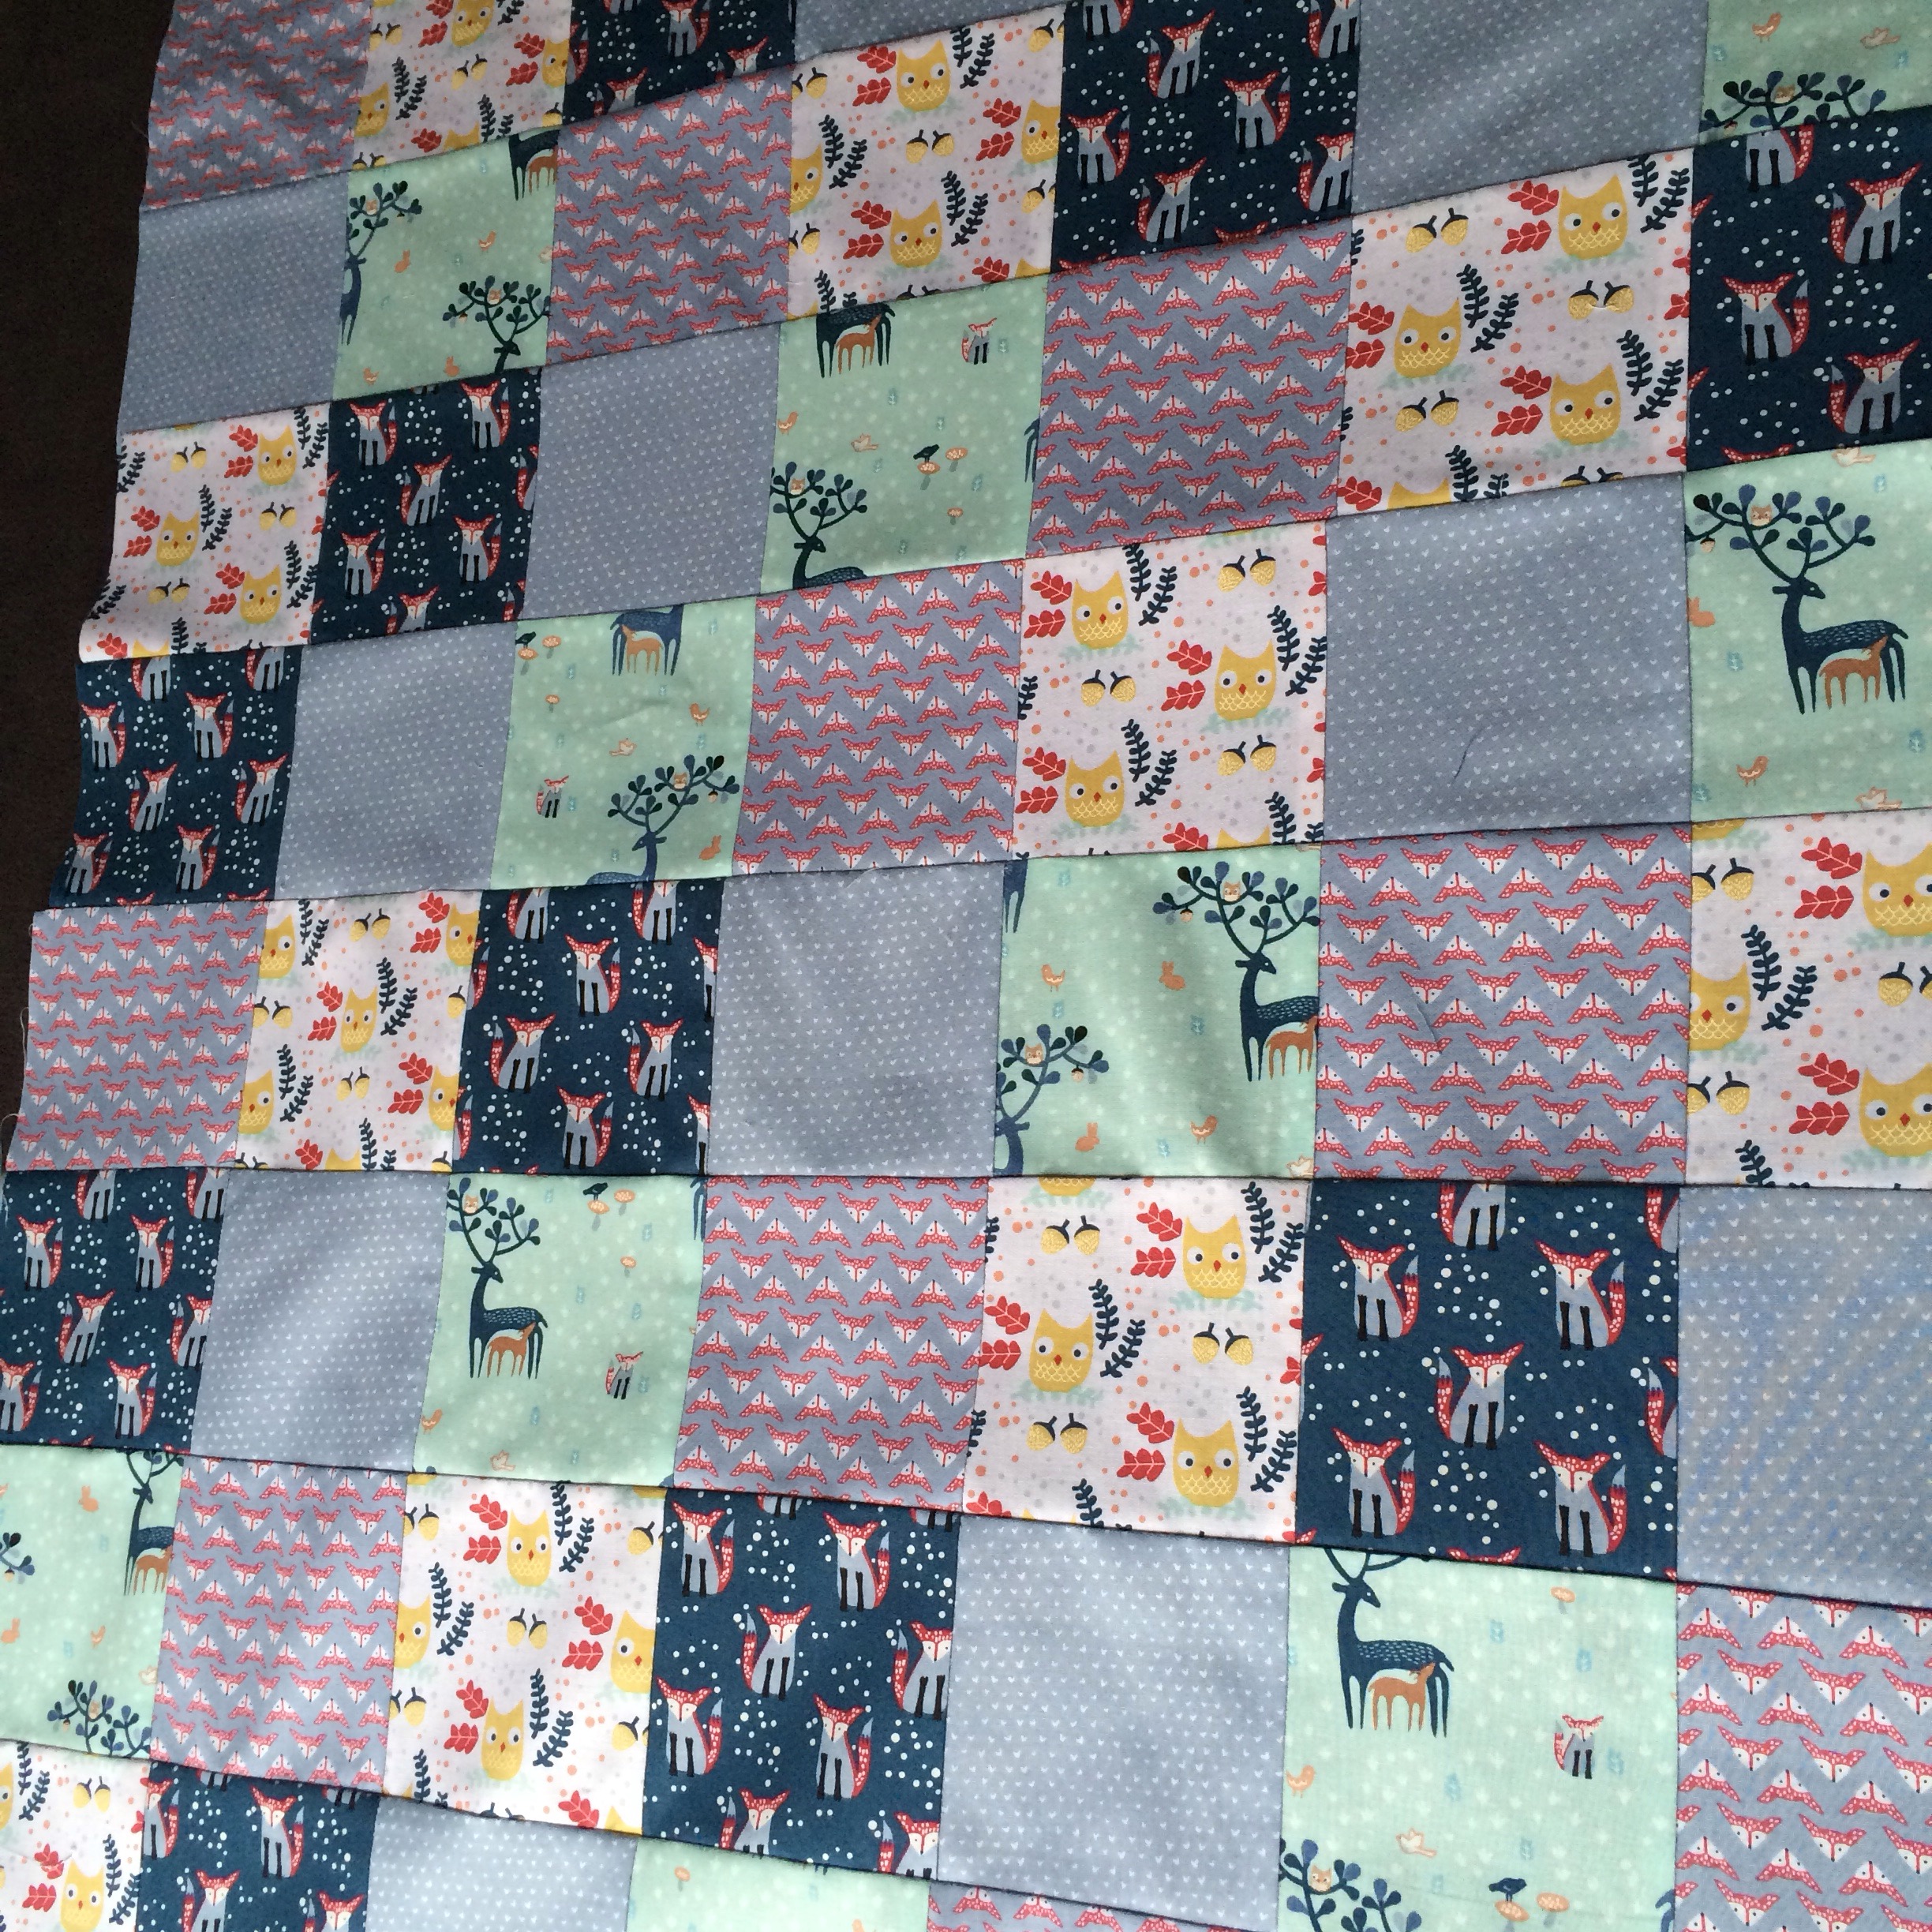
I stitched squares to squares, pressing the seams to the right; then rows to rows, pressing the seams down.
 Next I laid the topper over the wadding and then the fleece, and cut around the edge so they were the same size. I pinned from the inside out, and placed many pins, which I think helped the quilt to stay much straighter than my previous ones.
 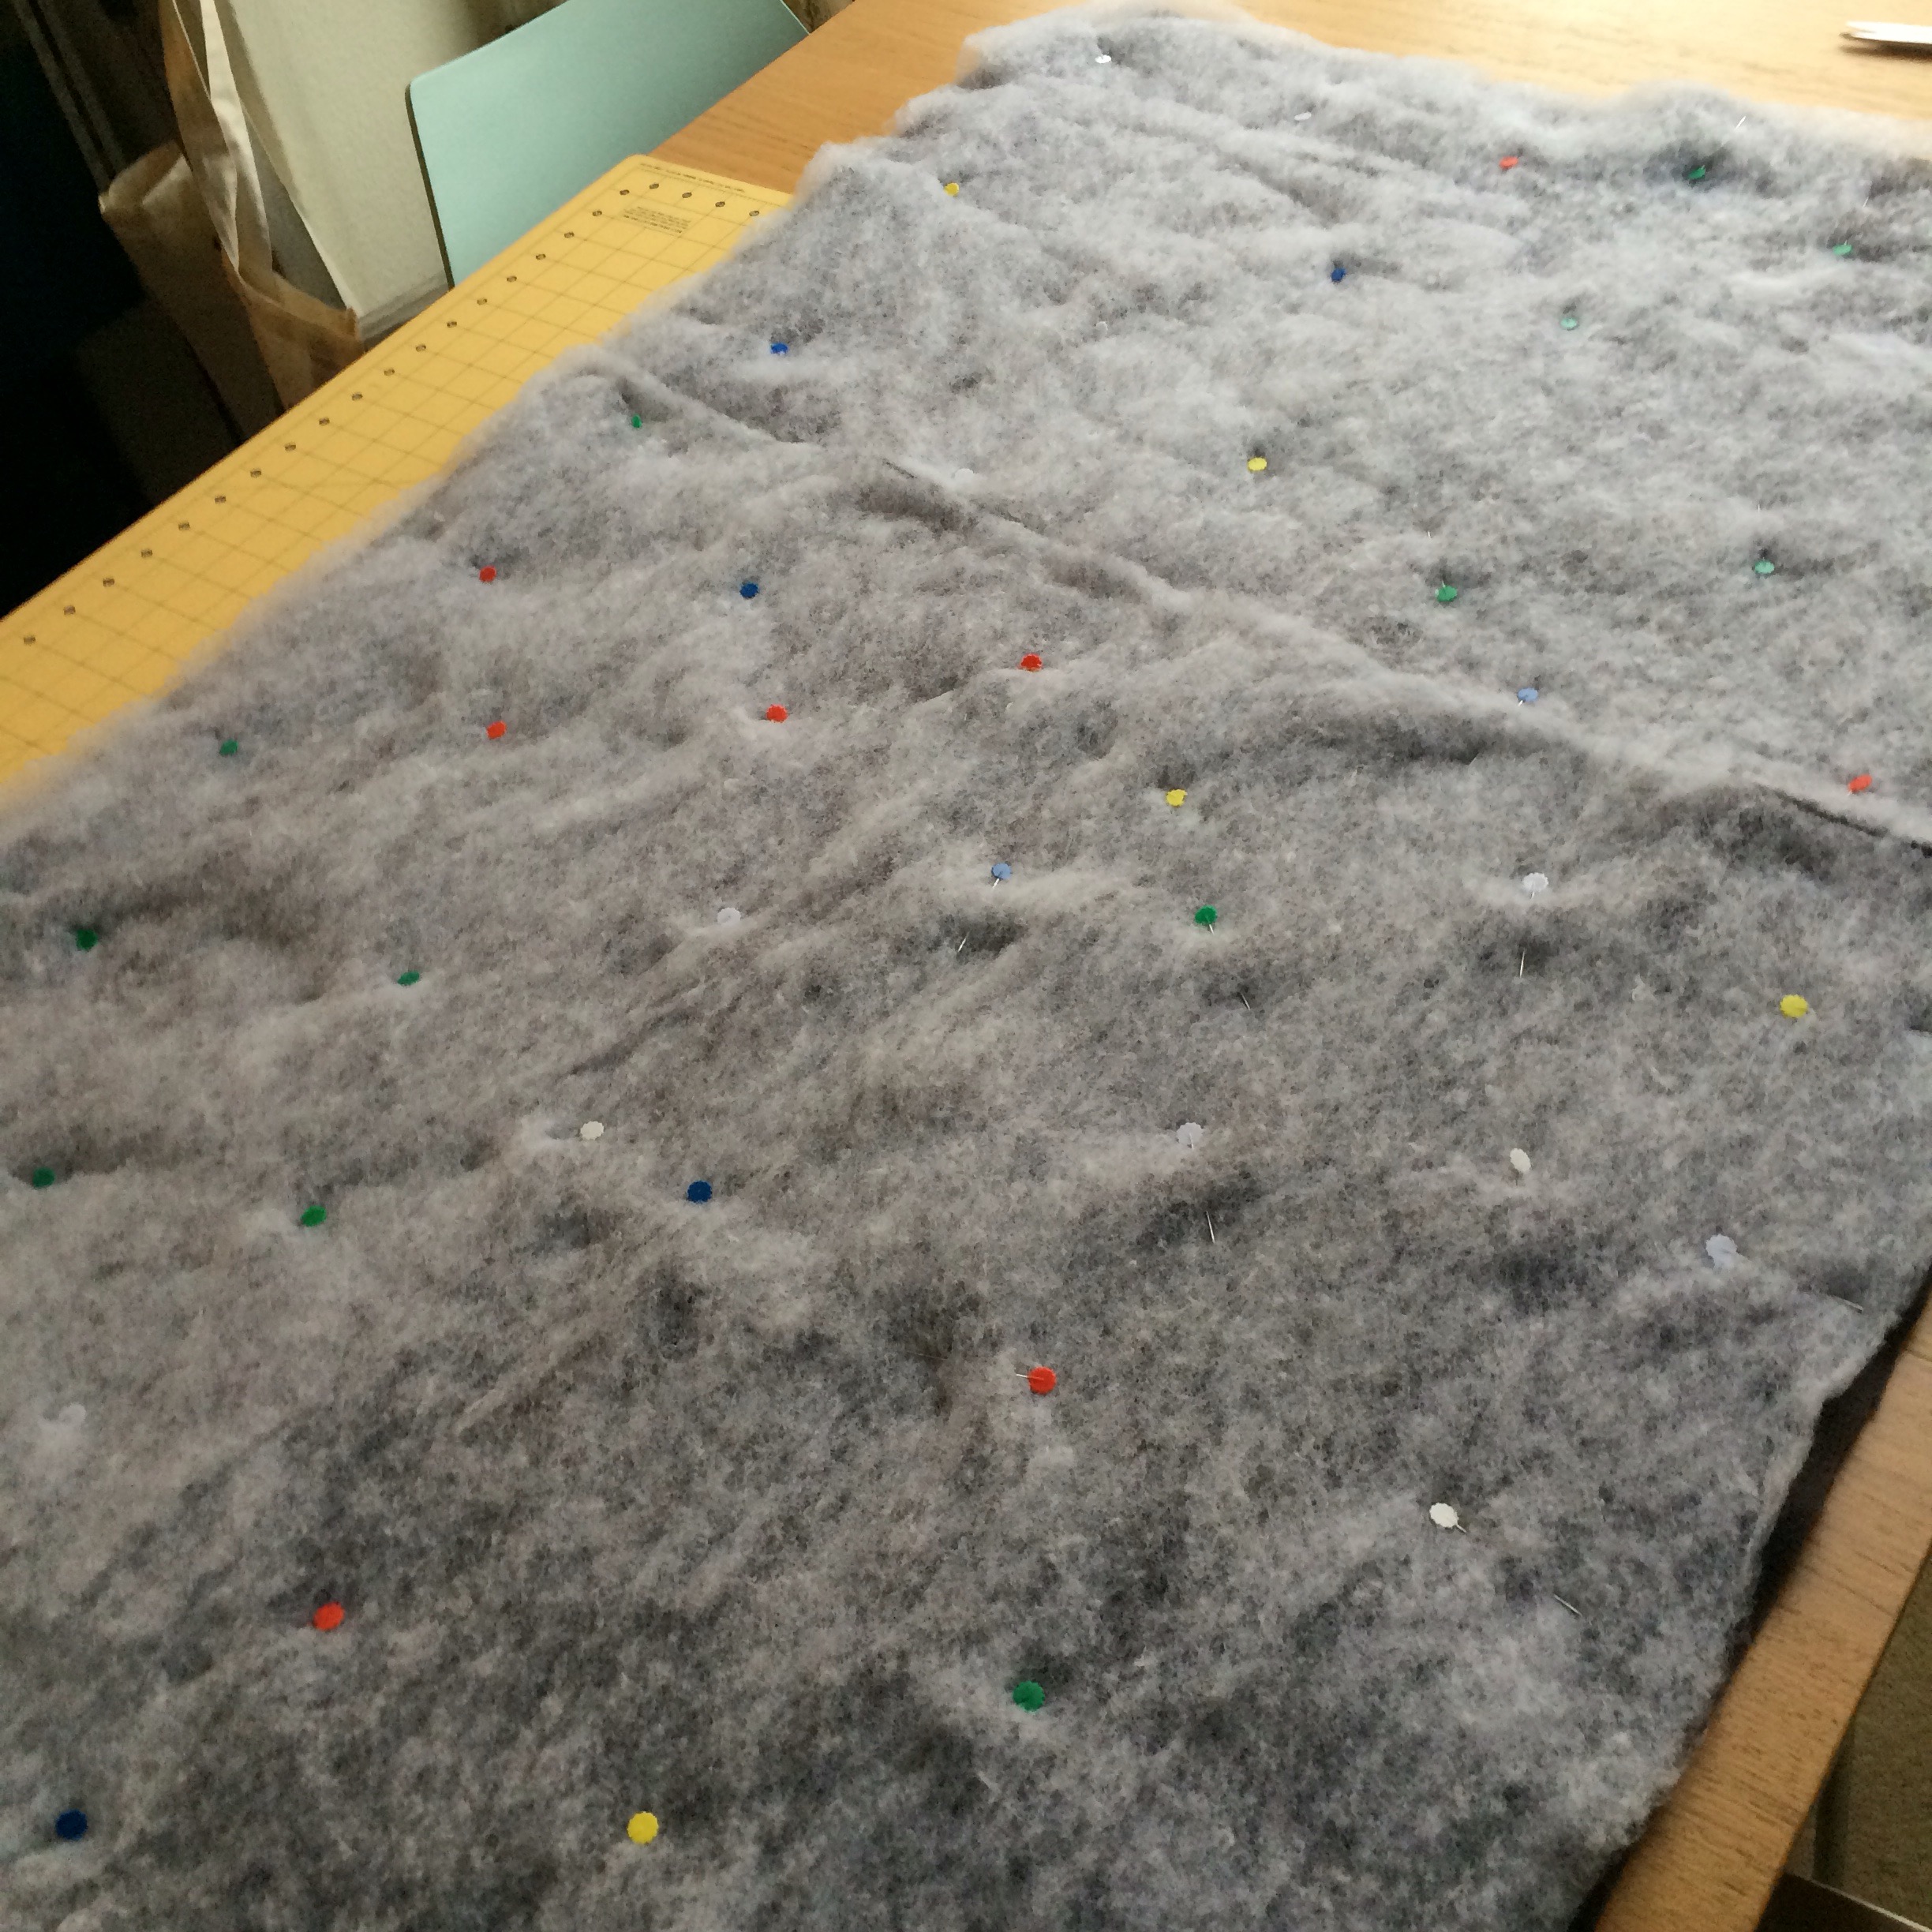 I sewed around the edge leaving a space of two squares to turn it right side out. I pressed then slip-stitched the gap. Attaching my walking foot and extension table, I began the actual quilting. I kept the black cotton threaded, which was possibly too dark in retrospect – a navy blue might have worked better. Instead of stitching in the ditch as I have before, I did as the tutorial recommends sewing 1/8″ to the right and below the seams, which I think was much easier and more effective.
 After quilting along the horizontal and diagonal seams, I realised I should have sewn 1/4″ all around the edge first – this would have made it easier as I wouldn’t have tried to sew the lines of quilting stitches right to the edge of the quilt. One to remember for next time. Pretty quickly, however, the quilt was complete.
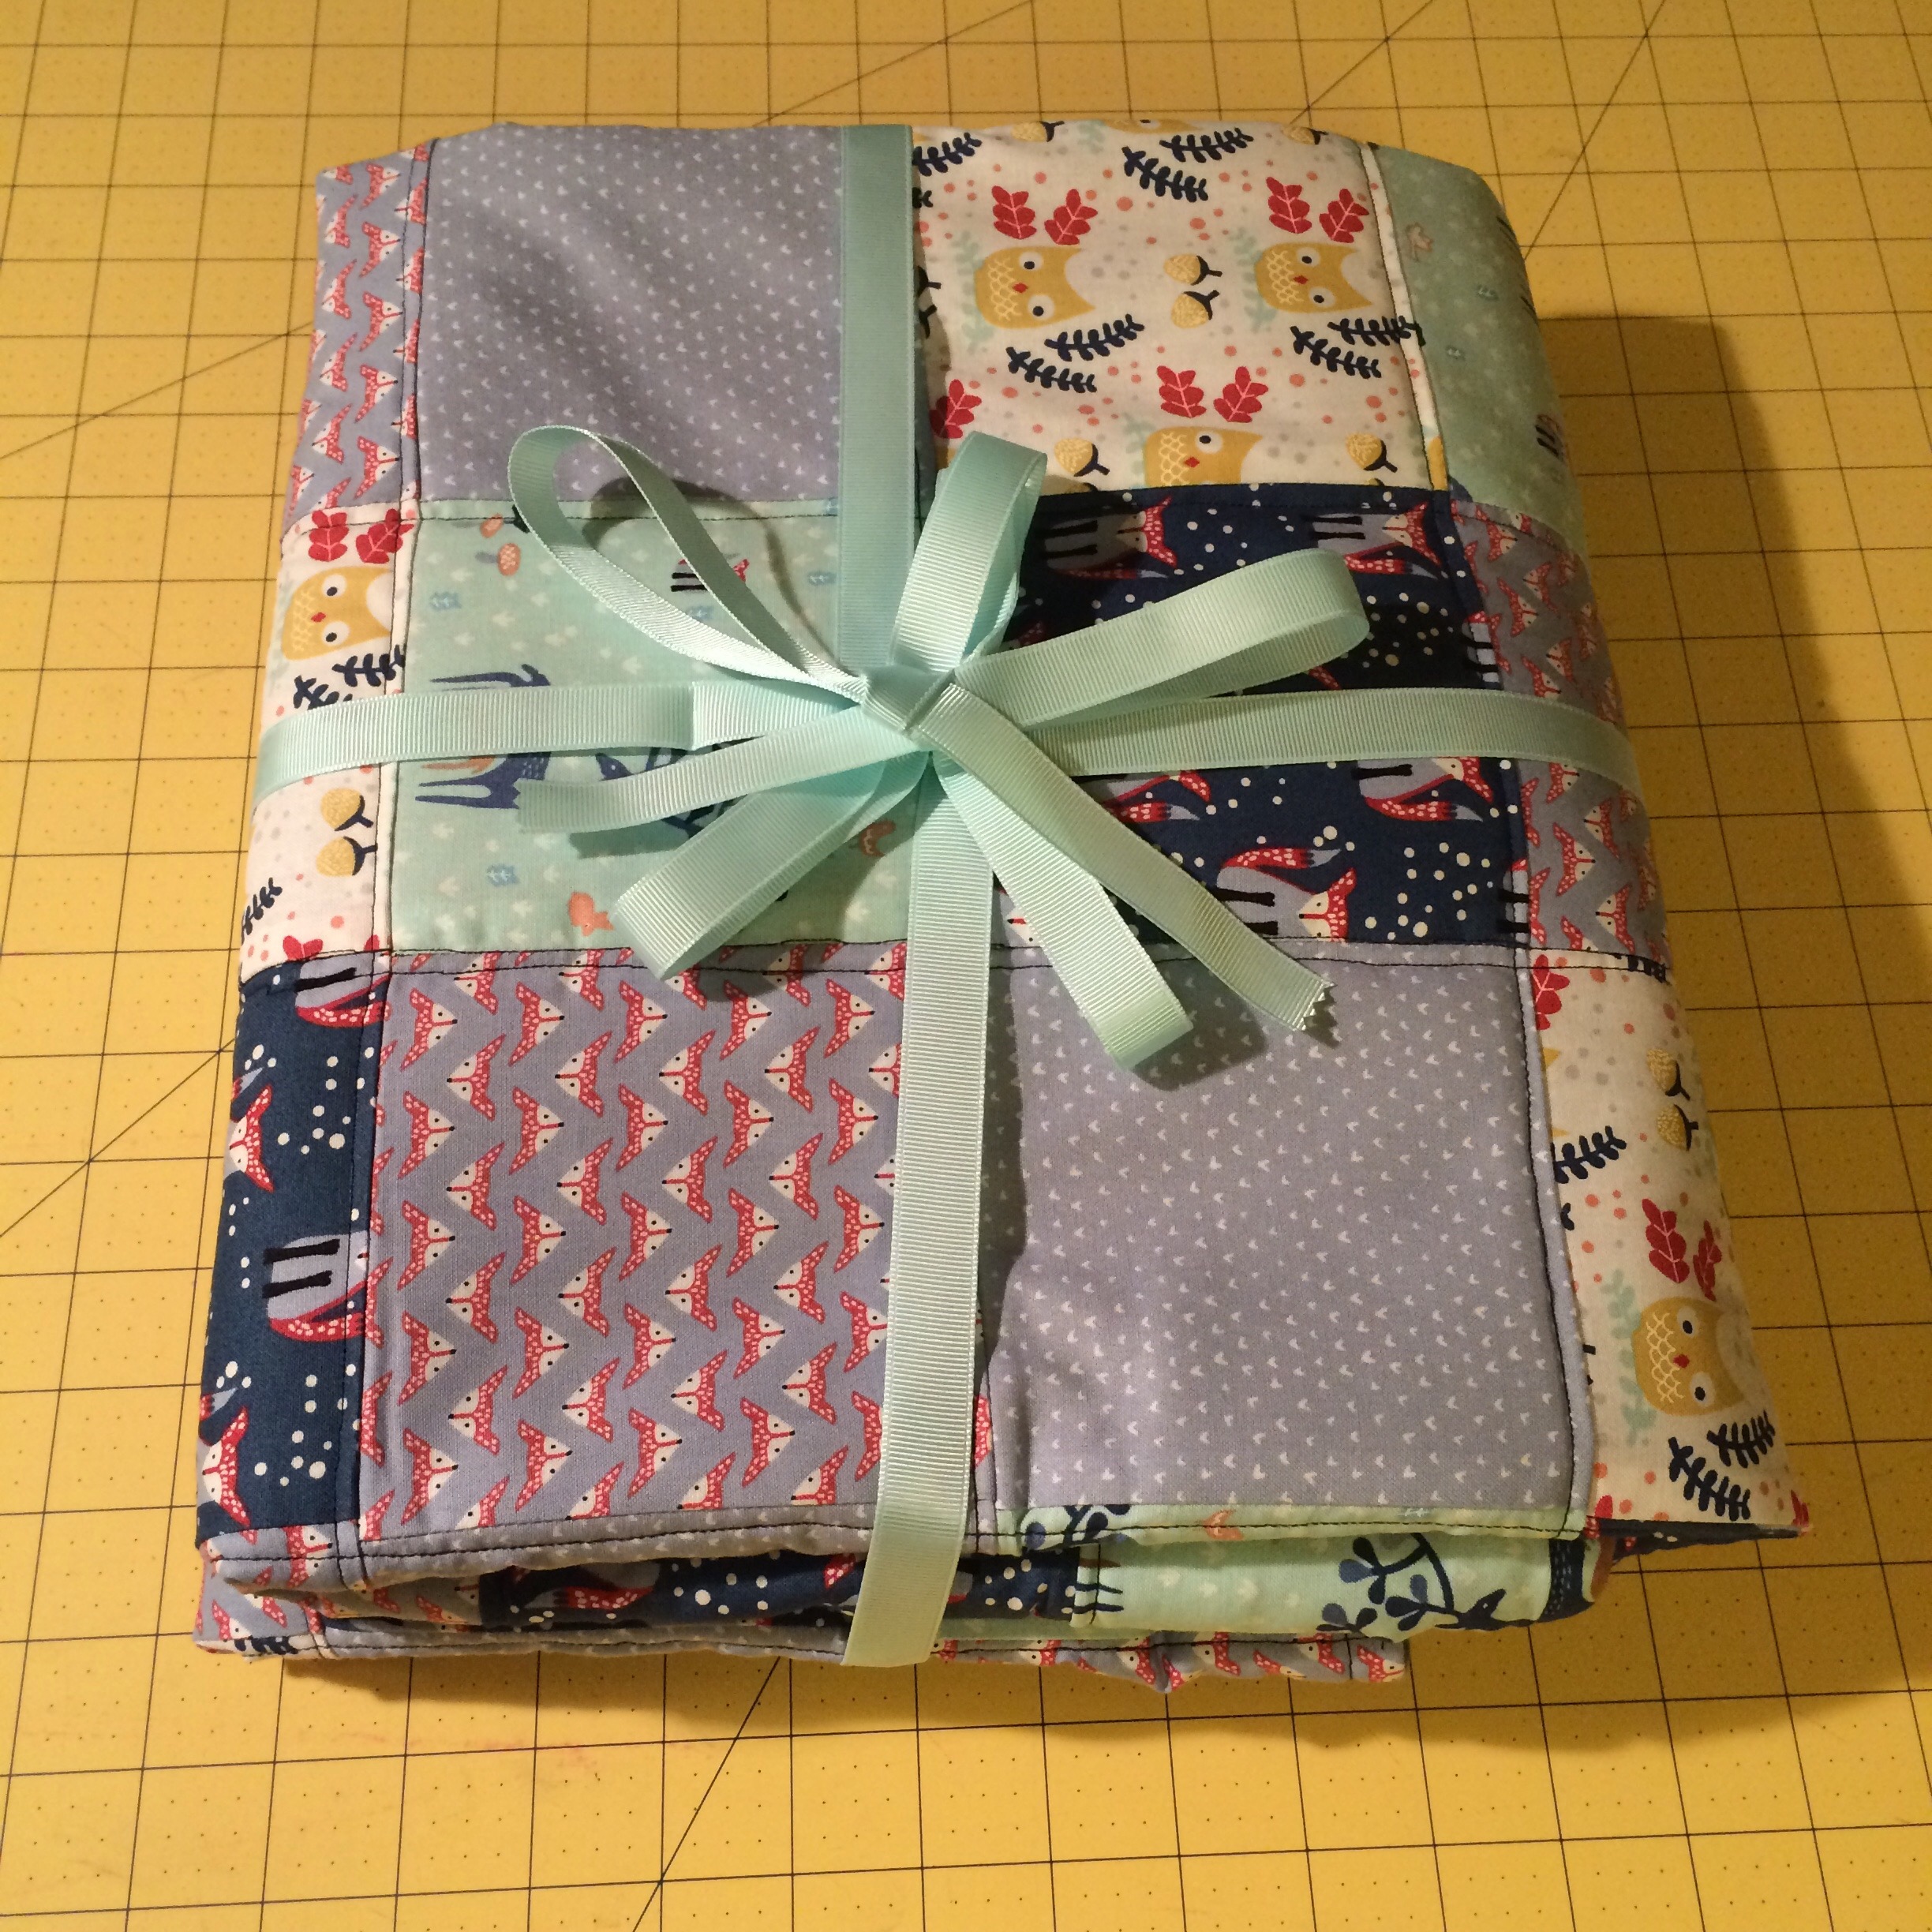 I have a couple more quilts planned and in the pipeline. If YOU have any quilting projects planned, I would definitely recommend elephantinmyhandbag.com because they have a huge range of beautiful FQ bundles. Even better, if you enter the voucher code Marking99 you will get 10% off your first order – one use per customer. I’d love to know if you make use of the code, especially if you’re planning to make a quilt of any kind.

So lovely, I bet she’ll be delighted 🙂 Beautiful prints you’ve chosen too.
LikeLiked by 1 person
What a beautiful and special gift.
LikeLiked by 1 person
Thanks Hila! 😊
LikeLike
Thank you Naomi ☺️
LikeLiked by 1 person
She’ll treasure this, it’s lovely. I’m going venture into quilting this year do thanks for the discount code. I’ve just had a quick peak but will have a better look when it’s pay day! 😃
LikeLiked by 1 person
Thanks Ali 🙂 She did seem pleased and I think has hunted down the fabric herself to possibly make a couple more items for the nursery. Ooh, I’m excited to hear if you do buy something after pay day – keep me posted!
LikeLiked by 1 person
Lovely quilt and thanks for going through it step by step. I don’t know much about quilting but your explanations have made it look a lot clearer to me and not so scary. I don’t know if I should have thanked you for that though, I’m starting to want to make one myself now!
LikeLiked by 1 person
Trust me, if I can sew one that turns out ok, you definitely can! I don’t have enough patience for intricate designs but with nice fabric I think they can still be effective and a great gift. Let me know if you do try it! 🙂
LikeLike
Once again, you have made a beautiful gift! I’m sure she will love it 🙂 I think I prefer the quilting where it isn’t in the ditch; might try that next time!
LikeLiked by 1 person
Yes I was surprised, I didn’t think it would look right at all but it did, plus I just used the width of the walking foot as a seam allowance guide which was so much easier than trying to sew straight across where one square joins another. I’m definitely converted for next time!
LikeLiked by 1 person
Because I really enjoy reading your blog I have nominated you for a Liebster award! You can find out all about it here https://remakeremodelrecycle.wordpress.com/2016/02/11/liebster-award/
LikeLiked by 1 person
That’s so exciting, thank you Linda! 😊
LikeLiked by 1 person
What a lovely personal present, thanks for the instructions. Quilting isn’t on my list, as I have a lot of dress making fabric to get through. (But I keep seeing beautiful quilts that are very tempting though!)
LikeLiked by 1 person
Lovely present, and thanks for the clear instructions. It is tempting to have a go! But I think this year I need to tackle my dressmaking stash.
LikeLiked by 1 person
Lovely quilt. A super gift. Thank you for the clear instructions and the link to the tutorial, which I read and bookmarked despite not intending to make a quilt (no! no! at least not yet). If the code is valid long enough I might use it!
LikeLiked by 1 person
Thank you 😊 I always refer back to that tutorial so hopefully it will come in useful for you one day. I’m not sure on the dates for the voucher code but hopefully it will be valid for a while!
LikeLike