

A couple of months ago I ordered the Colette Dahlia pattern online. At around £14 it was almost twice the price of any I had bought before, but since Colette and Tilly seemed to make an appearance on pretty much every sewing blog I perused, I considered it a worthy investment. I’d bought some dark red wool fabric from the Knitting and Stitching Show in Harrogate, as well as some fairly cheap and cheerful navy and dark green tartan that I could see it working well with.
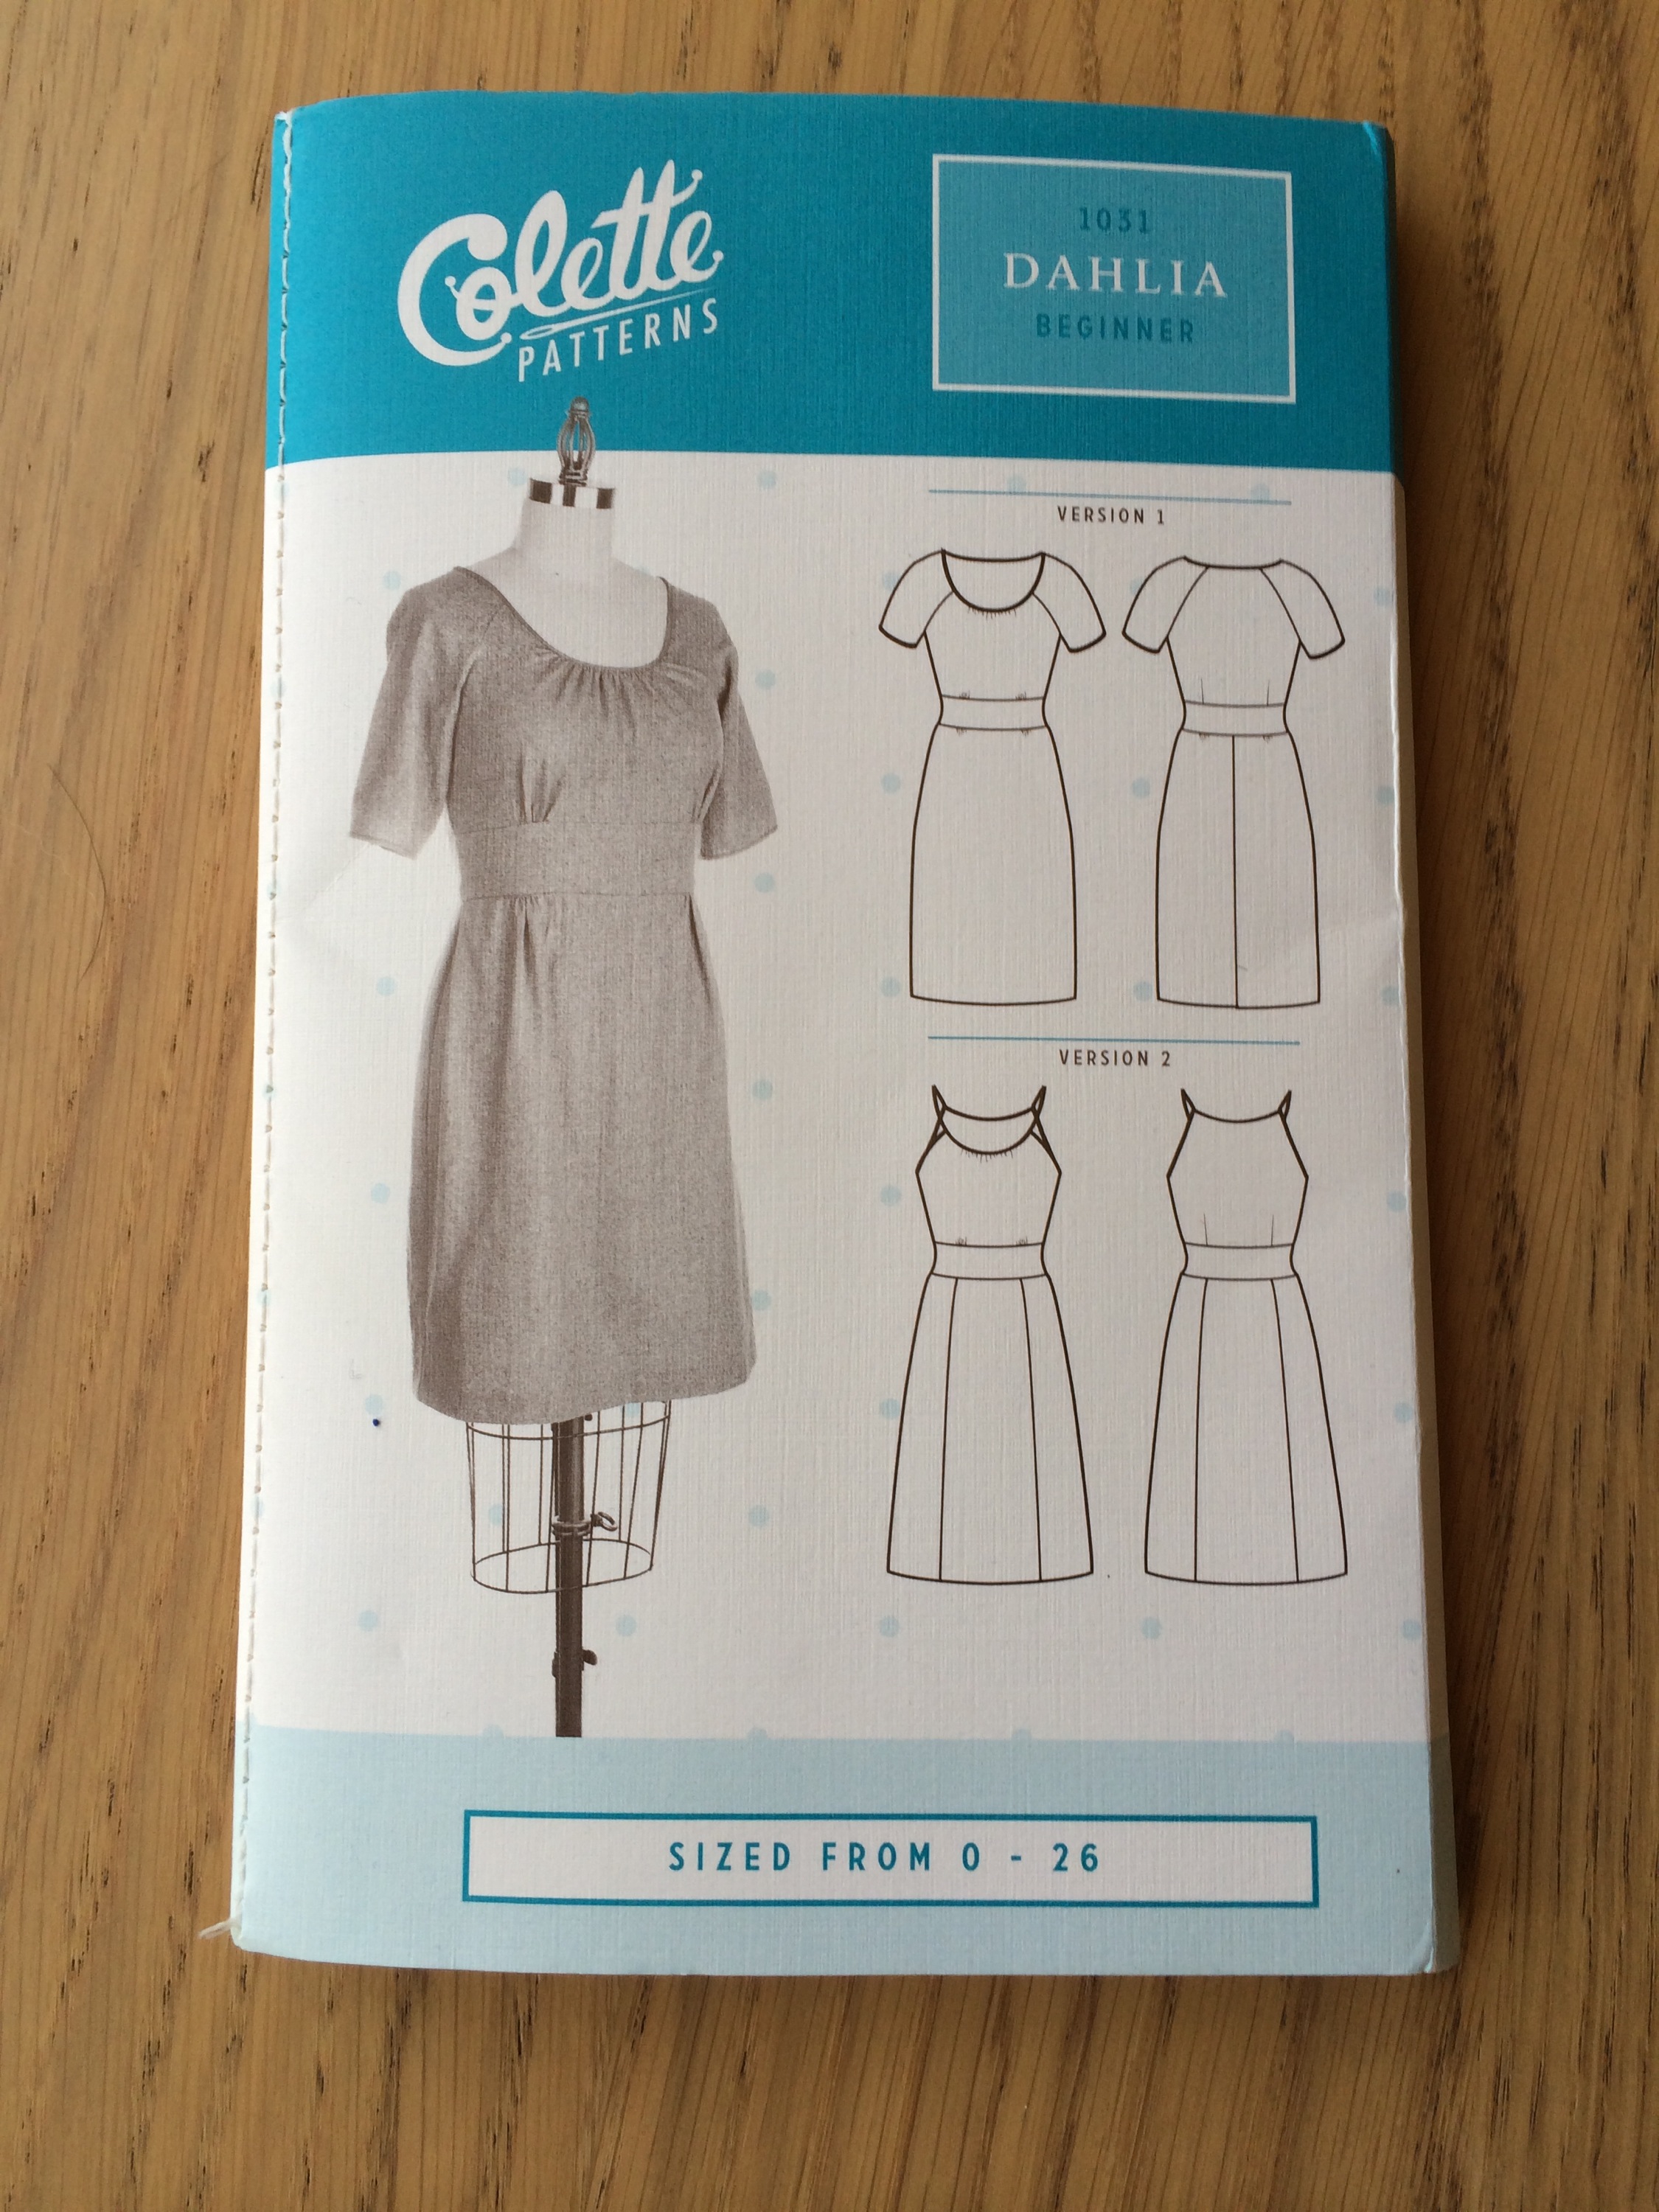
As it turned out, I used neither and opted for a cheap, plain blue jersey type fabric from ebay, £3 a metre. I wanted a fairly warm winter dress, which wouldn’t matter too much if it didn’t turn out well.
Cutting out the pattern and the pieces took a while, as it does, but was smooth. The darts and gathers went into the bodice without problem.
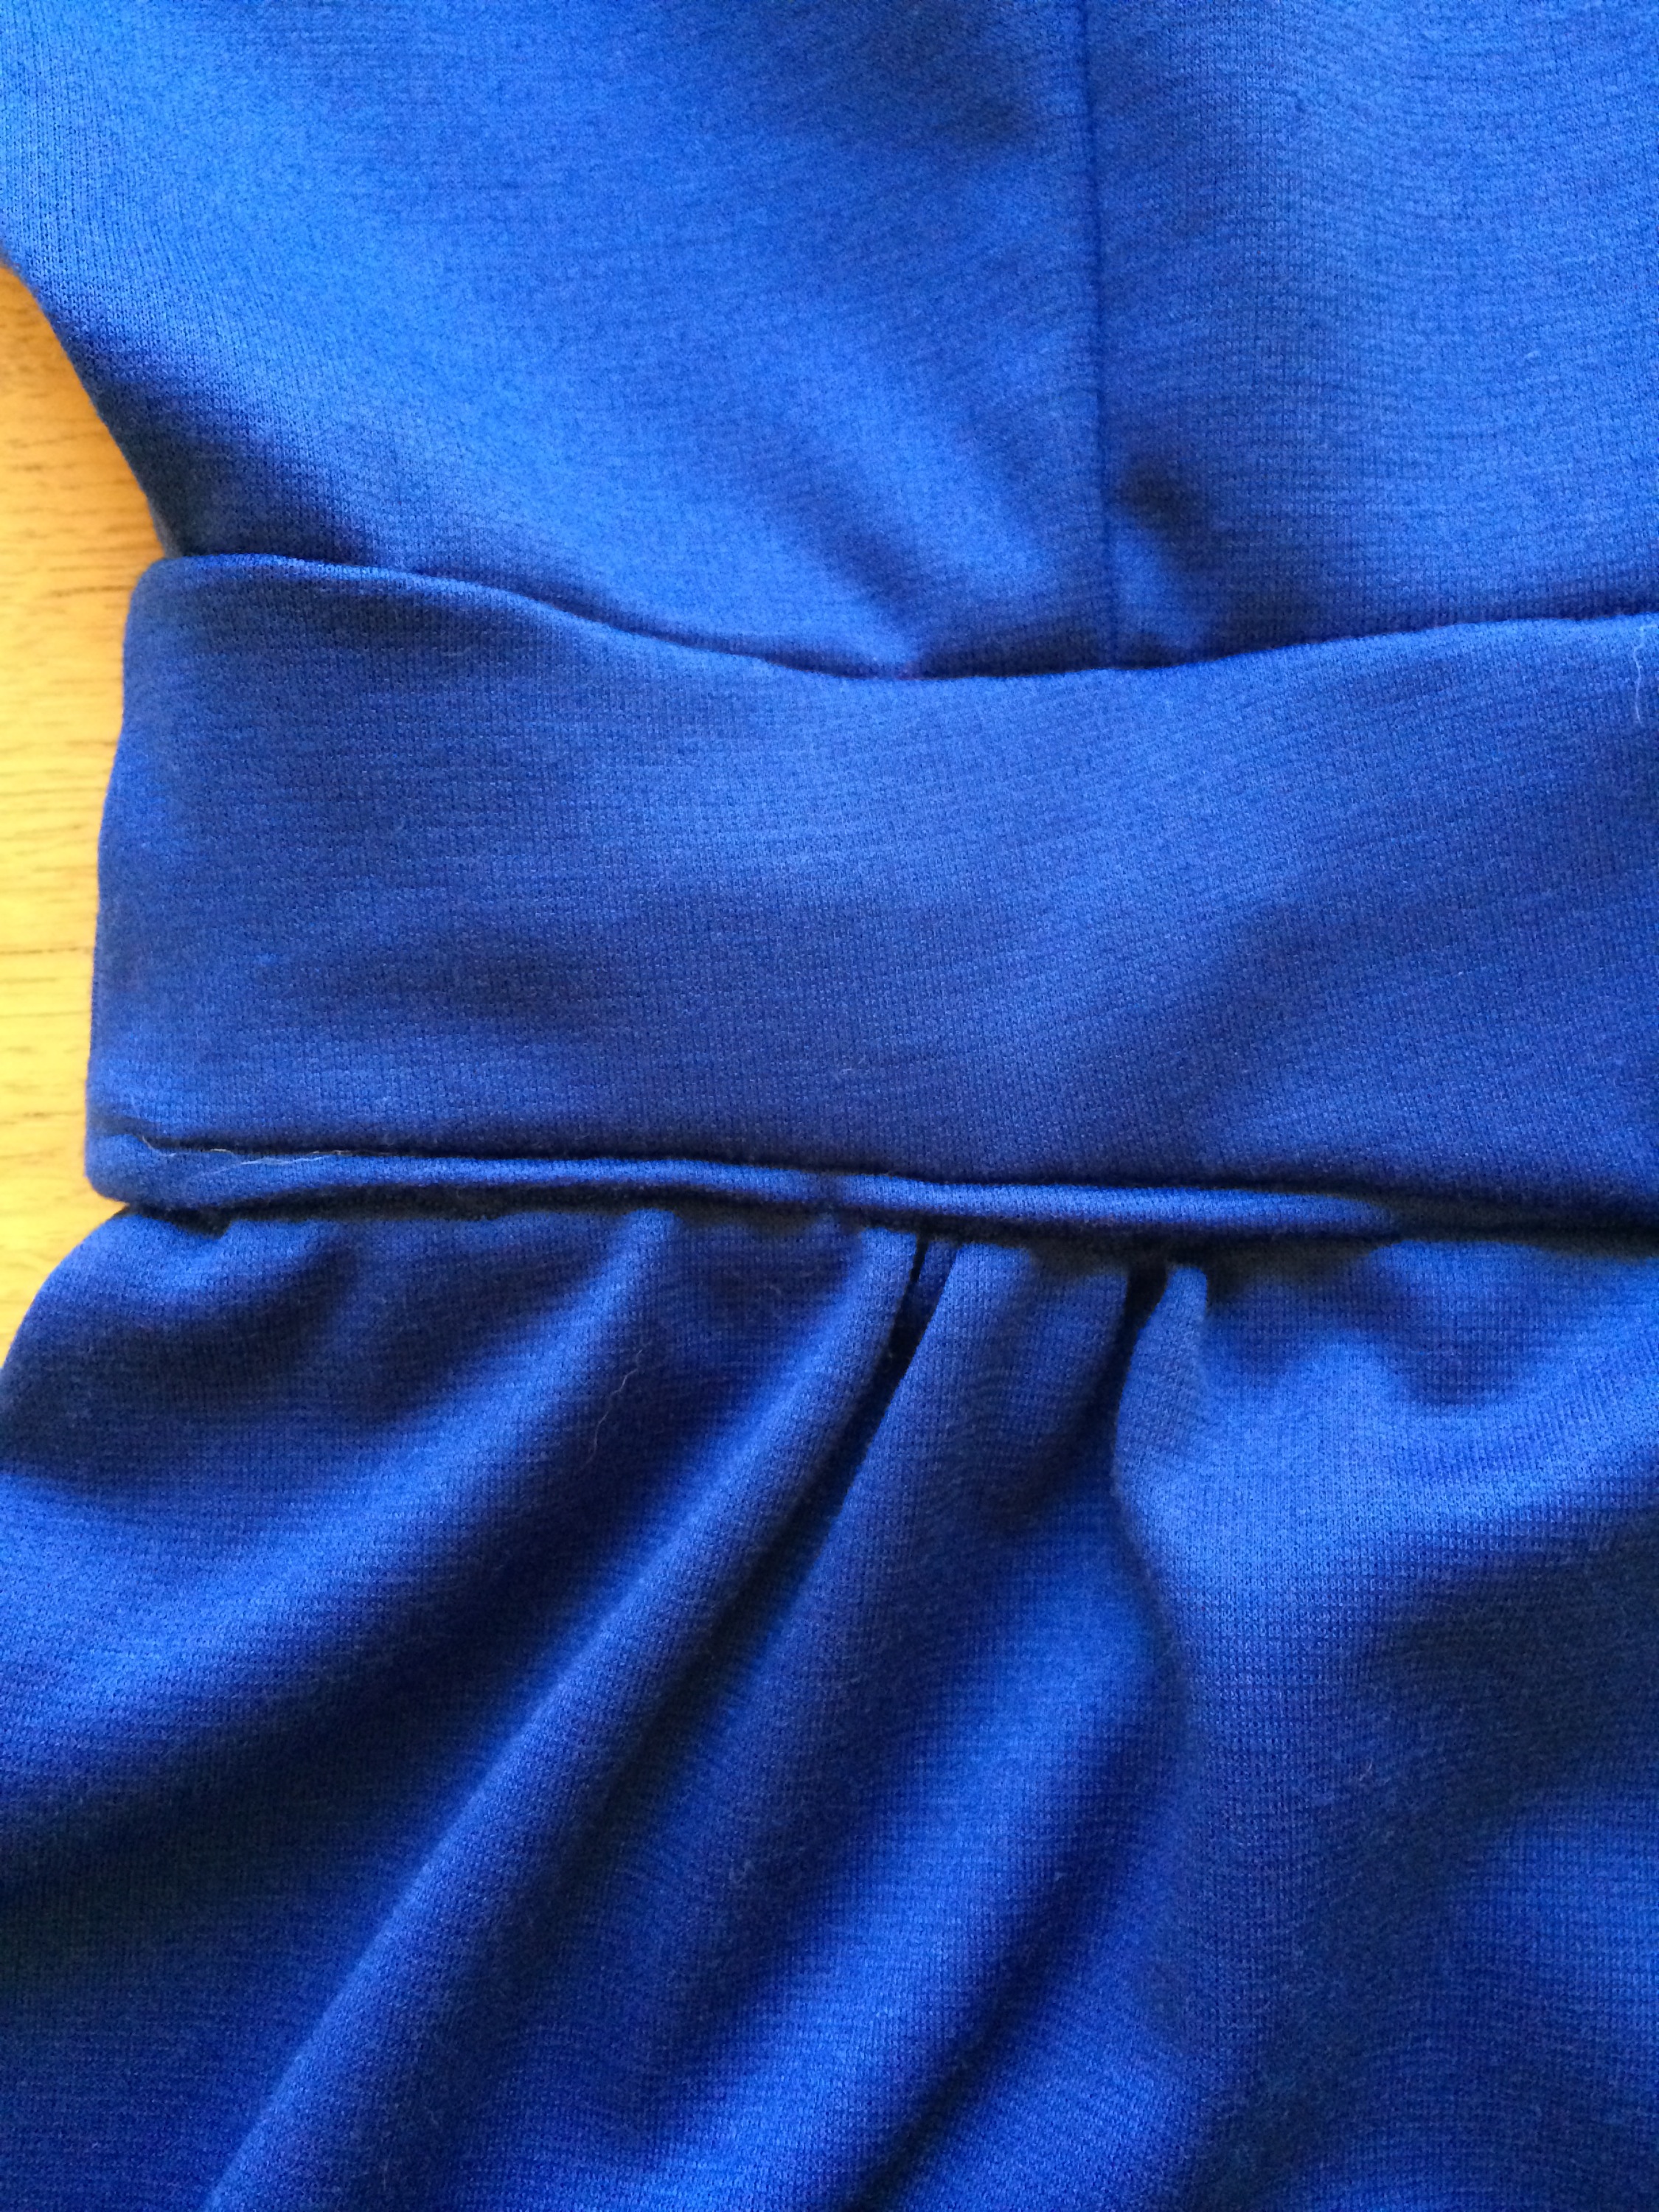
The raglan sleeves attached easily. I realised I had only cut out two of the waist band, rather than the four that were required, but as I had plenty of fabric left (I’d bought 3 metres) this was easily rectified. The second yoke hides all of the joins inside, and since improving my finishes is one of my resolutions this was hardly a step I could skip. Other than that I pinked the seam edges to finish them. When attaching the yoke, and sewing through three layers of fabric,

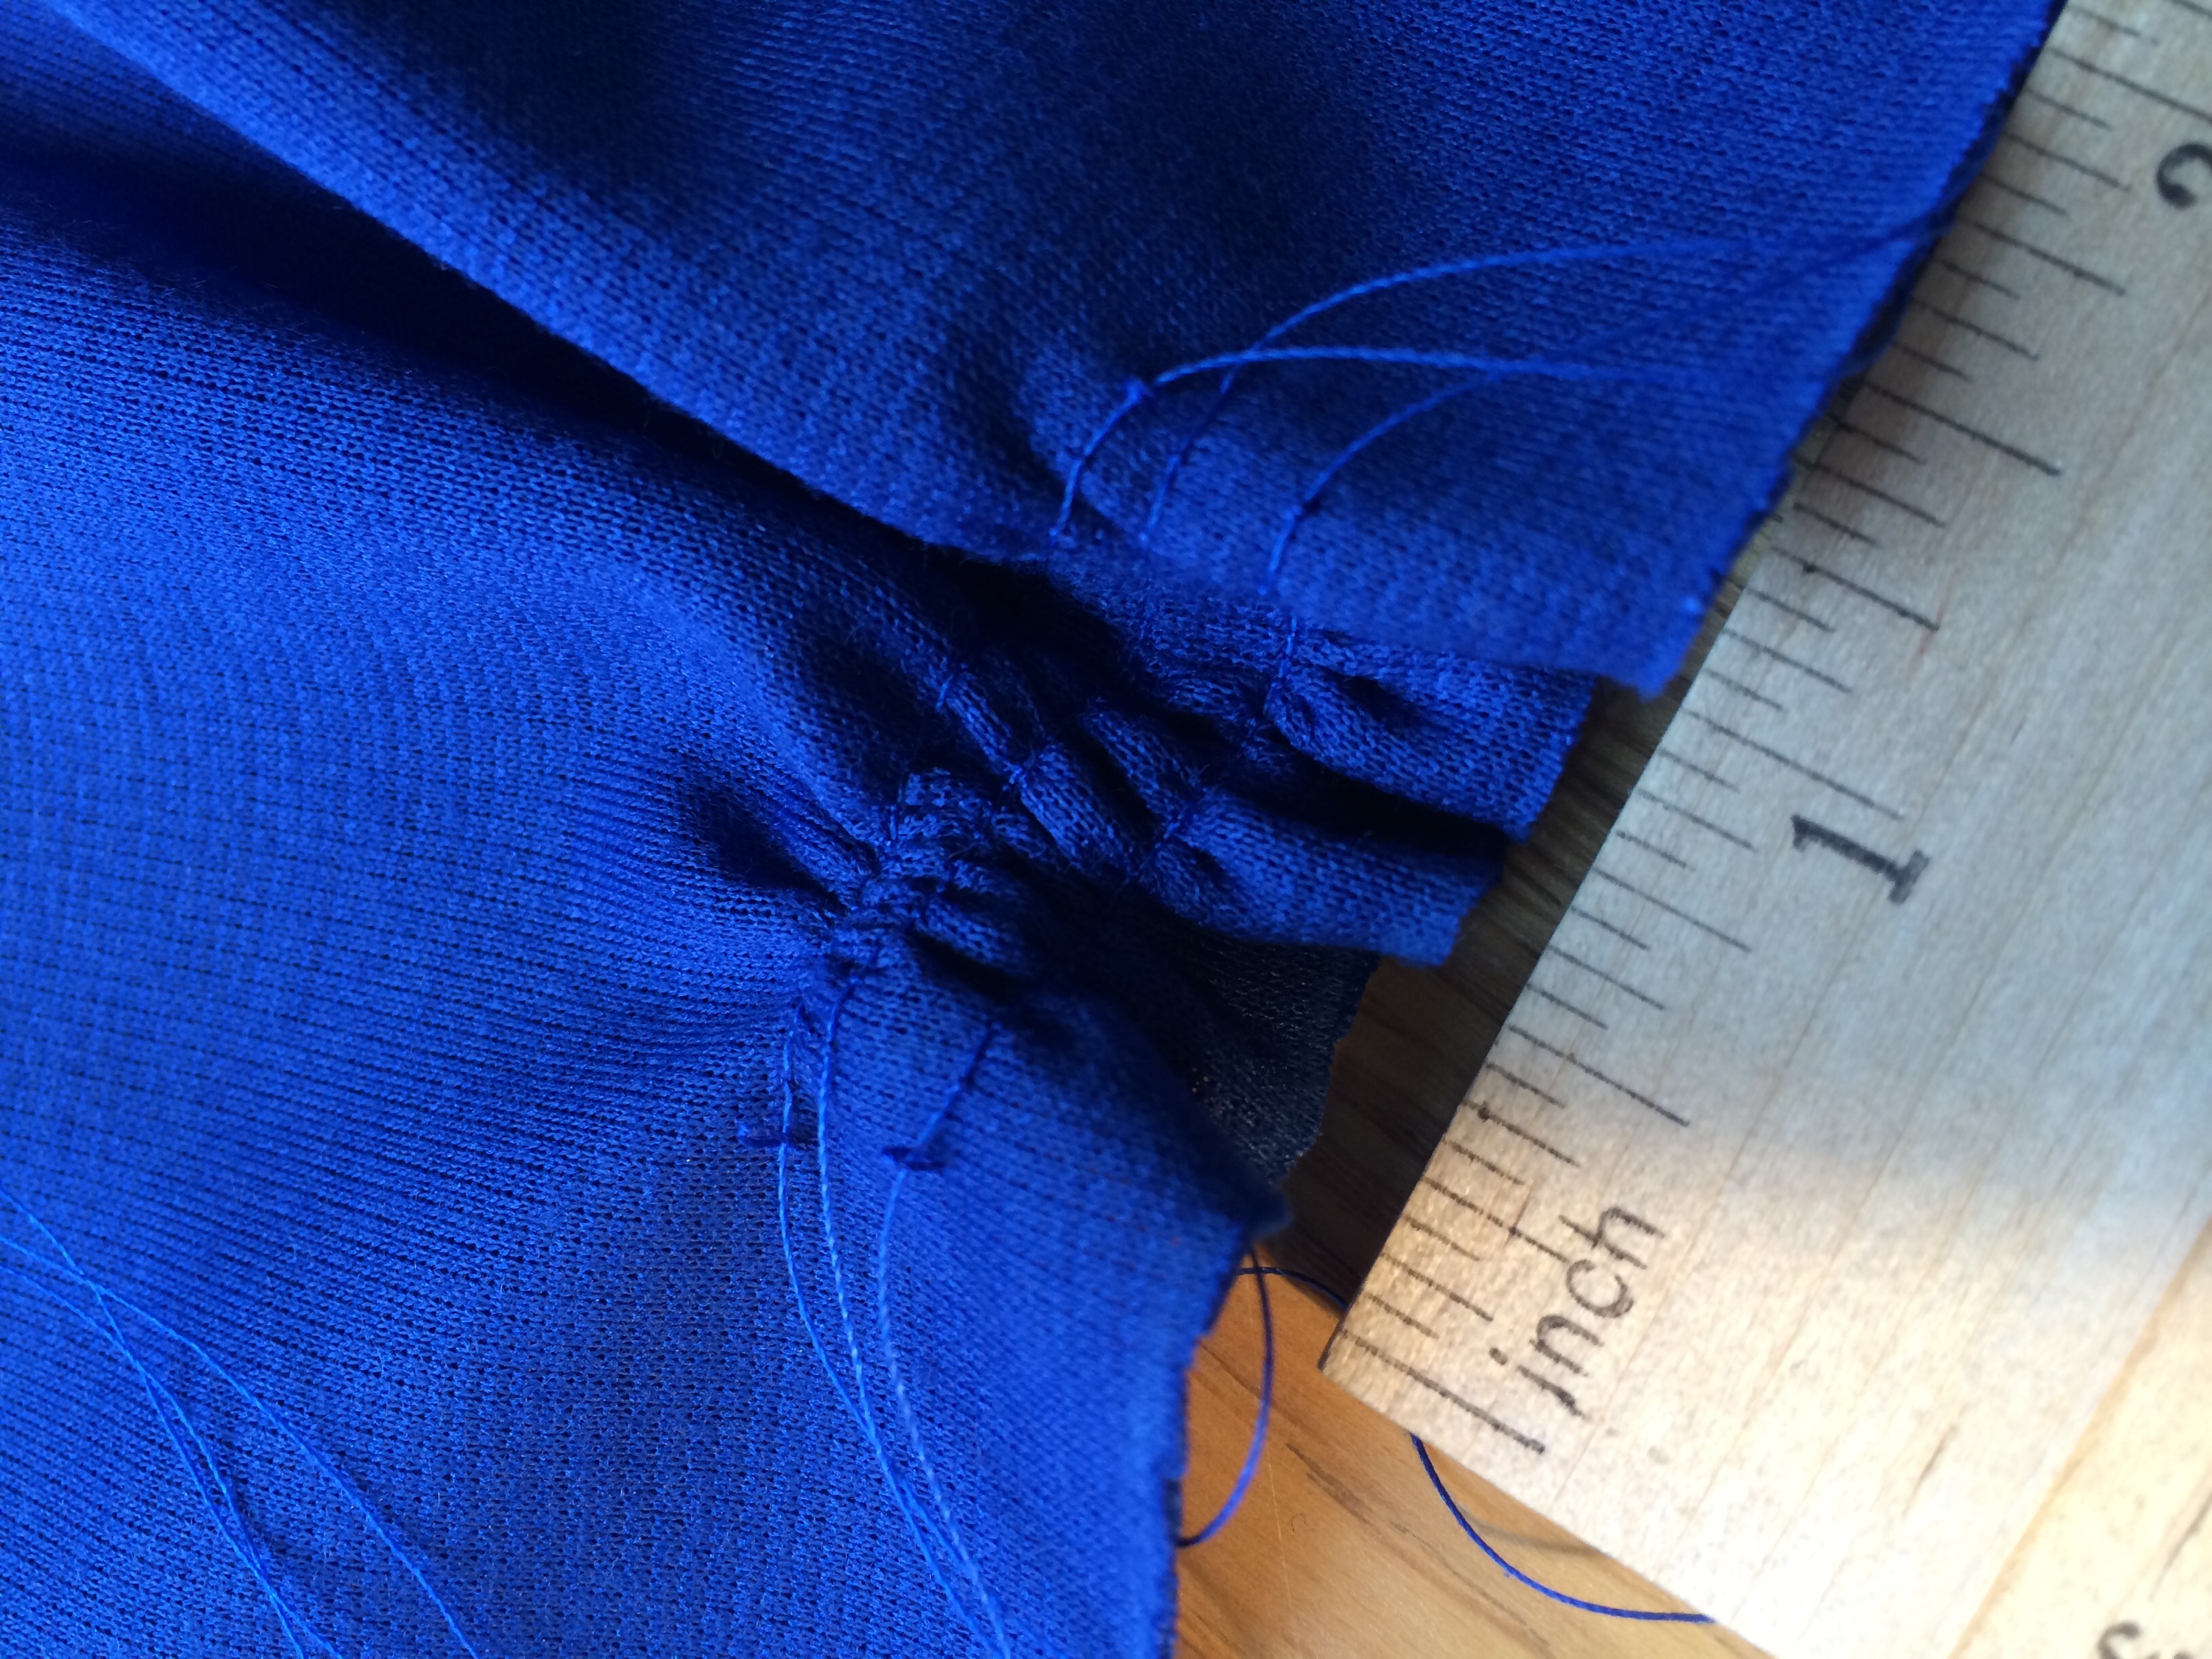
I did create an accidental partial pucker along part of the back. I wouldn’t have minded had it done that all the way across, as it almost looks like piping, but of course it only went part of the way. It had done something similar on one of the sleeves, which took me so long to unpick I vowed I wasn’t doing it again, so the pucker remains. Stubborn of me I realise.
The skirt called for a pleat, my first attempt and I don’t think I followed the instructions properly, as what I have been left with isn’t a pleat, but neither does it stand out enough to overly concern me.
The sleeves and neckline were finished using bias tape. For once I had been organised enough to source the matching colour of tape, thread and zip.
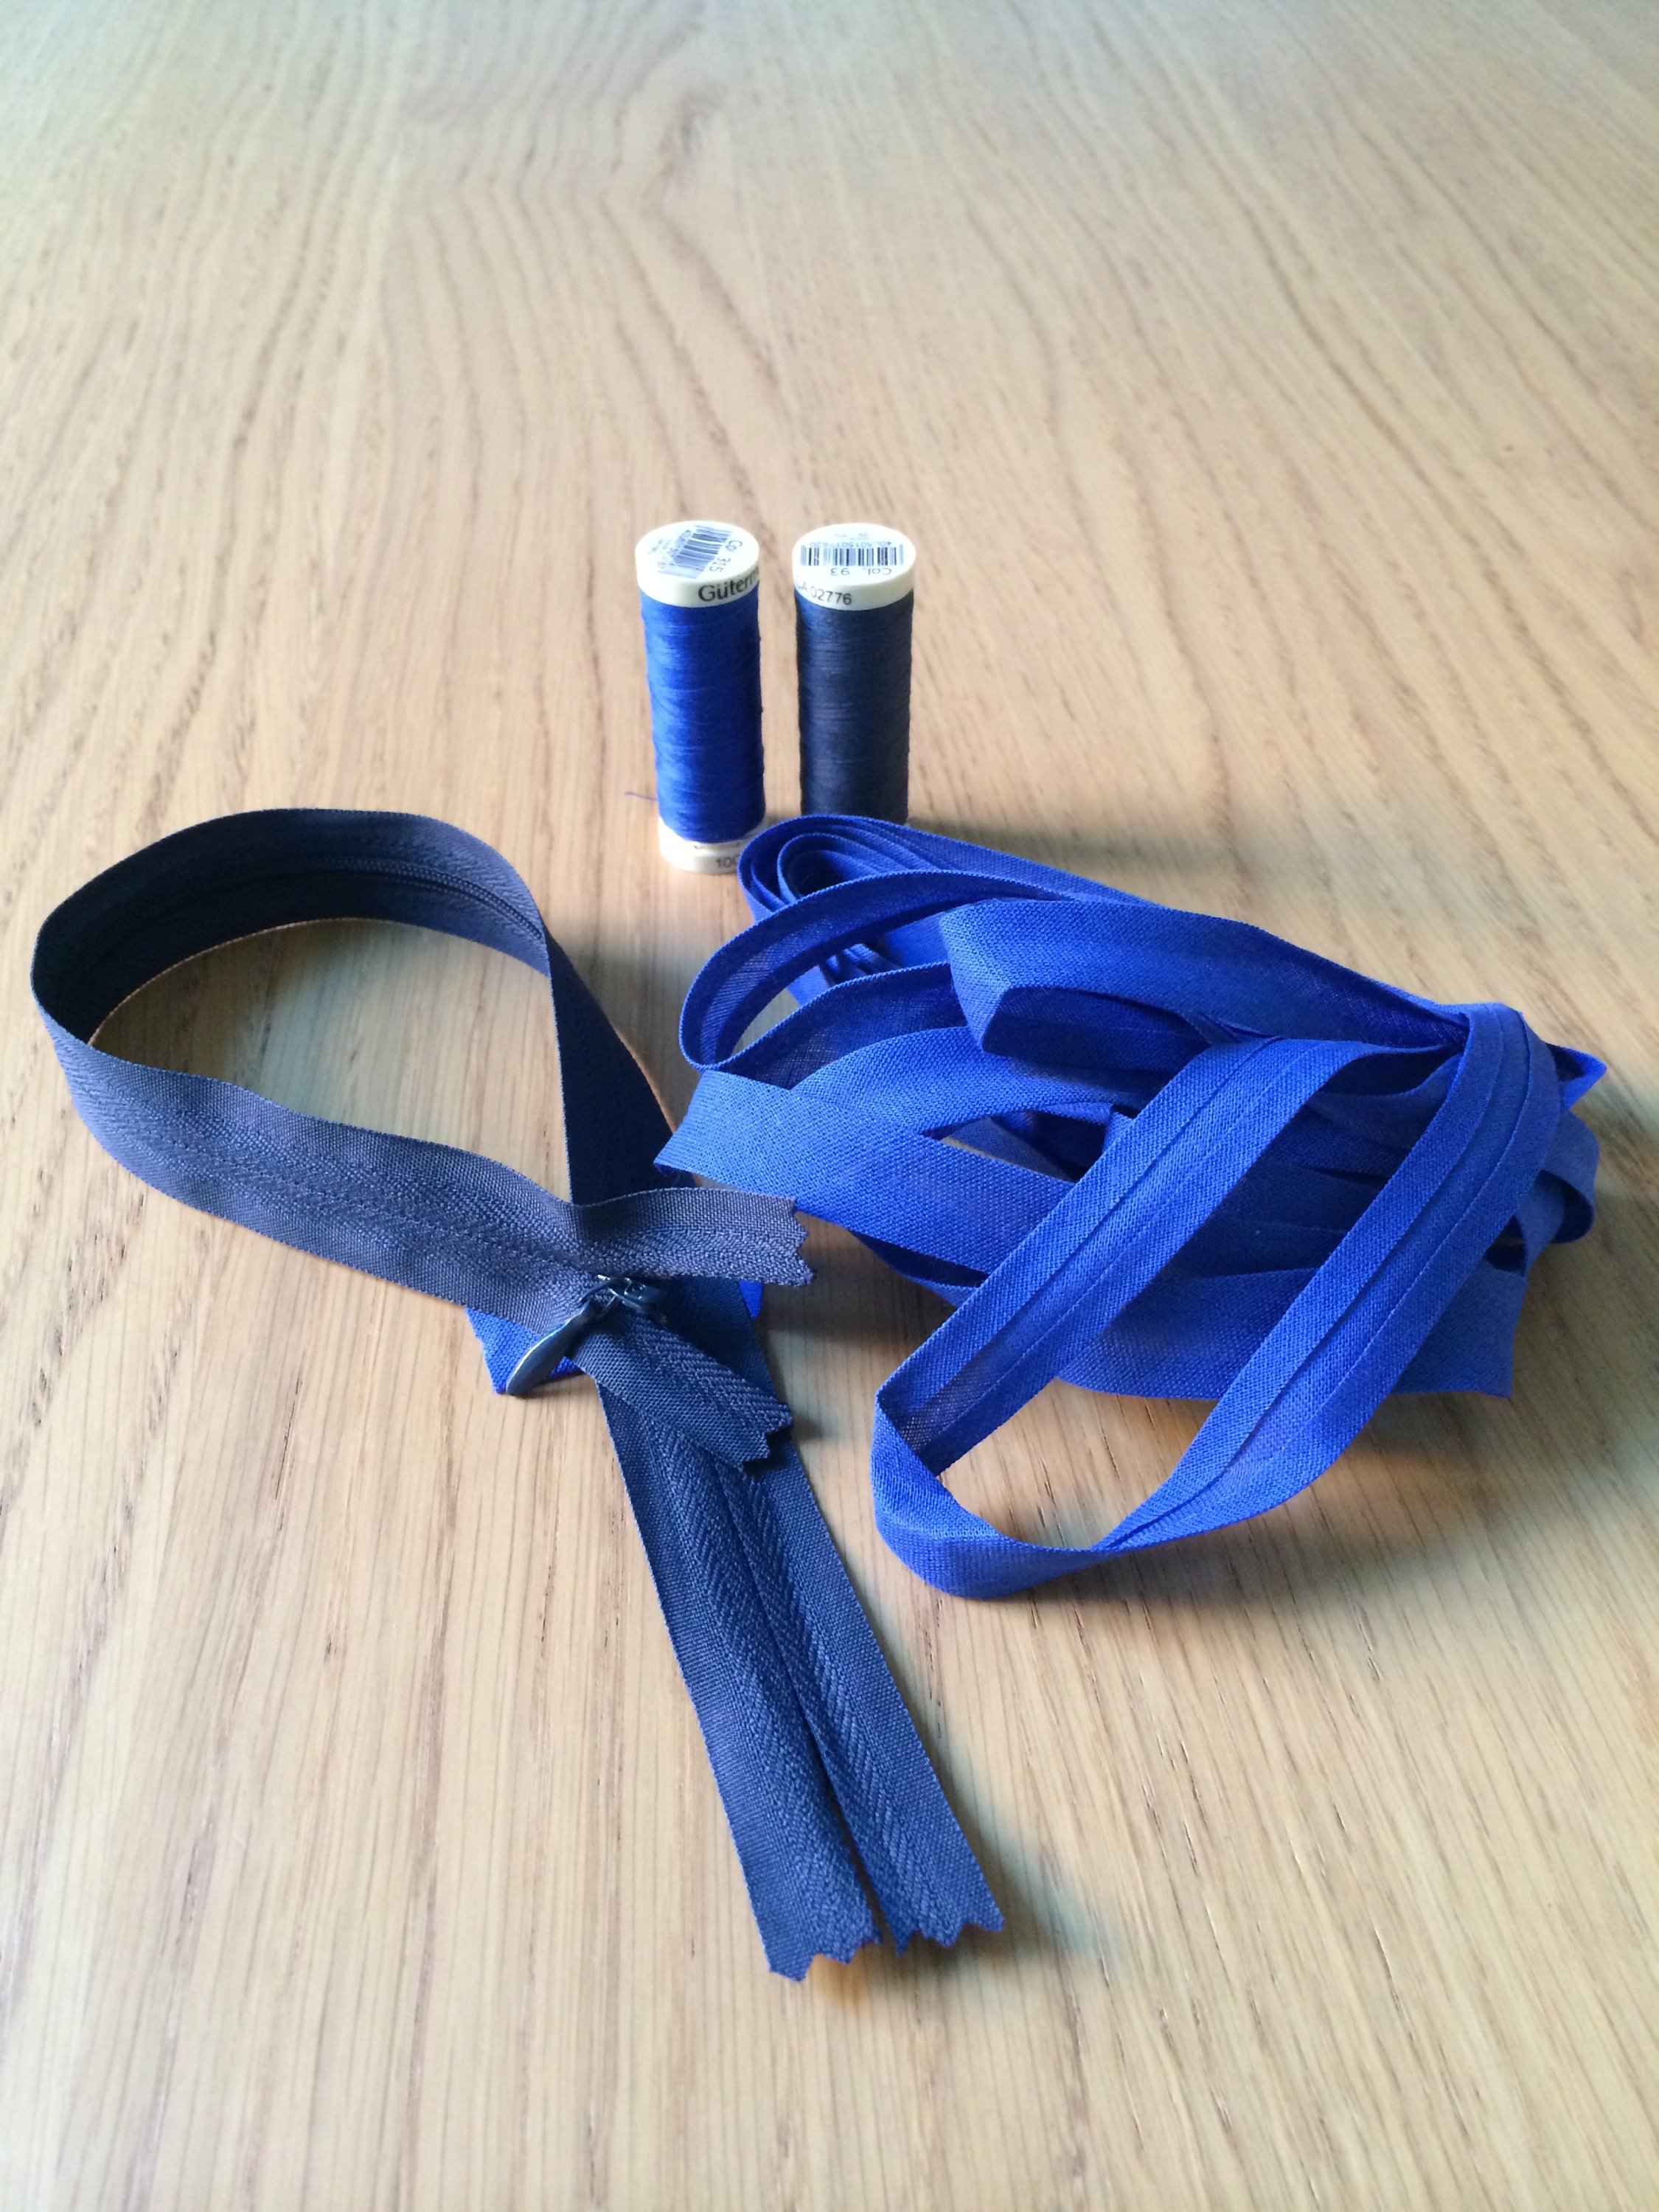
It was my first real attempt as using bias tape, and I was fairly happy with the neatness of the sleeves, even though I felt ideally the tape should have been pressed to the wrong side much more than it was.
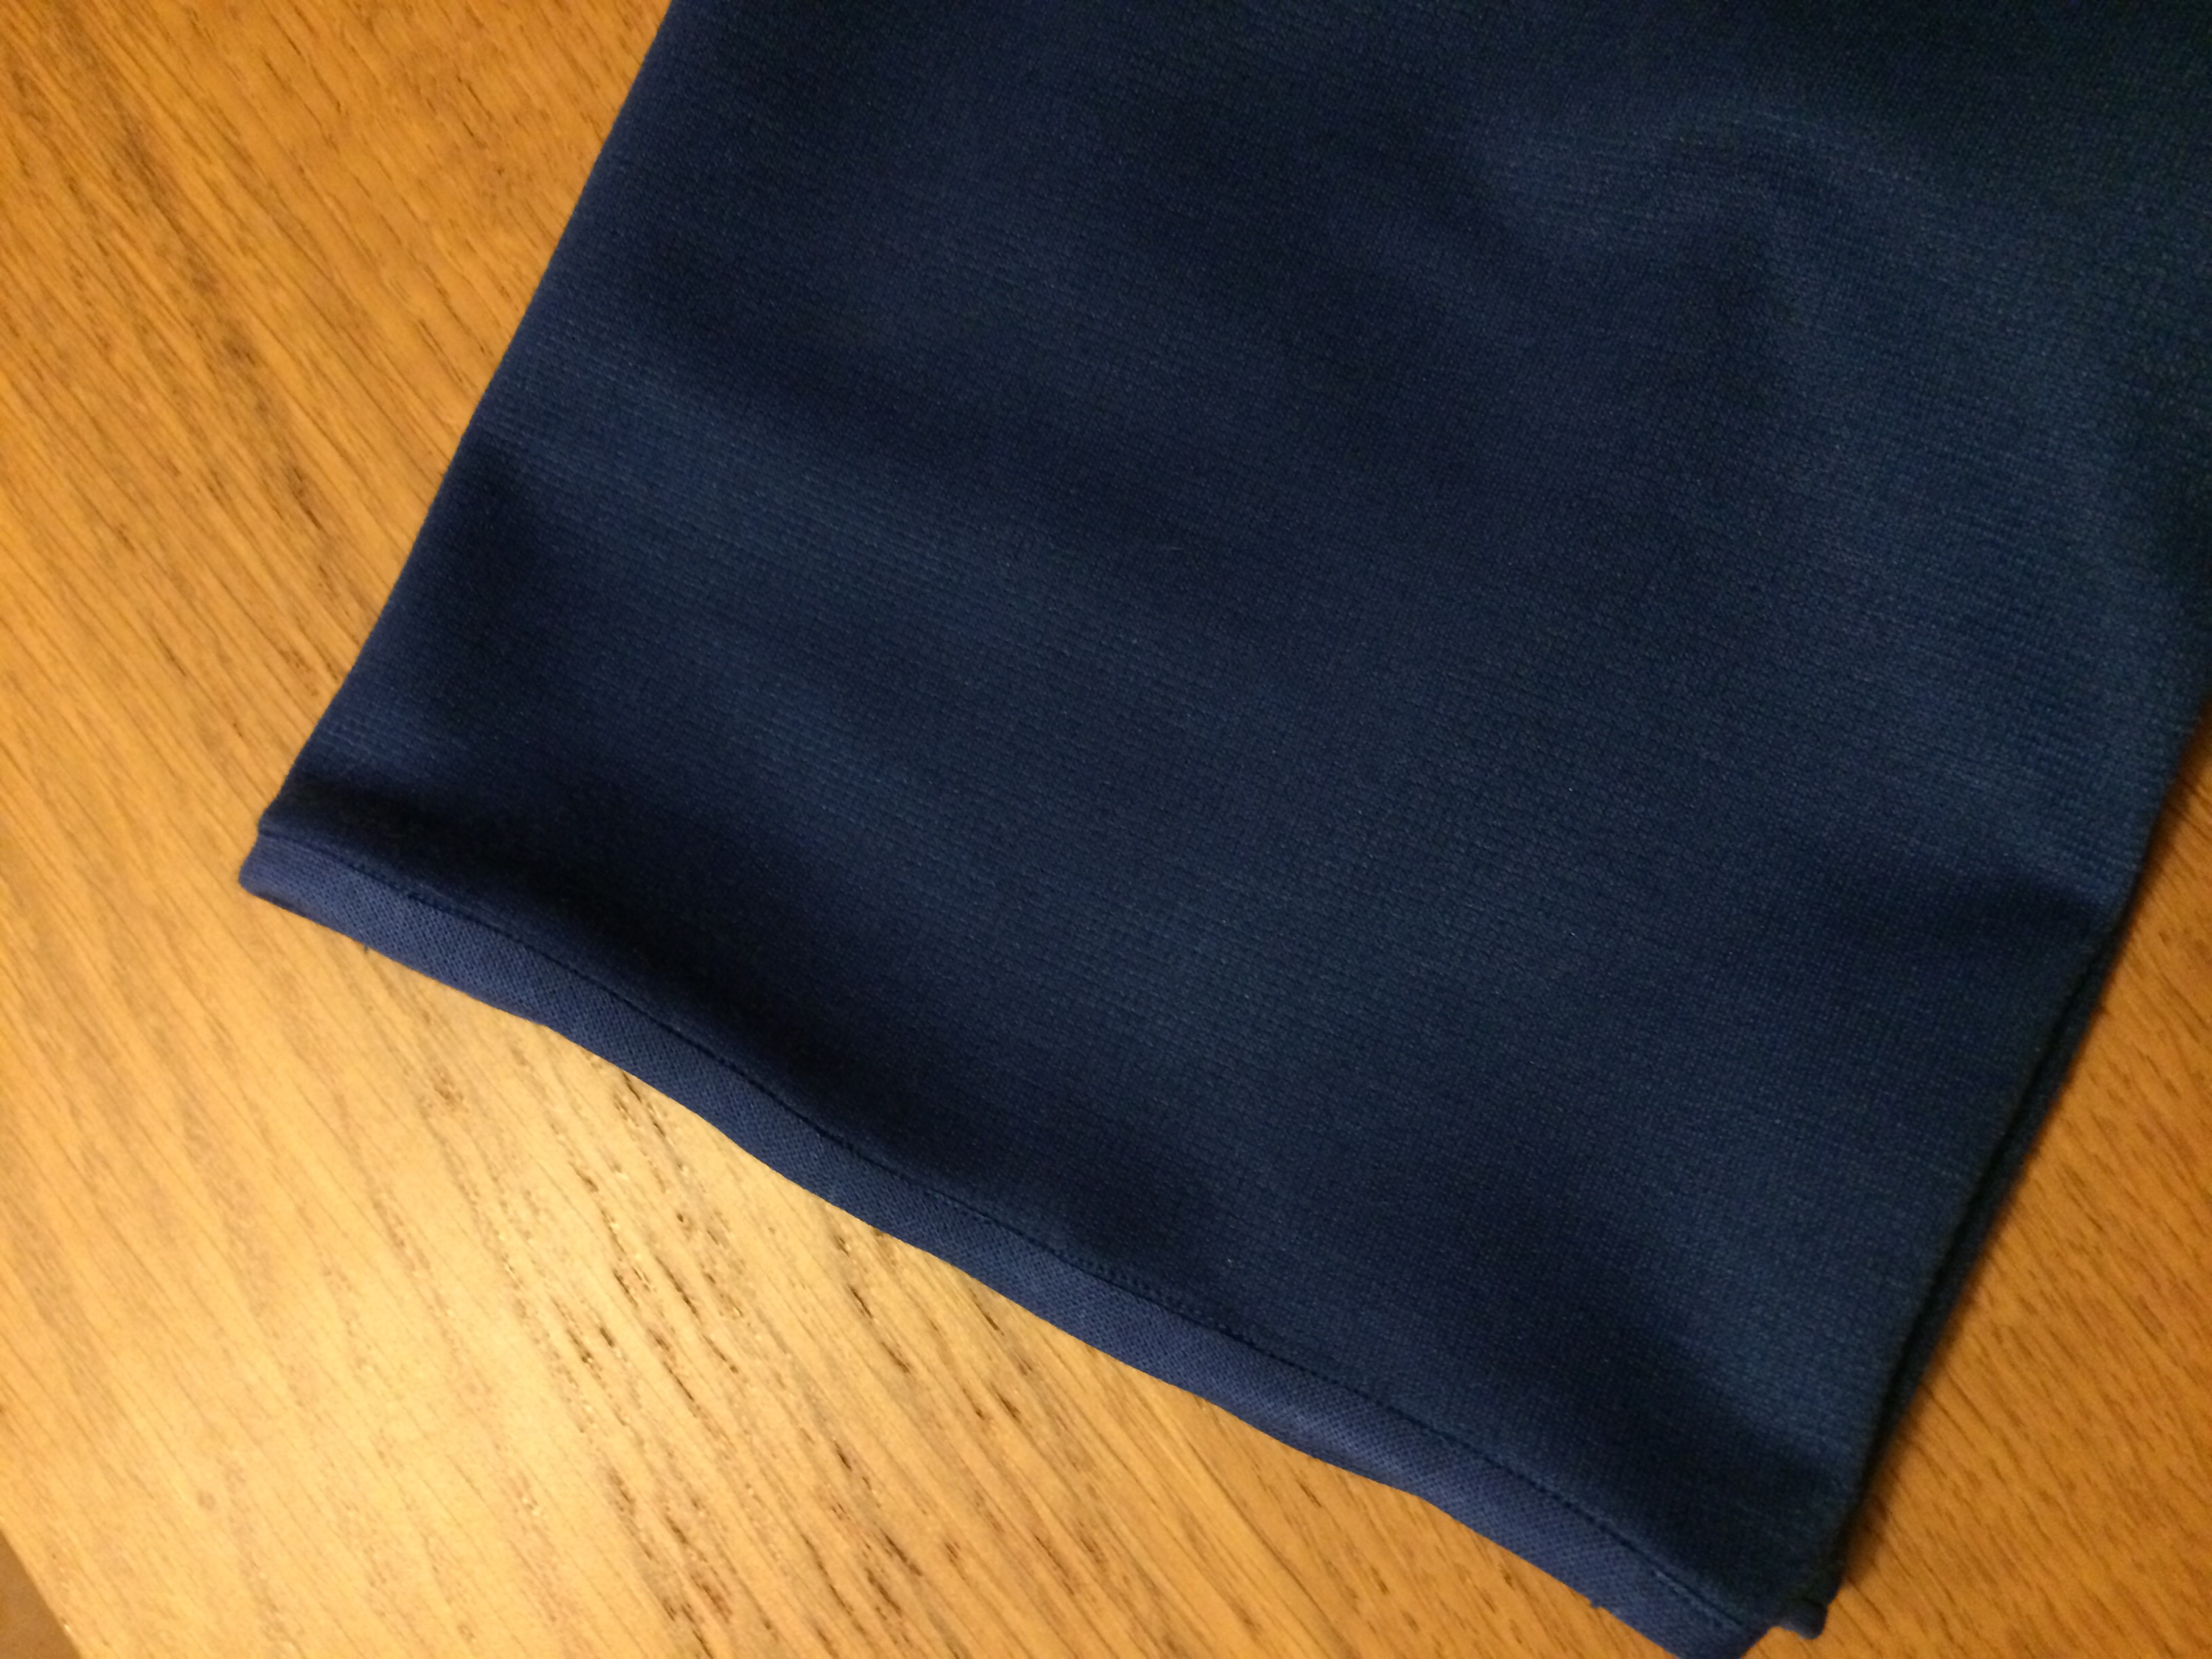
Due to the type of fabric, I couldn’t press it ready to hem the skirt, but it somehow turned our fairly straight and attaching skirt to bodice was not problematic.
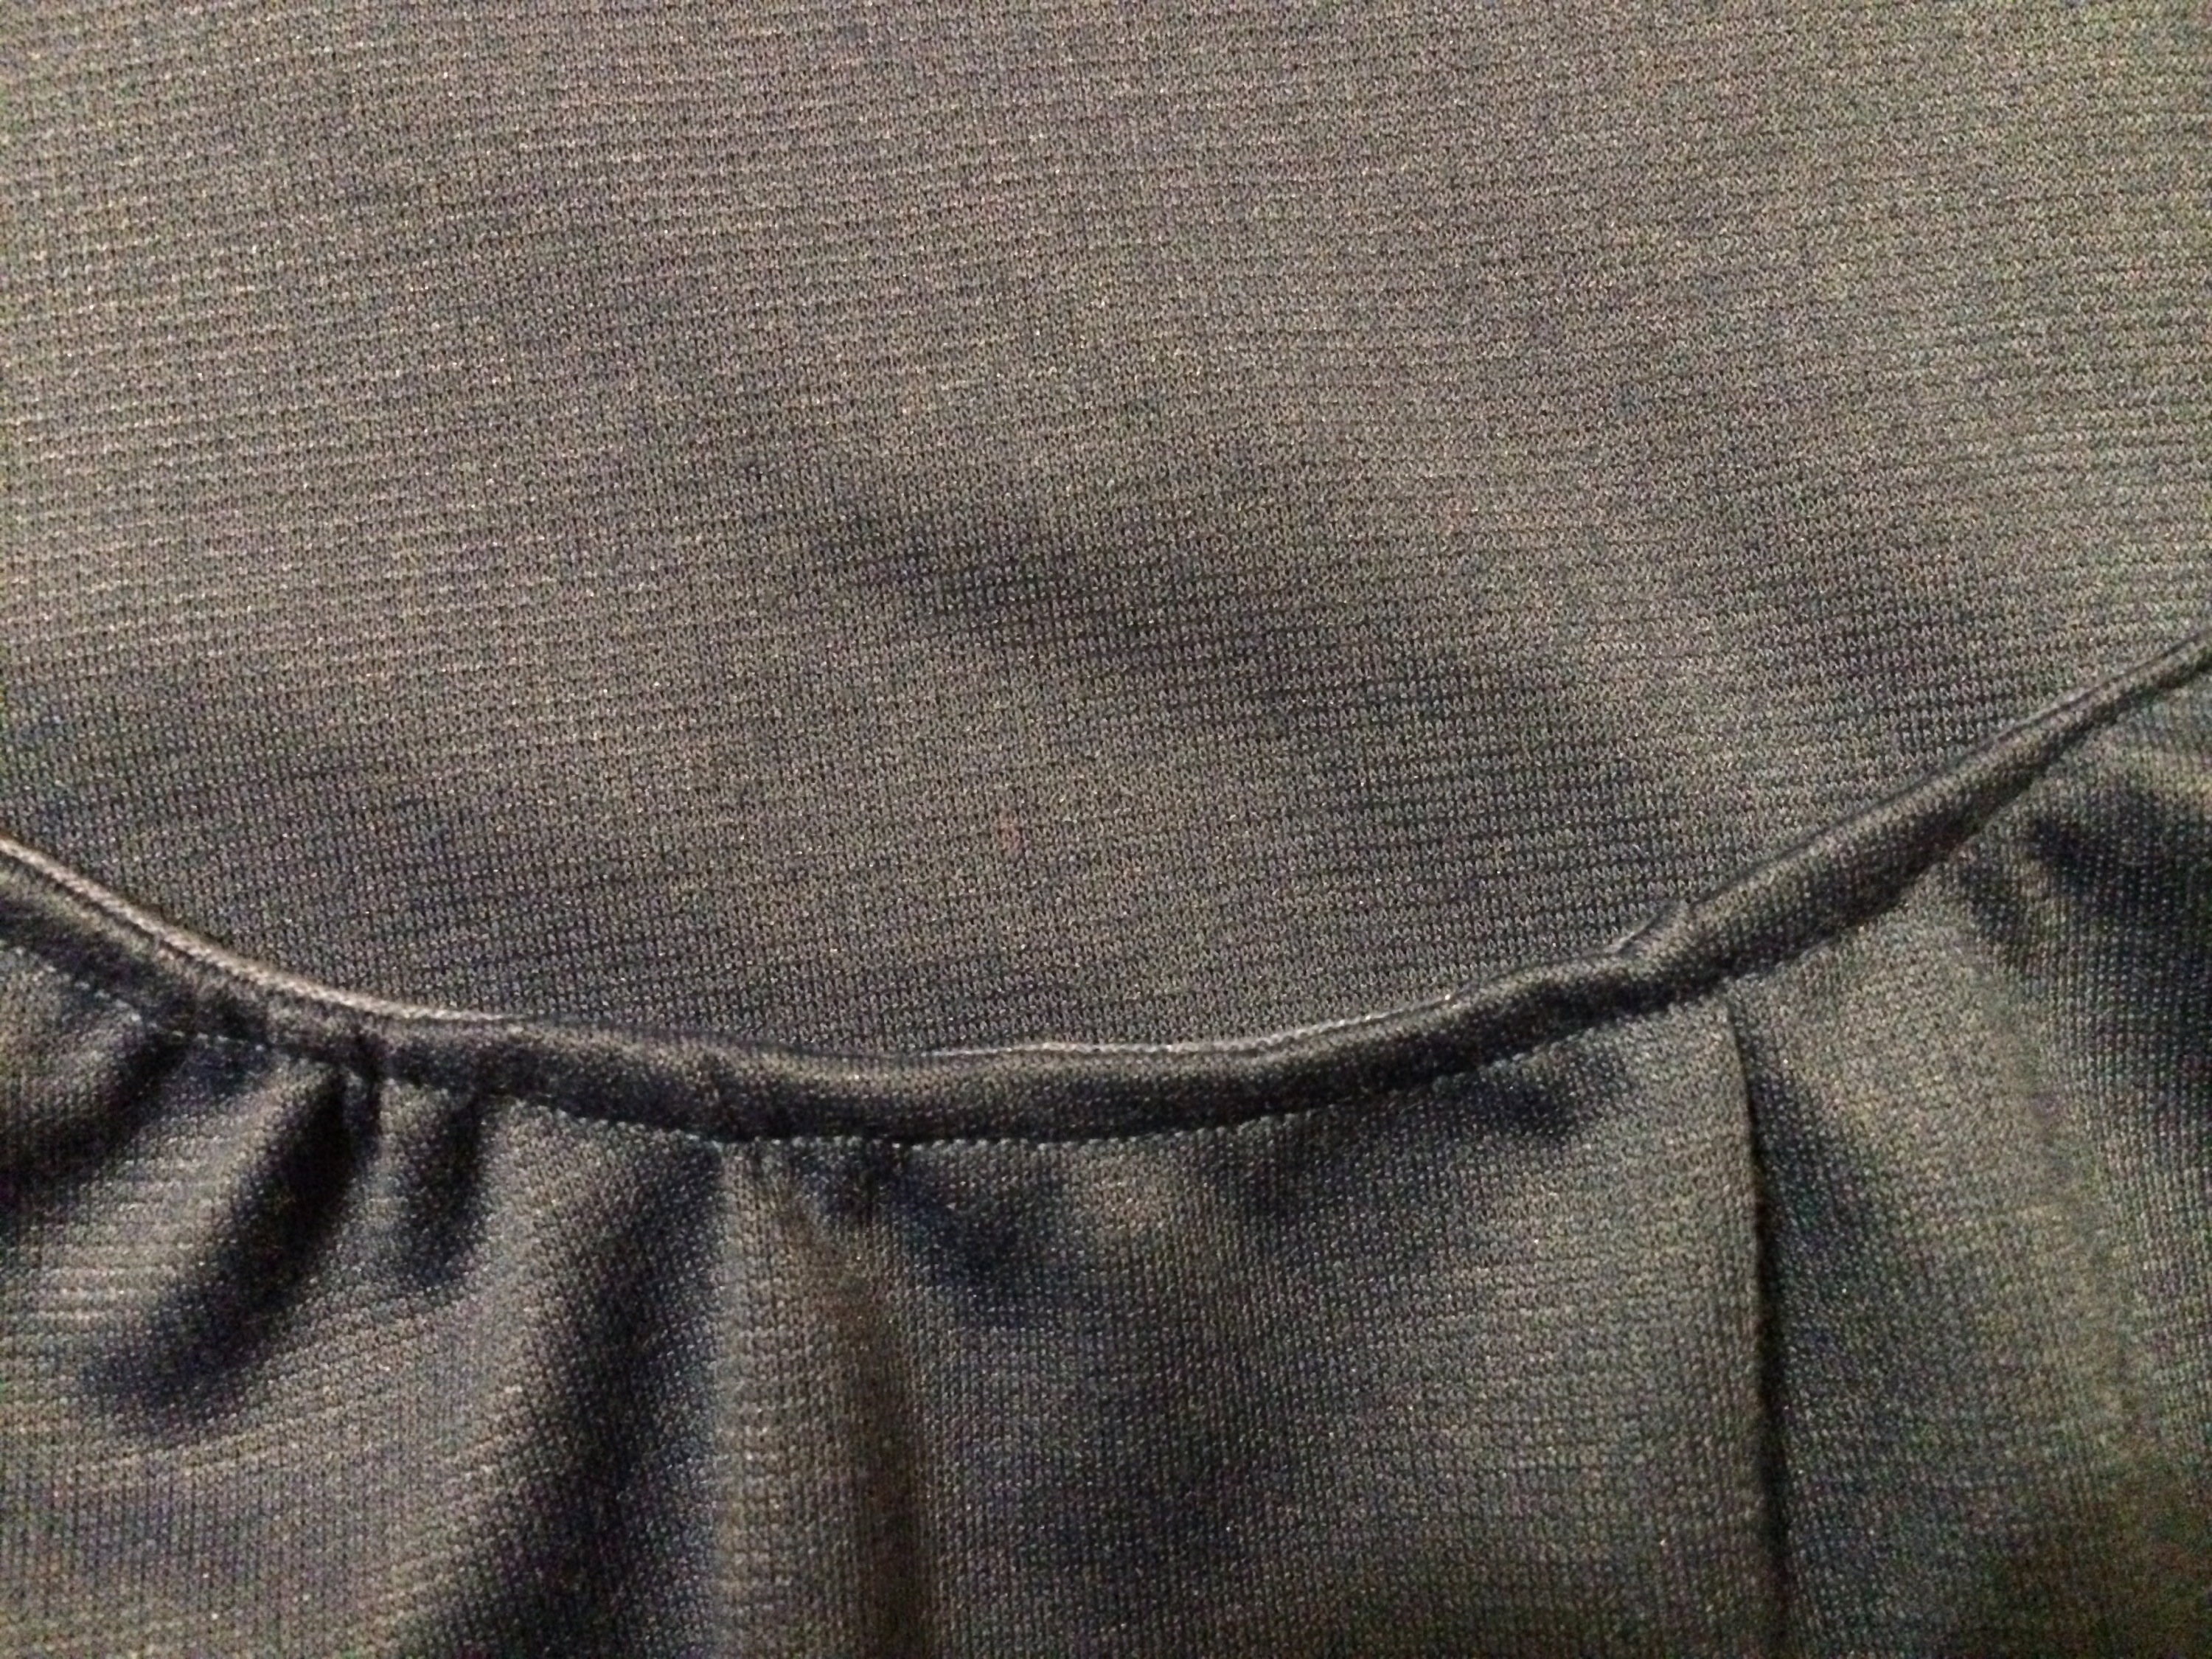
BUT, my last step was to use the bias tape to finish the neckline. As I had had to gather a couple of places on the neckline, I stitched the tape slightly lower than I would have, in order to cover the stitches (I imagine I should have eventually removed those stitches?). I stitched it round, and decided to secure it by sewing along the ditch on the right side, as I had done on the sleeves – I shied away from hand sewing as I was growing impatient. Dangerous I know. Sewing along the ditch was neat but missed in several places, meaning the tape didn’t lay flat. I tried to join it at the back, by hand, and created a kind of particularly unattractive arch. Everything had gone fairly well until this last step that made me feel that the dress was unwearable. As the tape had been sewn both sides I didn’t ever contemplate the mammoth task of unpicking, and instead began to panic that I had just spent 8 hours on something I couldn’t wear. There are no photos of this stage as I was in too much of a temper!
Then I had a brainwave; turn the bias tape inside and top stitch. I knew it couldn’t be any worse, so I did so immediately. The stitches were uneven and wiggly but it was an improvement and I was relieved.
I fear this make had led to something of an aversion to bias tape (facings I don’t have a problem with) which I know I will need to overcome. I know lots of things that I would do differently next time, such as trimming my seams right down to reduce bulk on the waistline. This make was a bit of a roller coaster but it taught me a lot. I am looking forward to learning from it and making another soon.


After all of that, I like much of how it has turned out. It’s different from other makes and I like the change of neck and waistline. I do find the shoulders are a bit loose but I am not sure whether this is due to the pattern, the fabric or just me. I also like the length and shape of the skirt. If you’ve made your own Dahlia I would love to hear about how it went and whether you have any tips that would help me next time.

I have not made that dress yet, so I can’t say much about it, but that style and colour looks lovely on you. I don’t find bias tape to be a problem because I use my 1/4″ foot and lots of pins to hold everything in place. The 1/4″ foot makes a nice even sewing line all around.
LikeLiked by 1 person
Thank you 🙂 I will have to look into expanding my range of feet if you find it really makes a difference.
LikeLike
Woohoo! Despite you having problems with it, it looks fantastic 🙂 I think the colour really suits you, and you have even joined my ‘I Hate Bias Tape’ Club! 😀
LikeLiked by 1 person
Thanks! And yes, I think I’ll be a lifetime member of that club! 🙂
LikeLiked by 1 person
Considering you had a few problems the end result looks great! It’s a good job you used a cheap fabric to test the pattern out with. I love the colour though! I hope you try again having bought the pattern for £14 and you’ve had a practice run, however stressful it was!
LikeLiked by 1 person
Thanks! Yes I will be re-using as I felt like all my mishaps meant I learned a lot which is no bad thing 🙂
LikeLiked by 1 person
Really does look great, and the process wasn’t bad all the way through. I’d make another as soon as you can to iron out the problems. The design really suits you. I’m no fan of bias binding either, the ŵider stuff helps, but I still find it really fiddly.
LikeLiked by 1 person