

Though I haven’t yet written an official post for The Monthly Stitch – it’s on my to do list, in October I was pleased that my making coincided with their theme: Frocktober. I’ve blogged about the three dresses I made here, here and here, and yesterday, the final day of the month I attempted a fourth.
I chose a vintage pattern I’ve recently bought, therefore meaning this make would also fit The Vintage Sewing Pledge as my second vintage item.

I liked the look of this 1964 pattern because it was a size 14 and ready cut, it looked simple as well as flattering. I checked all of the pattern pieces were there but discovered the instructions weren’t. Hmm. I read the back of the packet and found that inserting darts was the main thing I had no experience of, so I checked my dressmaking bible and decided I could follow their instructions instead. I was pleased that although it’s just two weeks today since I made my first piece of clothing, a top, I had a fair idea what order things needed to be done. I marked on and made the darts first, which seemed straightforward. Two on each side at the front, one on each shoulder at the back. Next I interfaced and attached the facings, two separate ones for the back as it was made in two halves, one at the front. The facings fit nicely with virtually no puckering, and laid beautifully flat after pressing. The pattern called for a 22 inch zip, so I nipped to the local haberdashery and bought one in black. Out came the dressmaking bible once more whilst I checked the different techniques available. I hemmed the dress from the bottom up to where the zip would end, then tacked her rest of the way and loosely pressed the seam open. At this point I realised I could have done with a wider seam allowance, but I already had an inkling that this dress might be a snug fit, so wanted to make the most of pattern pieces I’d cut. I then had to pin the zip to each side of the seam, and then tack it. This stage took ages and was the most time consuming part of the whole make.
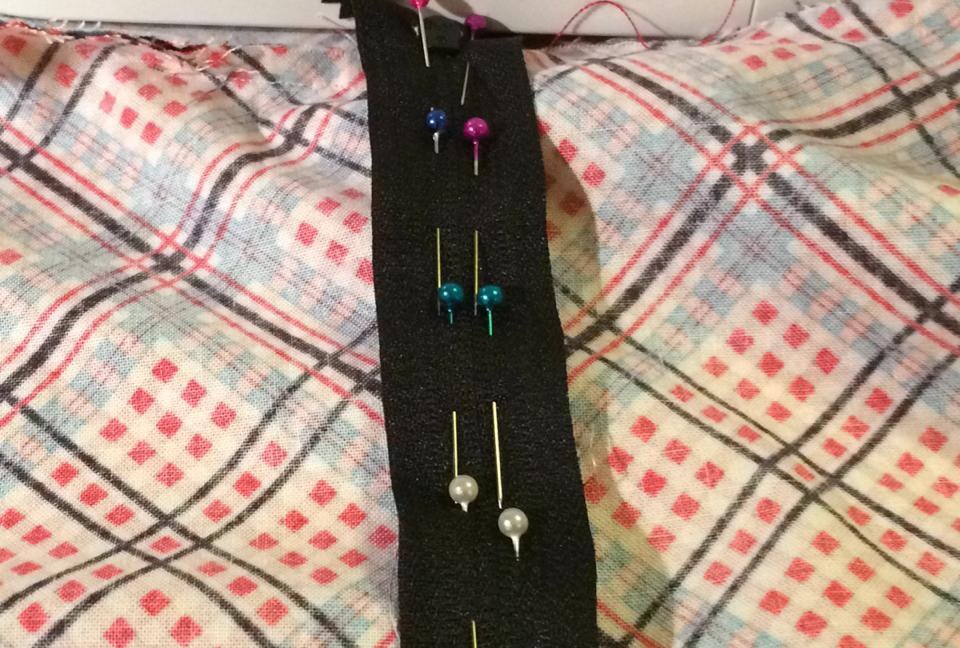
I then machine stitched along where I had tacked to secure the zip in place. Then I got ahead of myself and hastily unpicked the tacks where I’d first closed the seam. Turns out that was premature, and I should have top stitched first. I top stitched anyway, but could see the seam opening up as I did so, and I wondered how much neater it would have turned out if I had been more patient. Anyhow, it still looked fairly neat and my stitches were miraculously straight, but I then discovered that it would only unzip half way down before it caught on some stitches I’d sewn too near to the teeth. As the zip went all the way down my back this wasn’t a problem but was annoying. I later ripped through the offending stitches and hope the outer stitches will be adequate, but if not, I’ll just pop a few more in by hand.
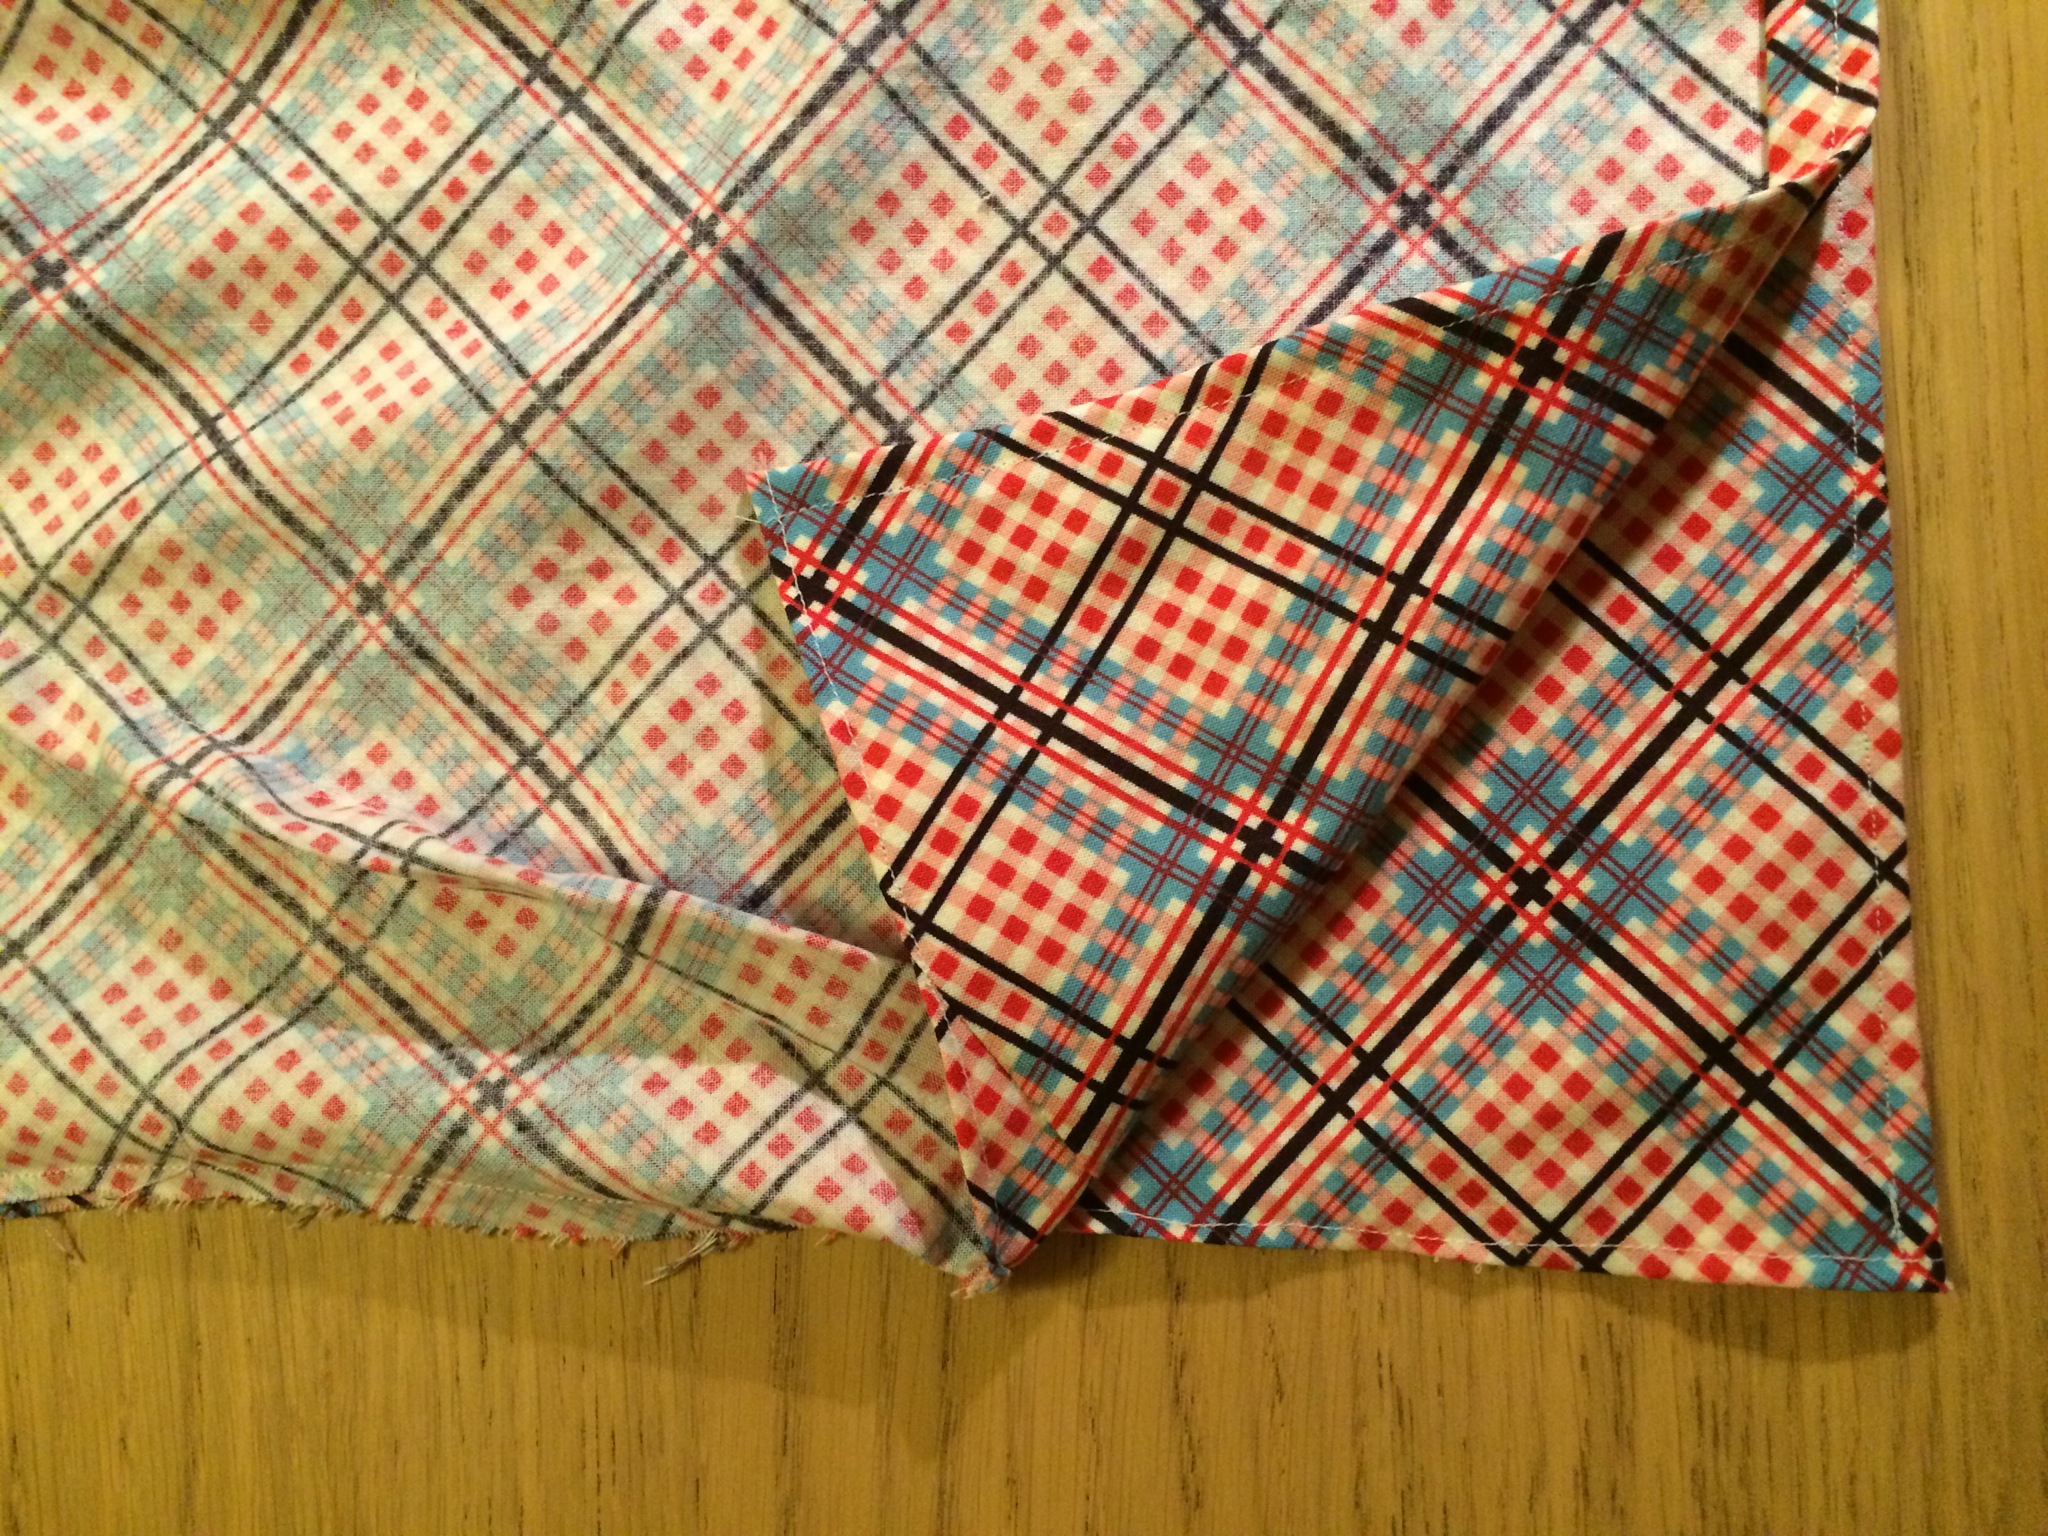
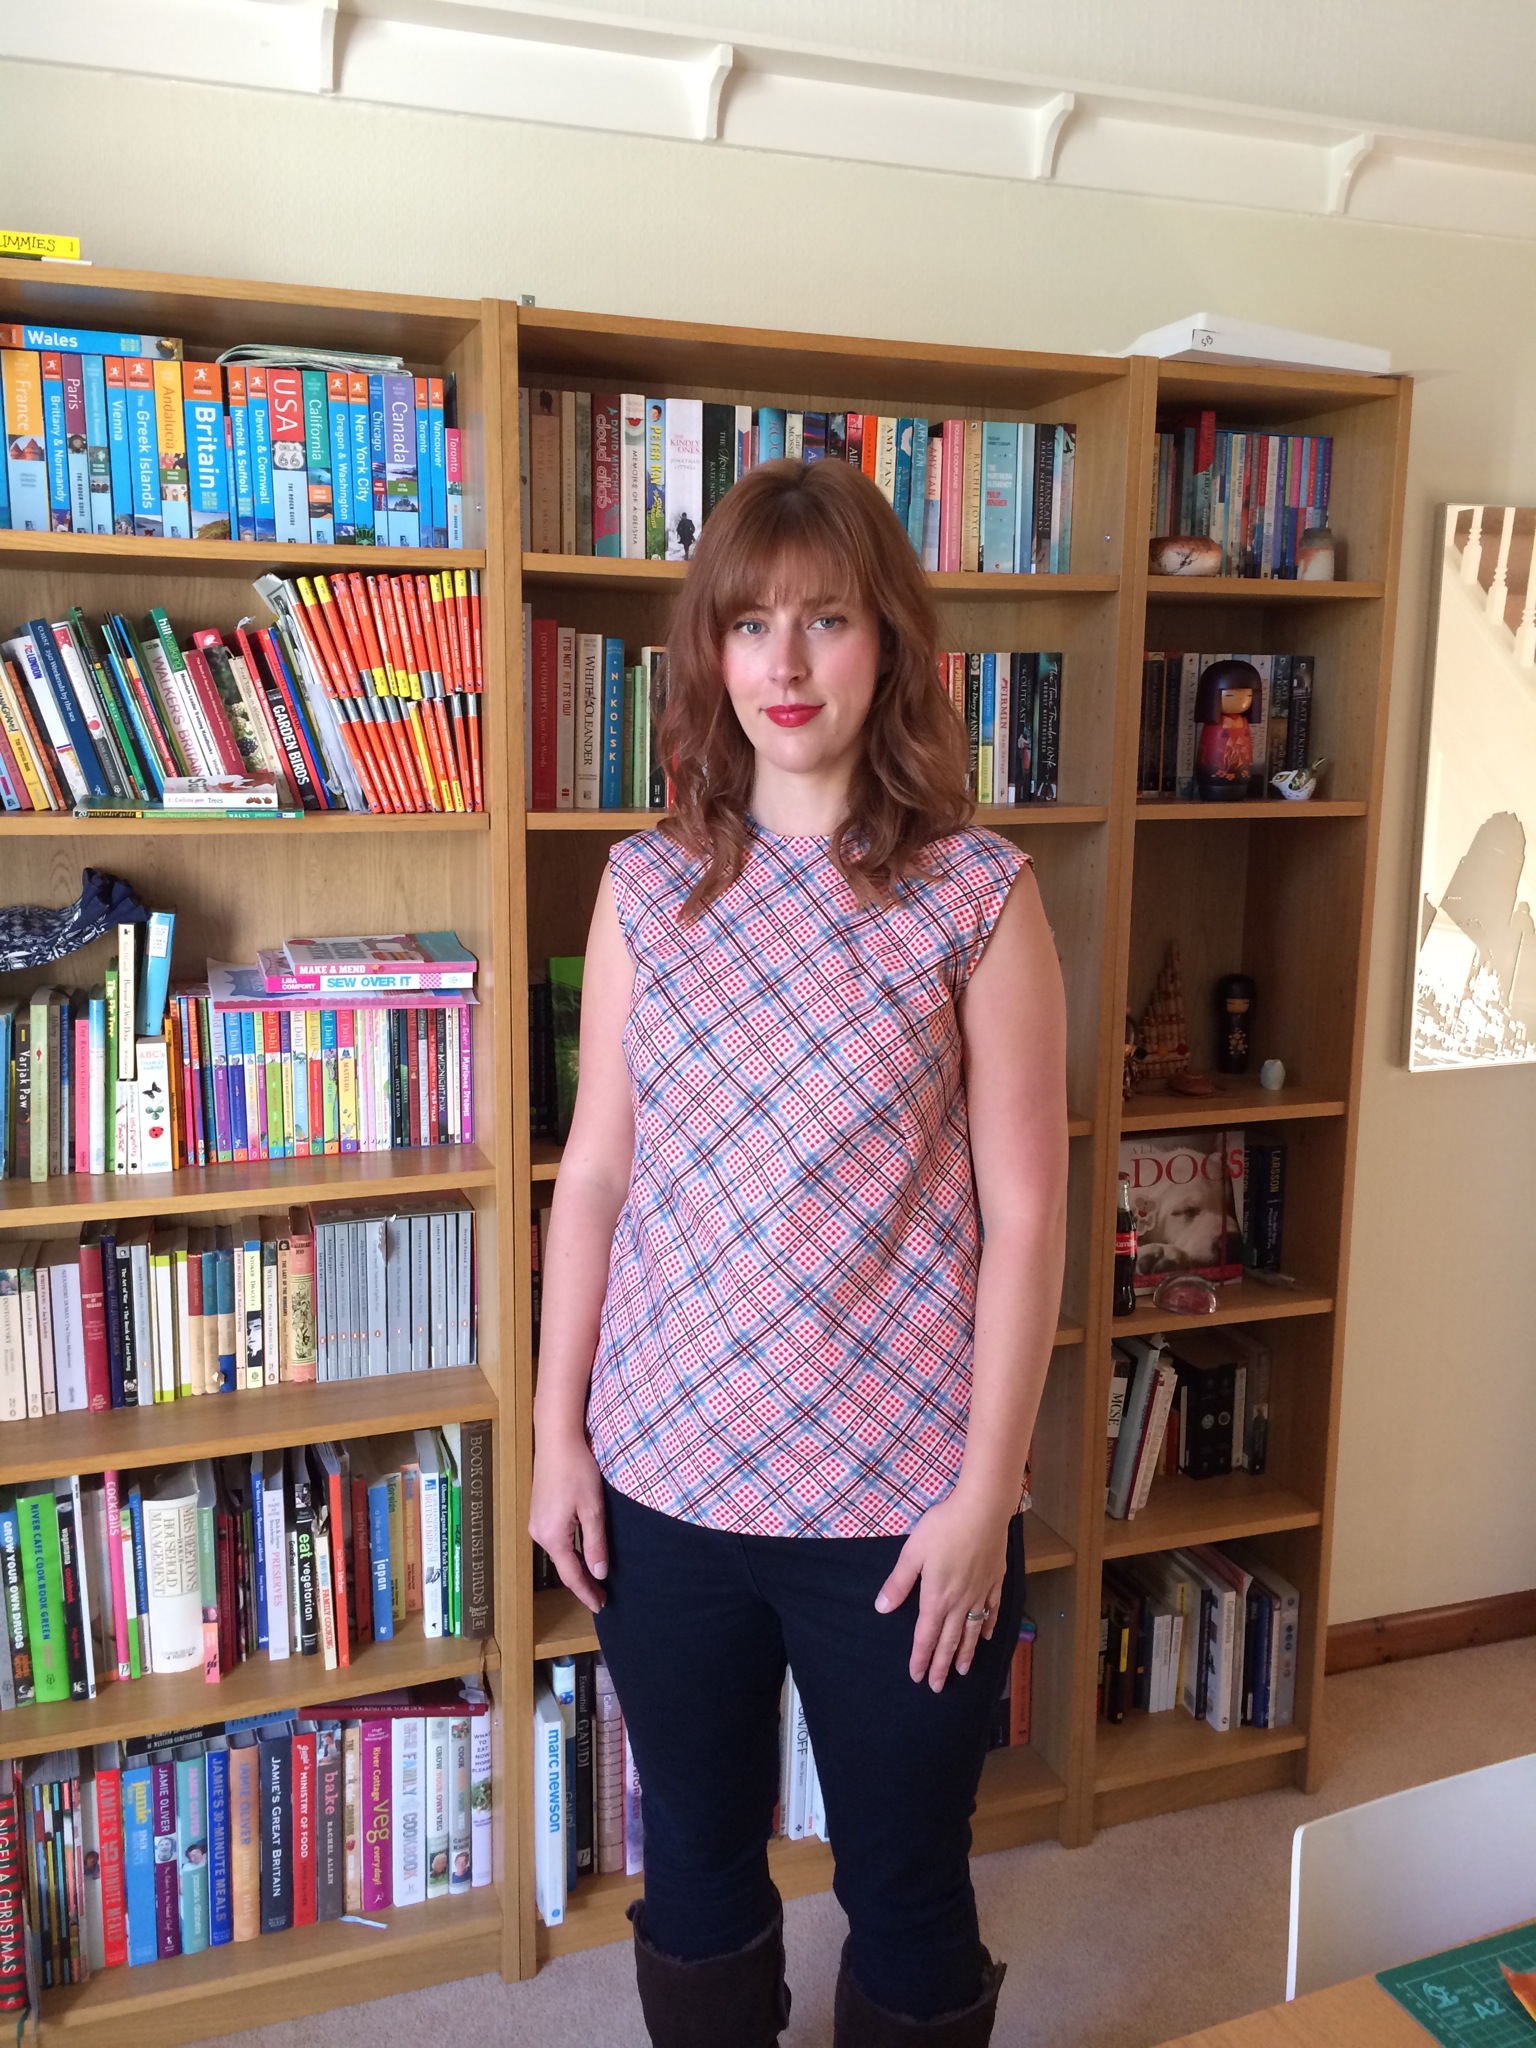
Zip done, I attached the dress at the shoulders, then pinned and sewed the armhole facings. I wasn’t sure whether I should top stitch (no instructions) but did so to encourage the facings to lay flat and stay tucked away. I tried on the garment and again could tell I wouldn’t have very much fabric to play with, so French seams were a definite no no. I hemmed the sides, tried it on and found…it was too tight. I could get it on but it pulled and didn’t hang at all right; it was about a size too small. What to do? Keep it until I lose weight? Insert triangular contrast pieces and let it out at the sides? Add an additional piece of the same fabric at the back? I finally decided that because all of the detail and the work had gone into the top two thirds of the dress, it would be ok to snip off the bottom third to turn it into a top. So I did! After multiple tryings on and off, I found the right amount of seam to rip open, did so to create splits up each side, and hemmed them. I turned the bottom up and pressed it twice, and stitched. My fourth dress for Frocktober was not to be, but I do have a top that I am pleased with the finish of. Again, I’ve learnt a lot which will hopefully assist me with my next project. I’d like to know, has this ever happened to you? If so, how did you fix or alter your garment to make it wearable?
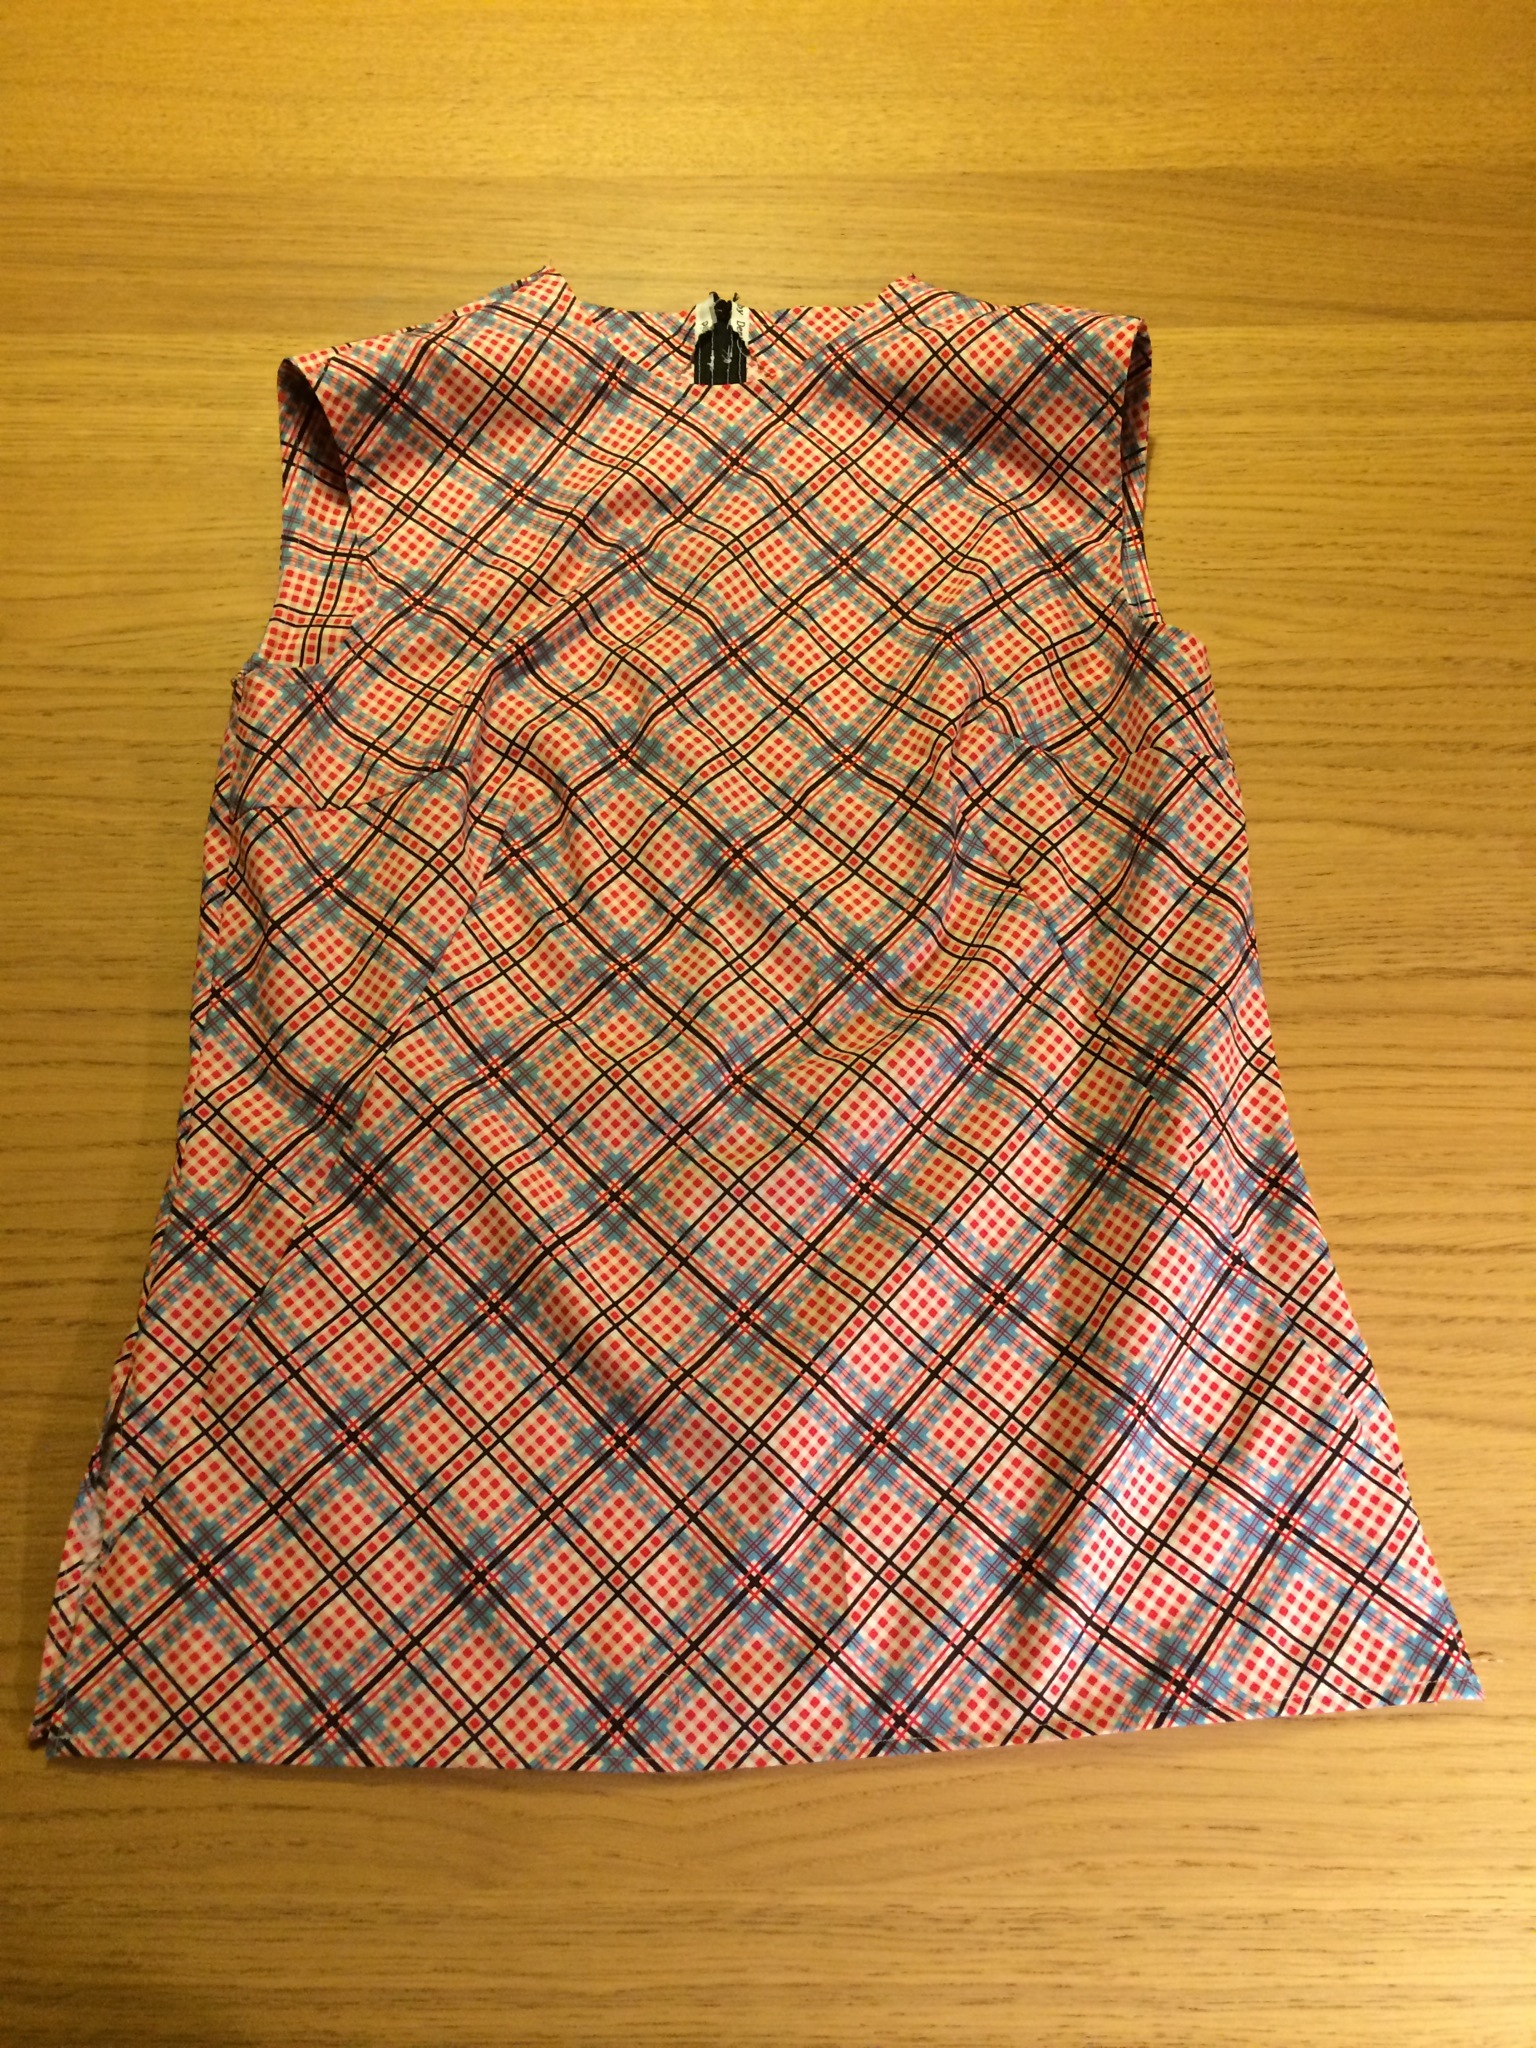


The perfect solution! Looks great as a top, and maybe even more useful? 🙂
LikeLiked by 1 person
Thank you 🙂 I’d bought 3 metres of that fabric but luckily it wasn’t expensive. I’m open to suggestions as to what to what to do with the rest.
LikeLike
Fabric would make a lovey, Summer Ginger skirt (Collete), especially if you like vintage styles. It has a lovely waistband 🙂
LikeLiked by 1 person
Great, thank you! I’ll check it out 🙂
LikeLiked by 1 person
What a cute print! I love the top!
LikeLiked by 1 person
Thank you! It’s different from prints I’ve used before, I even tried to match up the diamond pattern 🙂
LikeLike
You did a really nice job matching it up!
LikeLiked by 1 person
A great solution and a fab top. I just love that fabric. Before making a garment with pattern pieces, I usually measure the pieces and add up to get bust/waist/hip comparisons. Defo make adjustments if the pieces are too small. You can always make minor adjustments if they are too big. And best advise is probably to make a test garment before using your favourite fabric. Boring but worth it!! 🙂
LikeLiked by 1 person
*advice!
LikeLiked by 1 person
I love this tunic/top. I see you have some skills too. I wish I could sew more for me, but with two kids I end sewing more for them and by the time I want something nice for me theres no more fabric 😦 By the way I really really love the color of your hair , the style too. Pretty girl!
LikeLiked by 1 person
Thank you 🙂 You should try to prioritise yourself and make something just for you soon!
LikeLiked by 1 person